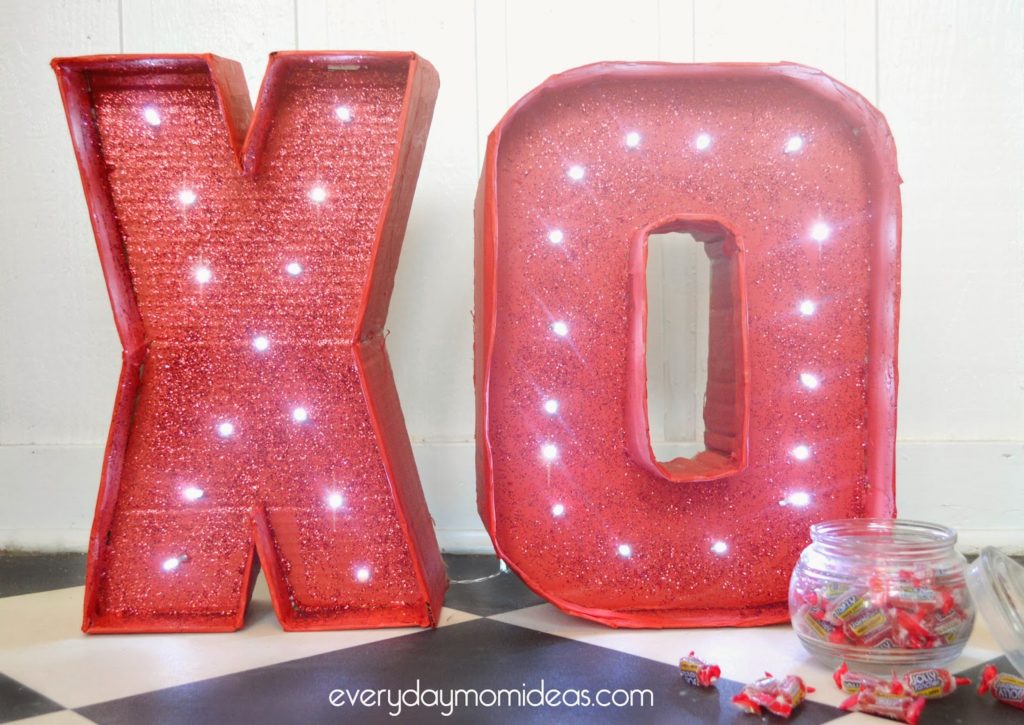
I love marquee letters! Ive been wanting to decorate with marquee letters in my home for years but the tutorial I have seen so far are made out of wood or other material that you have to have tools for and I am just not a handy kind of girl, plus I hate spending money on crafts. So I decided to make my valentine marquee letter out of cardboard! This is a great way to re-purpose those christmas light as well. I actually only spent a dollar on this project and that was for the glitter. I had the rest of the materials on hand. These sturdy cardboard marquee letters only took me and my two little helpers about an hour to make plus drying time. Im thrilled with how they turned out! These are so fun to have up in our living room and look great without the lights on as well.
Need:
- two medium sized cardboard boxes
- Hot glue/hot glue gun
- red craft paint
- Christmas lights
- Optional: masking tape, glitter

1. First step is to just draw and cut out your letters. Try to make your O a bit on the flat side so it will stand up on its own. Also extra tip if it’s getting to hard to cut with your scissors I just used a kitchen knife.

2. After you get your letters cut out its time to make the cardboard frame around the edges of your letter. You want to make sure your pieces are all the same width and then measure and cut each one of the sides.
3. Now is also a good time to make your holes where the lights will be going through. To do this I just used the tip of a kitchen knife and carefully twisted the knife around until it made a small hole.

4. When putting the frame on you really just need some hot glue. Hot glue one piece on at a time and wait for it to cool and secure itself on before doing the next piece. Tip: When gluing on the frame for the O try bending the cardboard frame strips in multiple places to make it more pliable and easier to wrap around the rounded corners. Tip: I used masking tape over the ends so smooth out the edges but it’s really not necessary.

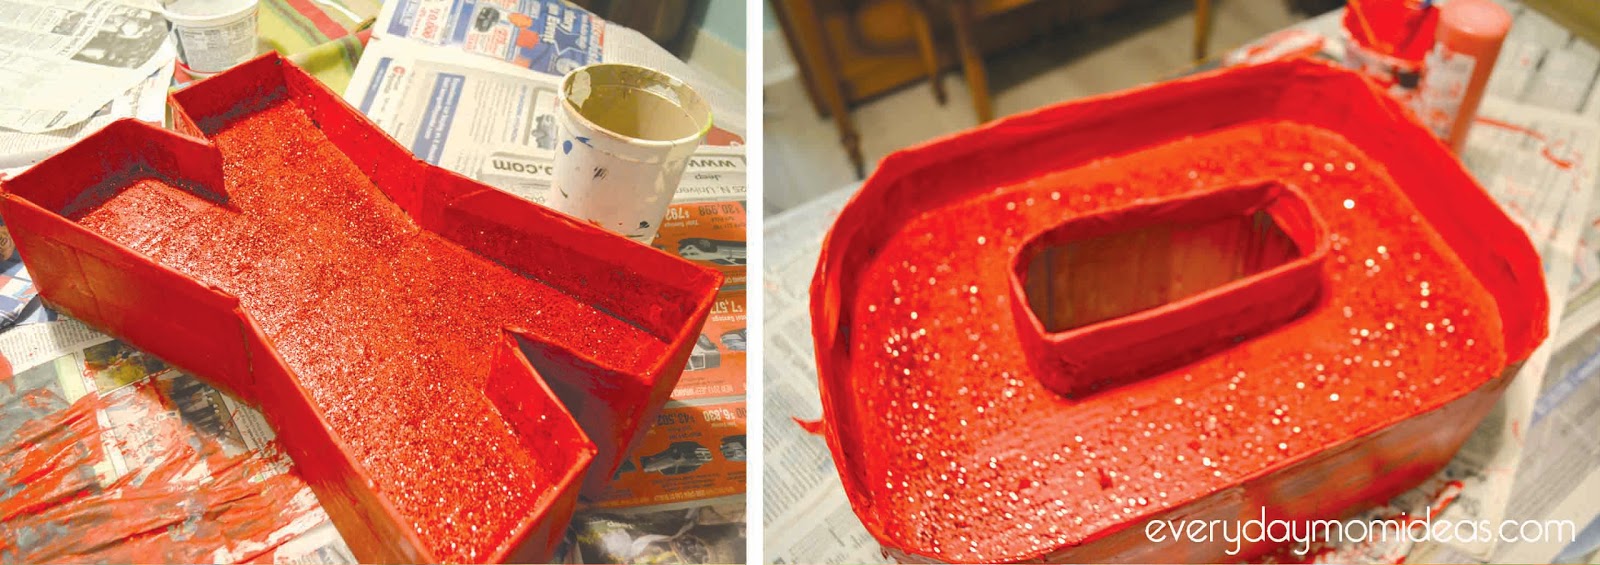
5. Paint!

6. After you have given it a few coats of paint, on the last coat of paint I added the glitter while it was still wet so the paint would act as a glue. Let the whole thing dry overnight before inserting the lights so you won’t get paint all over the lights like I did. Also you make have to re poke the holes the after the paint dries because the paint fills in over the holes. And there you go!
A cheap easy craft with a big impact!
SHARE THIS STORY