Adding a little bit of gold accents to this very earthy macrame project gives it that little extra modern touch and glam. This is a perfect macrame project for any beginner. By only using two of the major macrame knots I was able to create a beautiful wall hanging for my porch this summer.
I used part of a branch that fell down in our yard earlier this year in a wind storm. I love re-using things from around our home in projects as much as I can. For some of the other branches we found I re-used them to make chalkboard Christmas Ornaments last year for neighbor gifts.
I recommend using the 4mm macrame rope here. In this project I used the 3mm but I wished I had used the 4mm. Since then I have used the 4mm and its the perfect size. For an even chunkier look go with a 5mm or larger rope size.
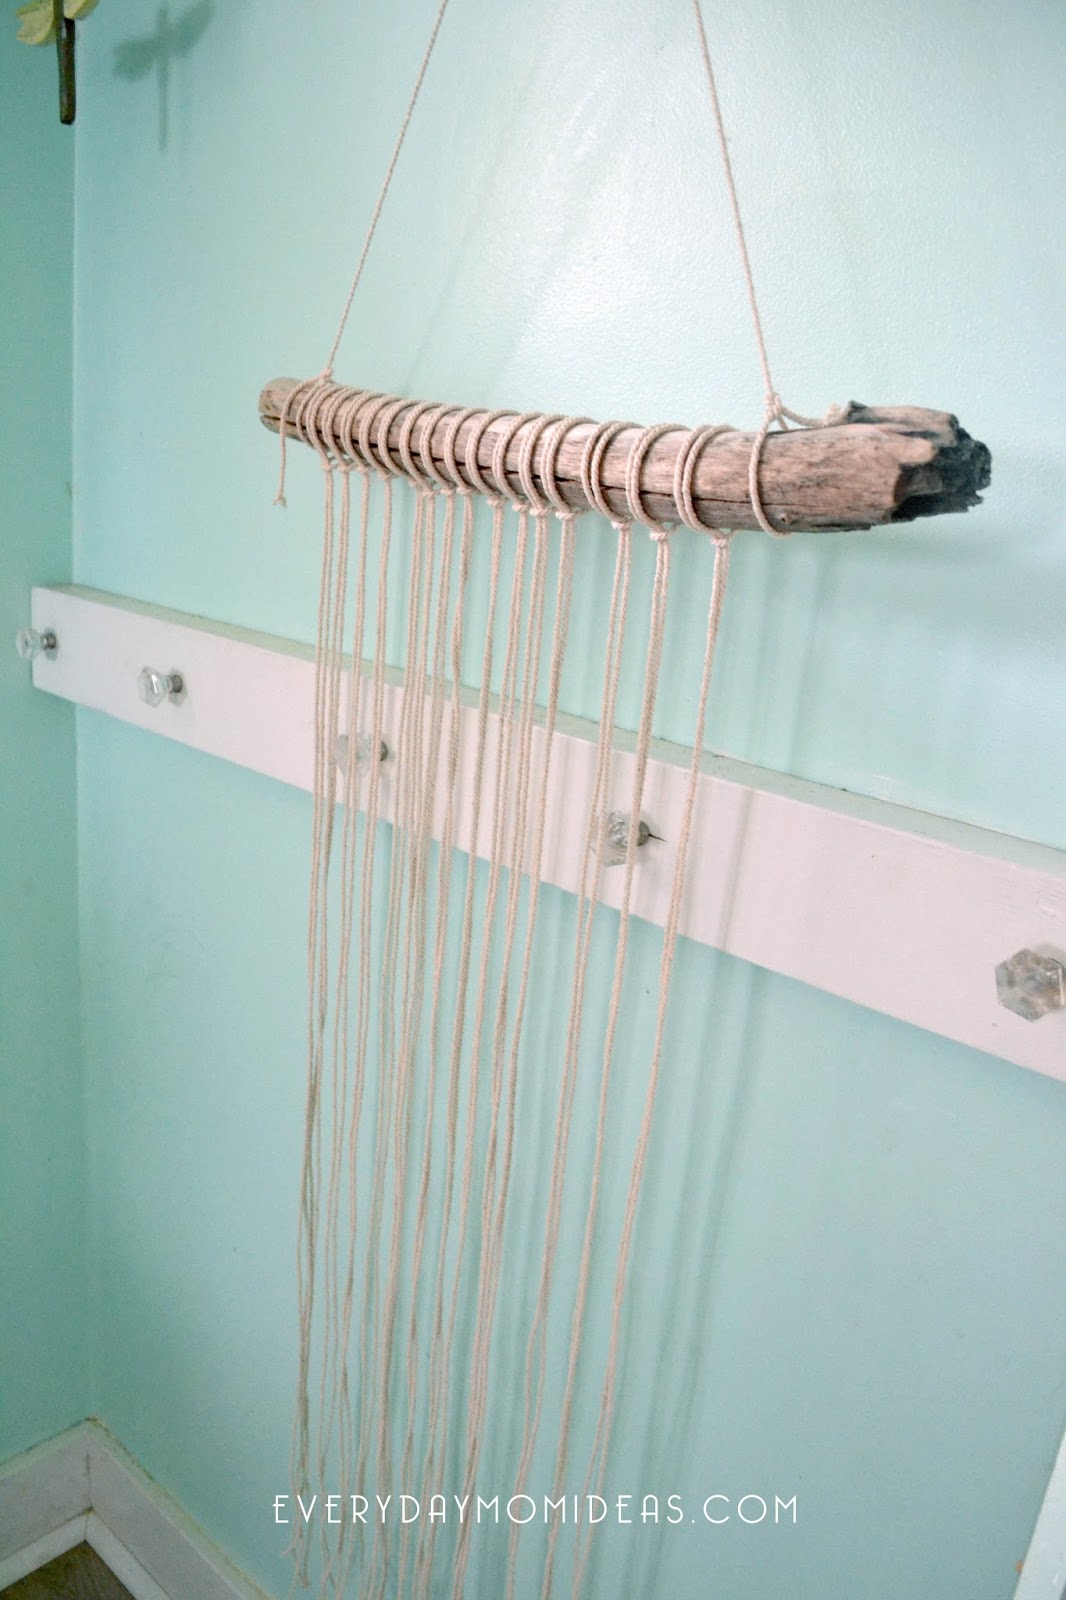
My wood branch is cut at 2 feet wide and I tied some macrame rope from one side to the other for hanging purposes. In order to work on this macrame project you will need to have it hanging up while you work on the knots.
For my project I used 16 pieces of macrame rope cut at six feet. And used a Lark’s Head Knot to secure it to the branch. I have included a youtube video below that shows the knots I used in this project in great detail.
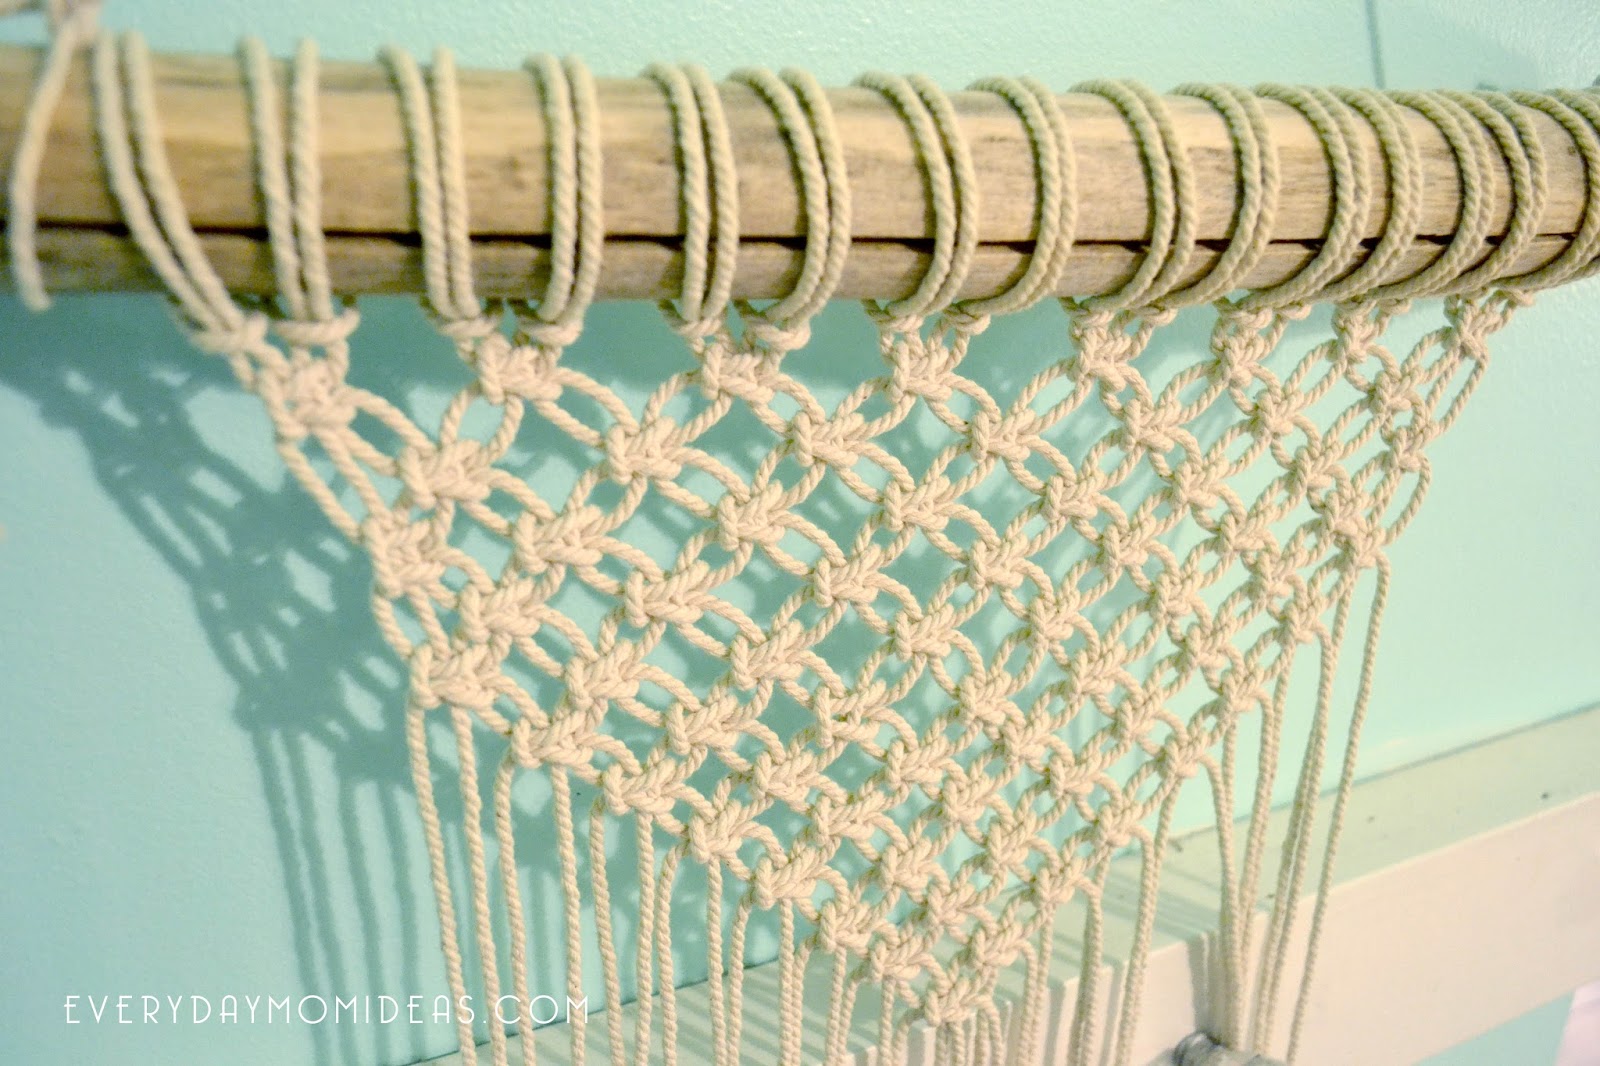
I used the square knot all the way across for three rows down and then started dropping a knot on each side until I made a down facing triangle.
Once I have my first triangle made, I tied in some spiral knots to the middle edge ropes to create kind of an earring look on the edges. I used the spiral knot on the outer most four pieces of rope and tied eight spiral knots on one side and then eight more spiral knots on the other.
The next step was to add the diamond design on the bottom to mirror the triangle on top.
Out of all of the tutorials and step by step guides I went through to learn these Macrame Knots I like this youtube video by Place Of My Taste the most.
She goes over the basic knots is a way that is super easy to follow.
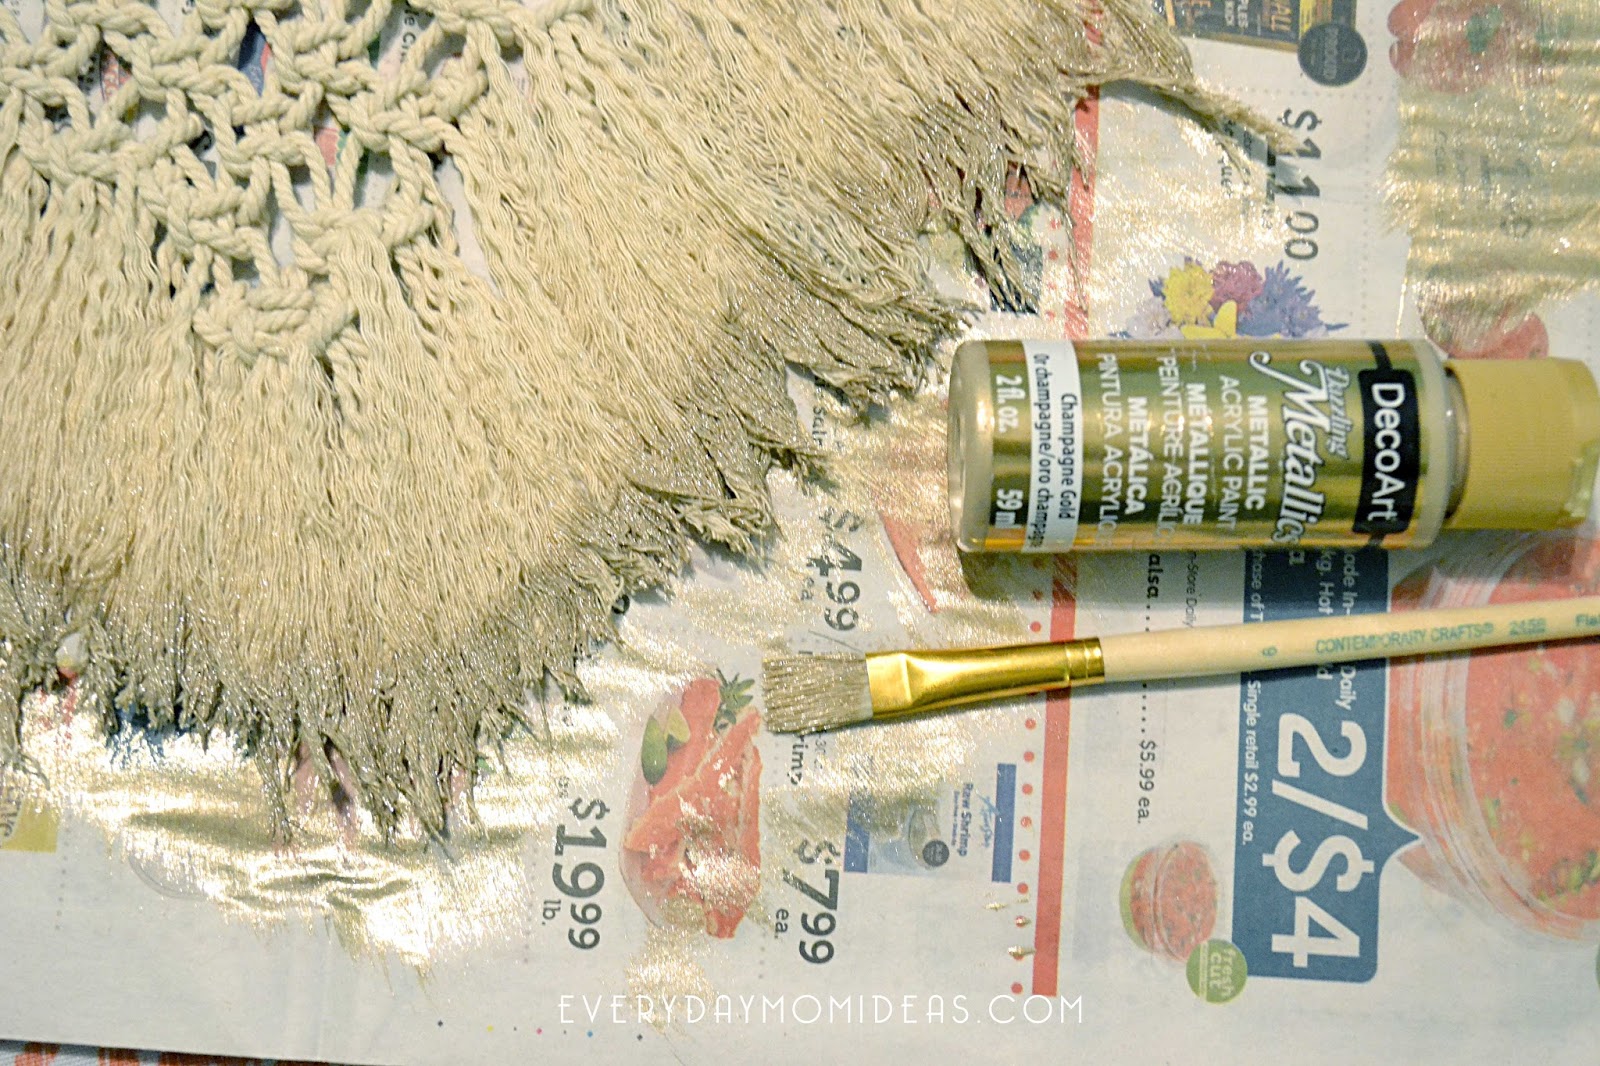
I frayed the edges of the rope by brushing it out with a hair brush then finished up the whole look by painting the edges of the fringe with gold craft paint. The gold paint makes the macrame yarn stiffen and also helps it not to fray further. This would also look beautiful dipped in colored dye and you would be able keep the softness of the frayed rope.
After the paint was dried I trimmed the fray to a tampered point so that it looked a little more even and clean. Then I painted the edges of the branch and let it dry over night. Once one side of the branch was dried I painted the other side. It was now ready for the porch.
I love moving this wall hanging around my house, so far it has been on the porch, my daughters bedroom, the dinning room and even the tree house. My next macrame project is plant holders!
Remember sharing is caring! Please share this Pinterest friendly image below with your friends and family or save for later.
SHARE THIS STORY
Arts & CraftsDecoratingDecorating and Home Designingdecorating ideasdiydiy craftdiy decordiy for beginngersDIY Projectsmacramemacrame for beginngersmacrame wall hangingwall artwall decor


