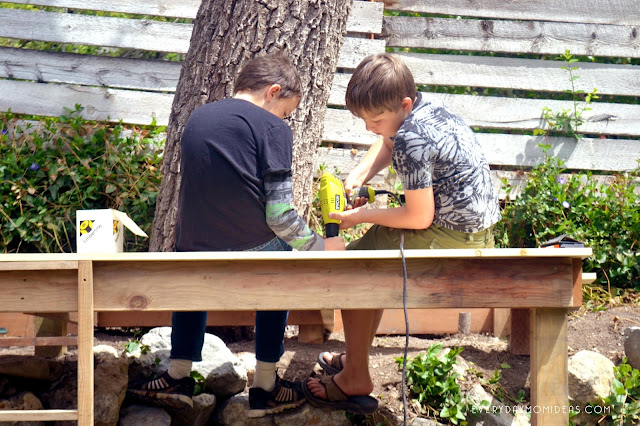
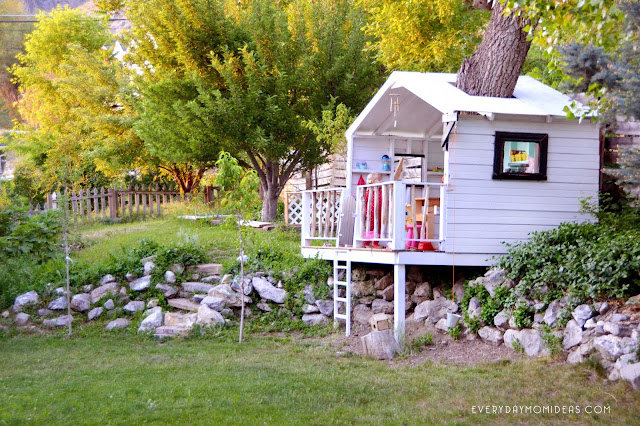
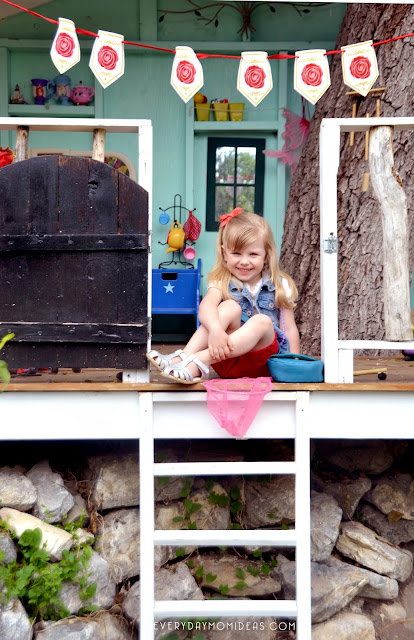
This tree house was the first project we ever built. It was the perfect starter project for a family that had no prior handyman experience. We moved into a 1928 dream house bungalow that was also a major fixer upper. My family needed to a construction project to experiment on, plus our boys always dreamed of building their own tree house and we finally had the perfect tree. So this tree house building thing was going down. Full disclosure: It took us two summers. LOL! We would build one part at a time and then have to take a break because, you know…life.
We were inspired by this easy DIY Open Tree House designed by The Handmade Home. They created an amazing and simple open tree house and shared all the step by step details of how to build the tree house and all of the supplies you need, cuts you need to make and tons of tips to building a simple and easy play house.
What Makes Our Tree House Special & Different
The Tree: We followed the general idea of their tree house design and construction but we made it much more difficult on ourselves because we wanted our old black walnut tree to run up the inside of it. Is was important to us that not one nail was hammered into our tree. So we needed a free standing tree house that was also high enough that it felt like a tree house fort.
One Legged Tree House: Our tree house is mostly sitting on the upper level of our yard with just one corner jutting out over the edge supported on a 4×4 post. The rest of the tree house is sitting on 10 short 4×4 post resting in the ground underneath. So about 80% of the weight is resting securely on the ground. We wanted to take advantage of the split level of the yard but also give the feeling that the tree house is high up, when in fact most of the tree house is resting solid on the ground.
Two Entrances: because the tree is on two ground levels we decided to create a side entrance instead of just the front gate. The kids use the side entrance more than the front gate and they love having the option of two ways to get into their tree house. It just adds to their imagination and play to have more options.
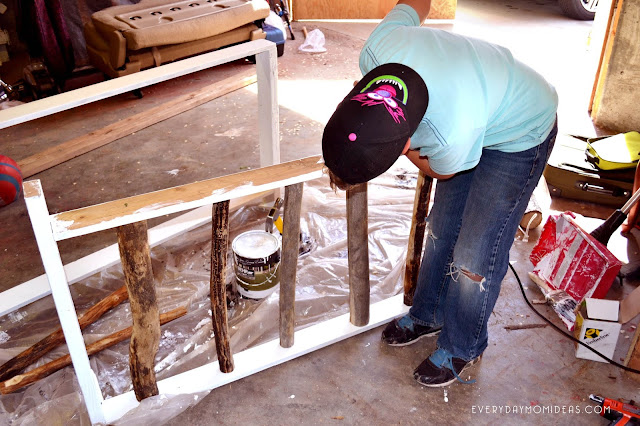
Branches For Rails: Earlier in the process one of our old tree blew down in a wind storm and we had saved the bigger branches to incorporate in the building of our tree house. I love the natural look of the branches and that we were able to save money repurposing the branches from that old tree.
Mistakes We Made:
1. The deck floor warped: We made the mistakes of using 1×6 wood pieces for the deck floor. We should have used sturdier 2×4’s or 2×6 wood pieces but we were trying to save money. The sides of the 1×6 wood boards warped upwards from a heavy rain storm that came through before we could get the decking stain on. It made adding the walls and railing sooo much harder. Its been a few years since we finished this tree house and the deck floor is still holding up and has even flattened backed down over the years.
2. Shutters are harder than they look. I tried making shutters out of a bunch of 1×2 wood slats. They were so cute at first but easily fell apart within a month. We have had to completely redo the shutters. Just use a solid 1×6 wood piece to make your shutters and save yourself some grief. Just keep it simple.
3. Should have put in more shelves: The 2×4’s you see running horizontal inside the tree house walls are not necessary for the structure of the tree house you only need vertical boards. We added a few of the horizontal boards to add more shelving. We didn’t realize the kids would use them so much and wish we had added more.
The Upkeep
Winter and sitting snow cause a lot of wear and tear to your tree house. To keep our tree house in top shape every summer we do exterior paint touch ups and retain the deck. It has been the number one reason why our tree house is in such good shape even though its four years old now. Take care of your tree house with annual maintenance and it will last for another generation to enjoy.
Landscaping Your Tree House
We just added some much needed landscaping around our kids tree house. We wanted the plants to be very kid friendly and add to the imagination and playability to this area.
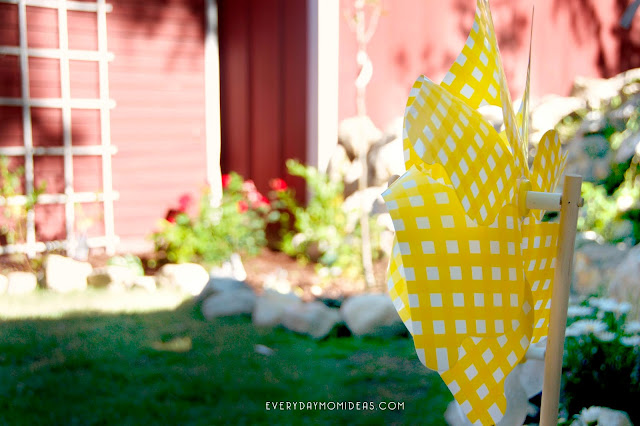
We added fun plants like mint, blue berries, and huge hydrangeas. Then added some large windmills and handprinted buble bee’s for a touch of whimsey. We may even turn this into a fairy garden area now that our little girls are the main ones who play in the tree house now.
The Bigger Takeaway
While playing in the tree house is everything and more than we could have dreamed of building it with our sons and learning together was the biggest take away. We learned so much and have incredible memories of working together towards a family goal. There were times of contention for sure but overall it was fun to build and a great experience. So worth it.
SHARE THIS STORY

