I am so thrilled that Julia has asked me to take over her blog for the day. I consider it a huge honor especially because I am one of her biggest fans!
My name is Lacie and I am the “crafter” behind Create Attempts. My blog is a place for me to share my successes and failures at cooking, crafting, sewing, kids projects, and well whatever else I get myself into lol. I live in Montana (gasp I know) and yes it might actually be snowing right this minute ha ha. I am a happy wife and mother of a five year old little boy. I also work in marketing in the dental field and every month I create and deliver a little gift to local offices. I love sharing these ideas because I think they make great gifts for friends and neighbors so come and take a peak.
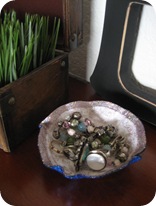
Ok now lets get down to business. I am obsessed with little bowls and dishes. I love to use them for jewelry, treats, and treasures. I was inspired to make these because I saw some great things made out of old records but I really wanted them on a smaller scale so I came up with this…..
Turn CD’s Into Pretty Bowls Tutorial (Featured Guest Blogger)
May 23, 2010
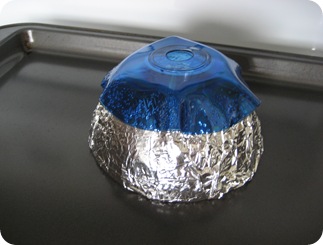
I used a oven safe bowl about the shape I wanted mine to be and covered it with aluminum foil. Then I placed an old CD on top and let it bake in the oven at 400 degrees for about 5 minutes. After removing it from the oven I used hot pads to form it to the shape of the bowl. I did have some odd fumes and have no idea if they are bad for you so I do suggest to open a window while they bake them.
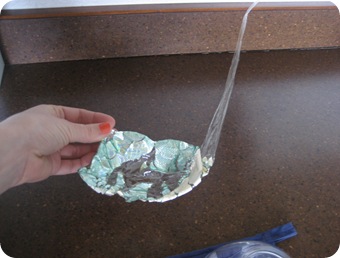
My first attempt looked like this…
But once I had it down I got this…….
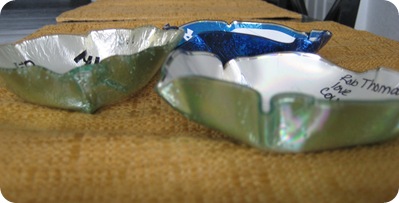
I decided to pretty them up so first I glued cardstock over the hole in the middle on the top and the bottom, them I used mod podge and paper on one, I glittered one, and I painted one. (hold on for the reveal lol)
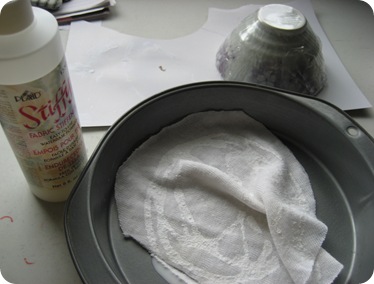
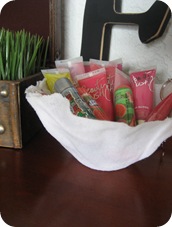
I also decided to make a fabric bowl I cut some fabric to cover the size of bowl I wanted to make. Then I wrapped the bowl I wanted to use as my mold in plastic wrap. After that I coated the fabric with Stiffy (the fabric stiffener) and shaped it to the bowl.…..
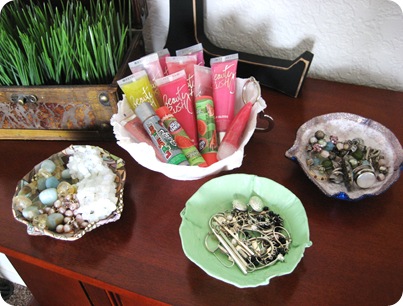
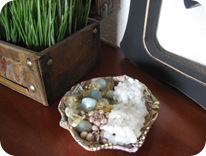
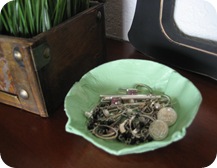
This is how all of my new little bowls turned out……
Well that’s all I have for you today, now go bake some CD’s!
Thank you again Julie this has been so much fun.
A big THANKS to Lacie from Creative Attempts! This was such a fantastic idea. Thank you so much for sharing this with us. I cant wait to get started on makeing some of these bowls of my own.
If you haven’t already discovered Creative Attempts you should definitely head on over there. Lacie does such a great job with all her projects. My favorite thing about her blog is not only all her neat ideas but that she also keeps it so down to earth. She has posted on many occasions the projects that did not turn out quite so well. Which is encouragement to us all.
-Julia
