
Here is a fun Halloween tutorial for all my fellow sewing impaired people…
This is really quite a simple project and its super budget friendly. I made this with stuff I already had laying around my house. I also designed and created this in about an hour. One of the things I like most about making Halloween crafts and decorations is that it doesn’t have to be all neat and tidy to look great.
Need:
Hot glue gun
1 sheet of card stock paper
2 white pop bottle caps
1/4th yard of orange fabric
1/4 yard of black fabric
1/4 yard of burlap fabric
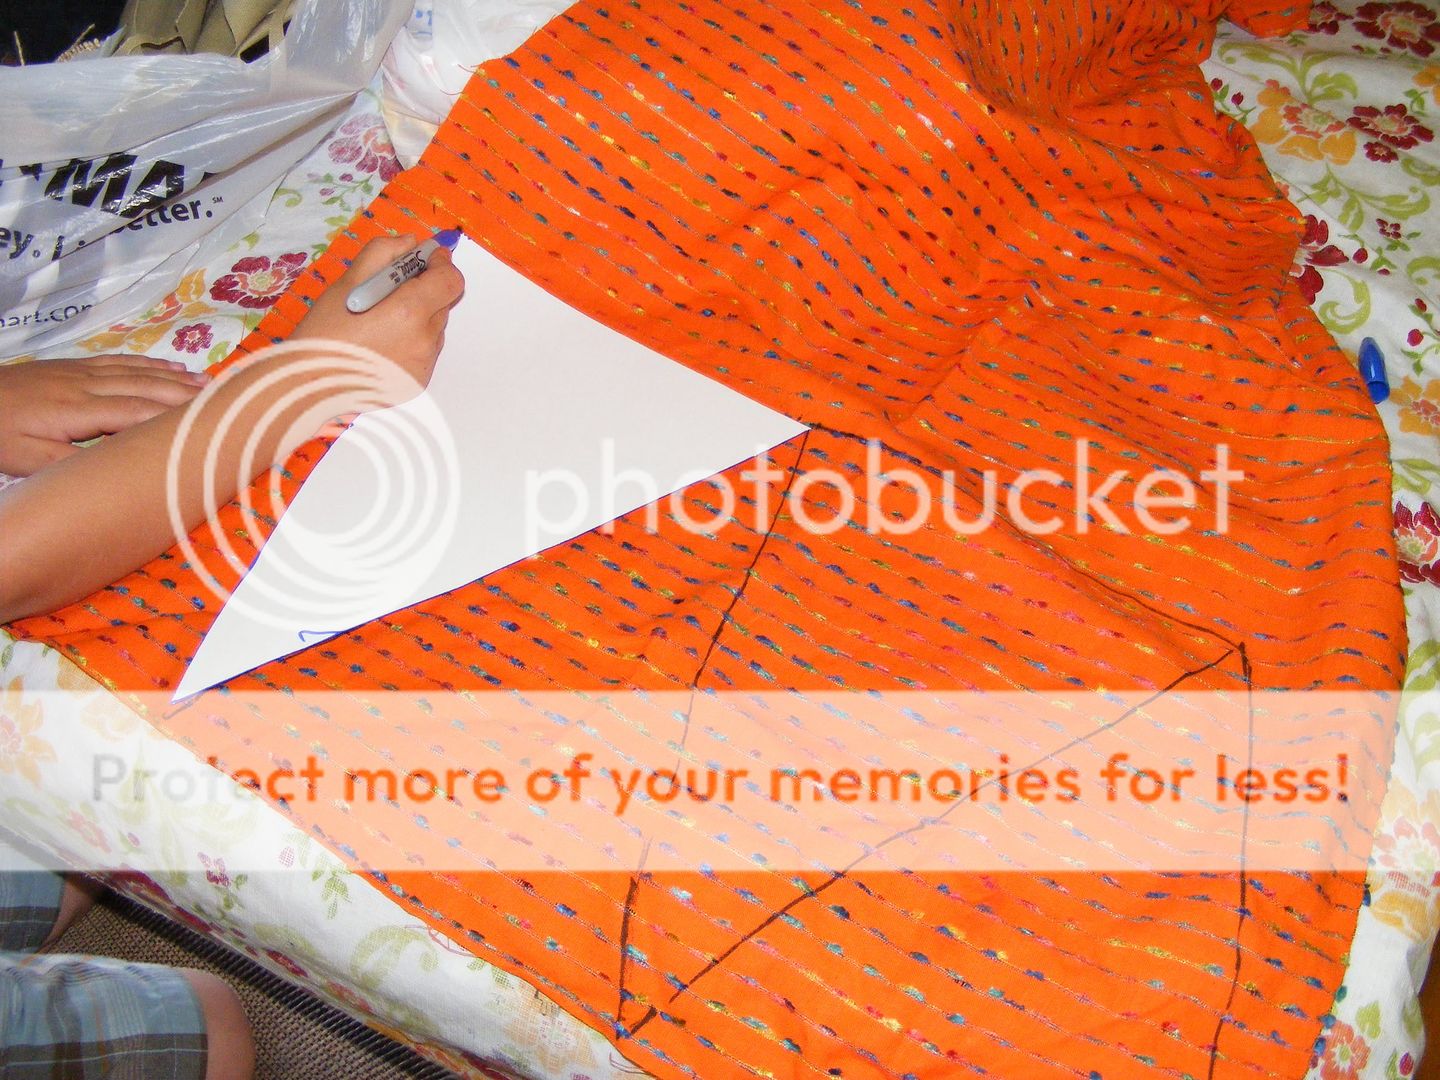
1.Cut the sides off the card stock to create a long triangle. Use the card-stock triangle as a template. You are going to need 8 orange fabric triangles for the banner.

2. When you get the triangles all cut out, you can move onto the letters. First draw on the letters for SPOOKY with a permanent marker. You going to want to cut around the letter and not directly on the outline.

3. Next cut out about a 4 inch by 4inch square out of the burlap. You will need two of these. Fold the burlap square accordion-like back and forth. Then pinch the middle. Hot glue the folds in the middle so that it will hold the bow-like shape.
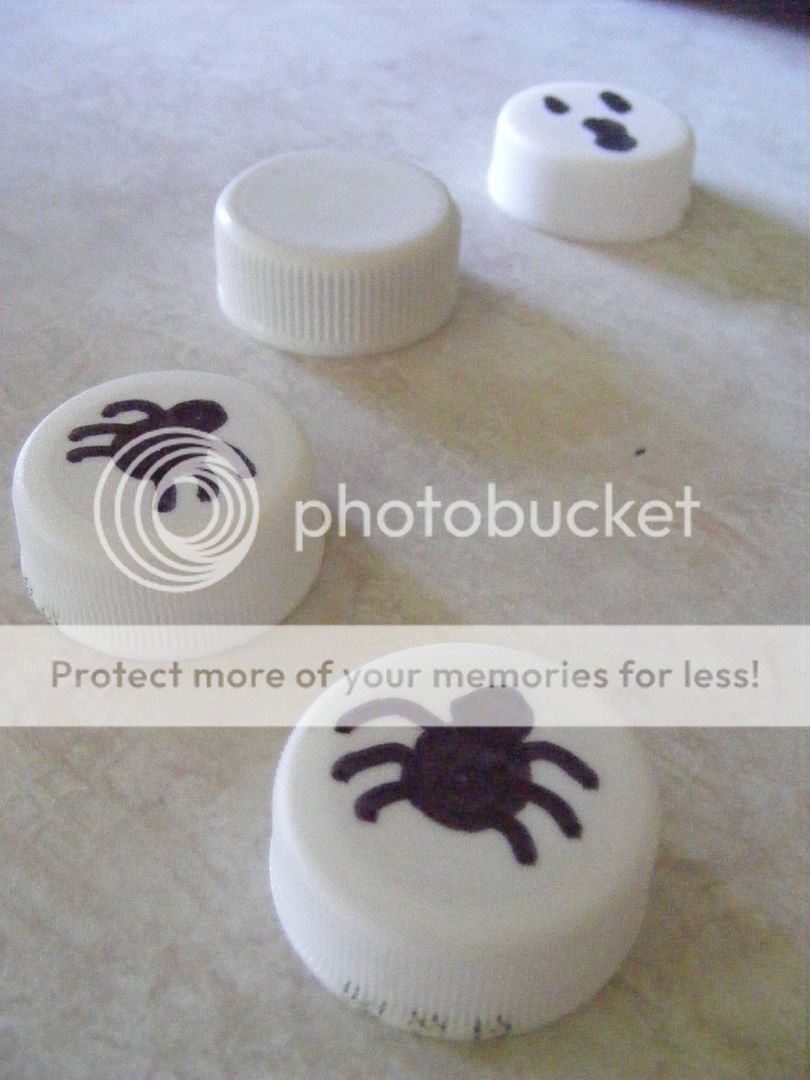
4. I found some white soda pop caps to use as buttons for the bow embellishments. I just used a permanent maker to make the little spiders. You draw bats, ghost or even witches instead.
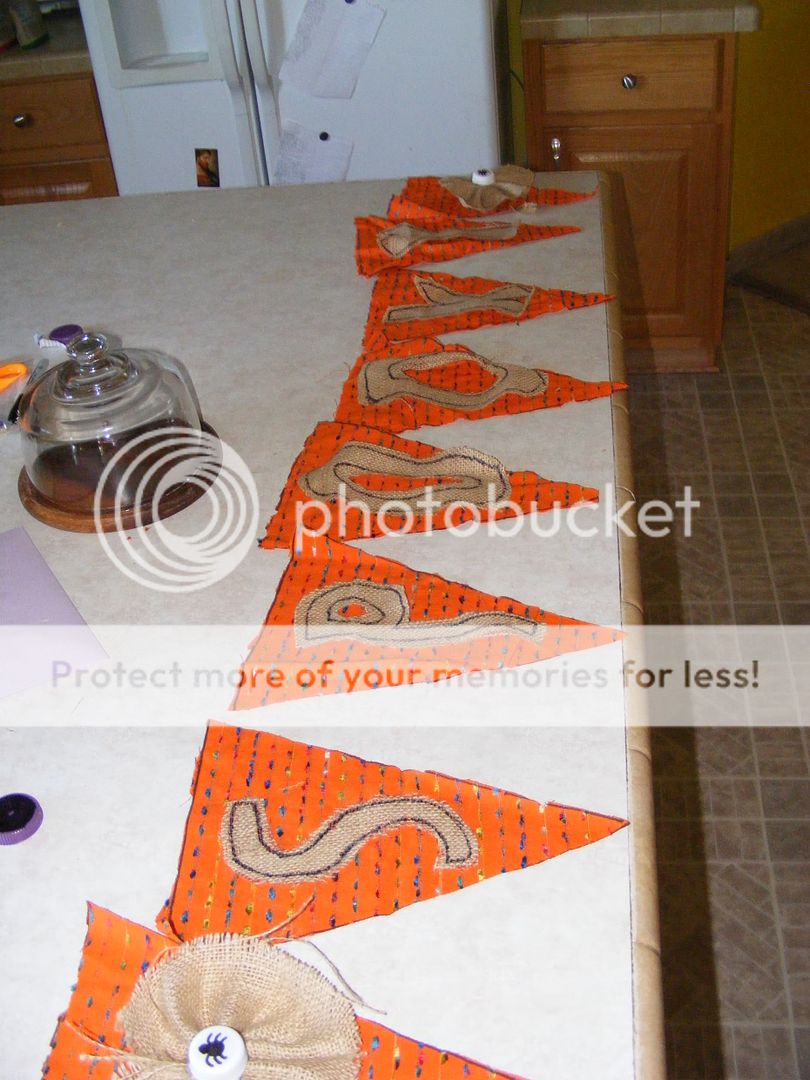
5. Lay out all your pieces just the way you want. Now you can glue down your words and embellishment bows to the orange flags.
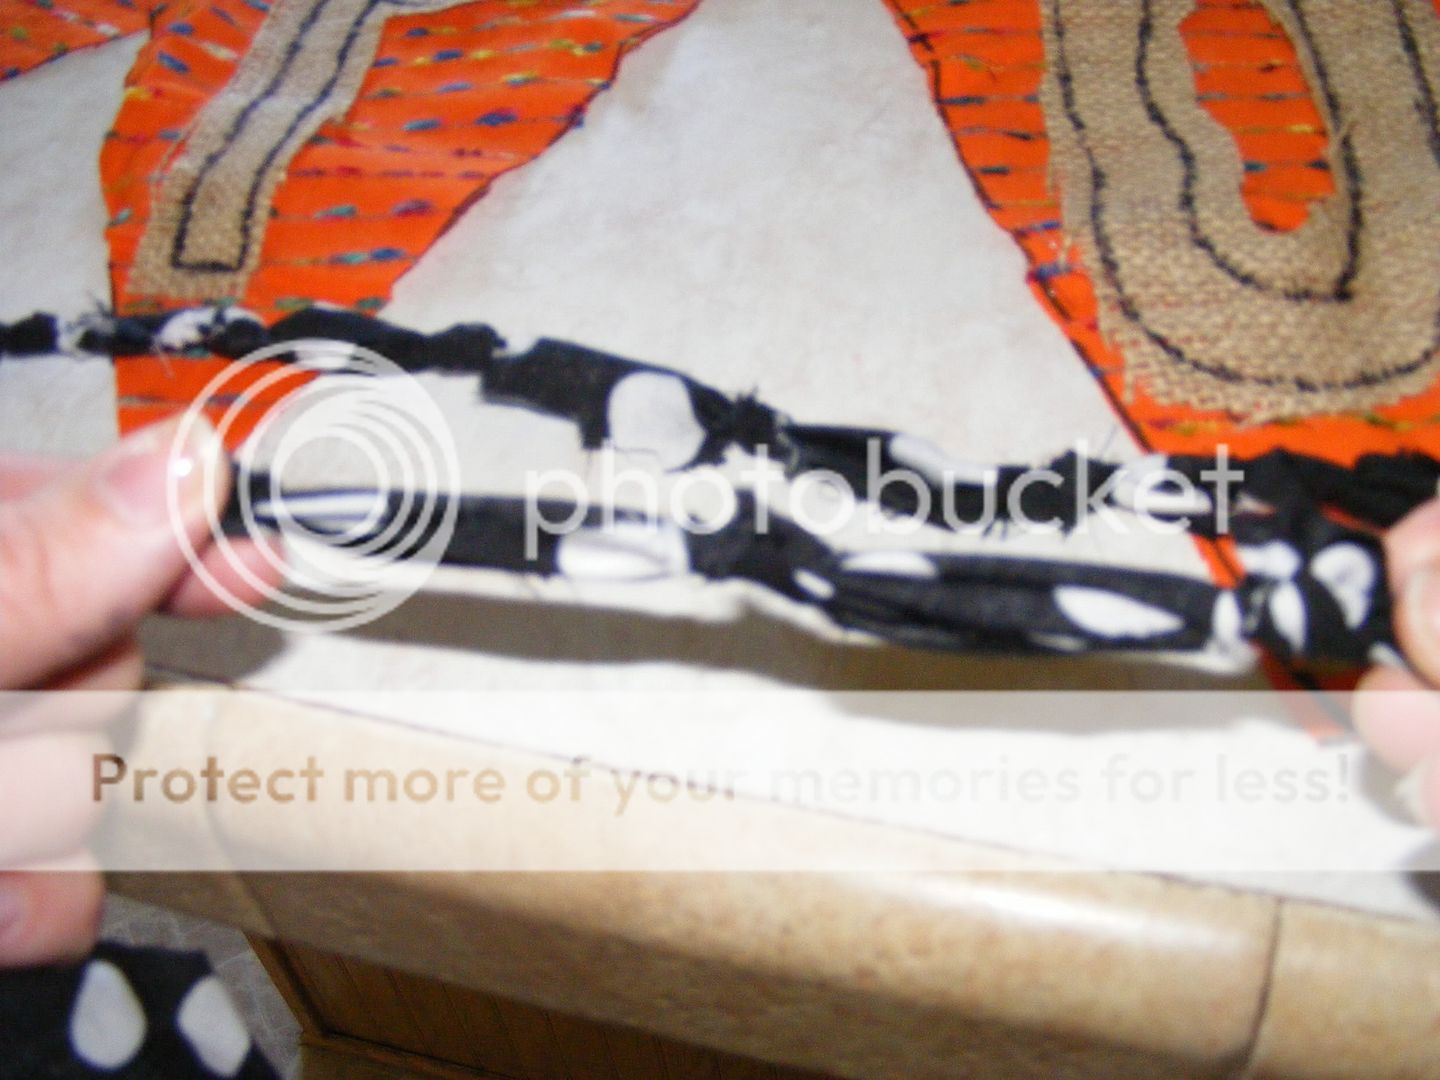
6. To make the fabric rope for the top of the banner first cut strips out of the black fabric. It can have any kind of print on it as long as it is mostly black. Tie the strips together so that its long enough to put all the flags on and add two feet. After you have it the length that you need, go ahead and tie knots every inch or so.
Hot glue the fabric rope you just made to the front top of the flags to secure it.
Now its ready to put up!

Happy Craft’N,

You might also like

DIY Repurpose Old Lamp Bird Bath (Easy Tutorial)
August 31, 2019

DIY Double Mountain Book Ends (From Wood Scraps)
August 6, 2019

DIY Boho Front Door Floral Basket (Tutorial)
July 16, 2019
