• Home
  • The Blog
    • Creative Pursuits
    • Project Dream House
    • Authentic Life
    • Free Printables
  • My Story
  • Collaborate
  • Brand Stylist
  • Design Studio
  • Etsy Shop
  • Home
  • The Blog
    • Creative Pursuits
    • Project Dream House
    • Authentic Life
    • Free Printables
  • My Story
  • Collaborate
  • Brand Stylist
  • Design Studio
  • Etsy Shop

3 Fantastic Fashion Accessories- DIY Jewelry Projects (Featured Guest Blogger)

August 19, 2011

Hi everybody!  I’m Jennifer from The Wayman Family Nest and I’m so excited to be guest posting today here at Everyday Mom Ideas and sharing some cheap, DIY jewelry projects!
I’m a 6th grade teacher and future mama.  The hubby and I are in the process of adopting a baby boy from Ethiopia.  I’m pretty new to blogging, but I’ve loved connecting with fellow adoptive mamas and other DIY lovers like myself!
Over at The Wayman Family Nest, I blog about our adoption, the transformation of our first “nest,” DIY projects, and my love of interior design and pretty things.  Here are some things I’ve posted about recently:

Give Hope Africa Adoption T-shirt (Unisex)      

Today I’d like to share three easy, cheap, DIY jewelry projects.  These would make great gifts for a friend or for yourself!  I decided to put the projects in order from easiest to hardest. (So those of you intimidated by DIY projects can get your feet wet before jumping in the water!)
Ribbon Peral Necklace
You’ll need:  
– 1 long strand of pearls (mine were 30″)   
-2 20″ inch long pieces of ribbon

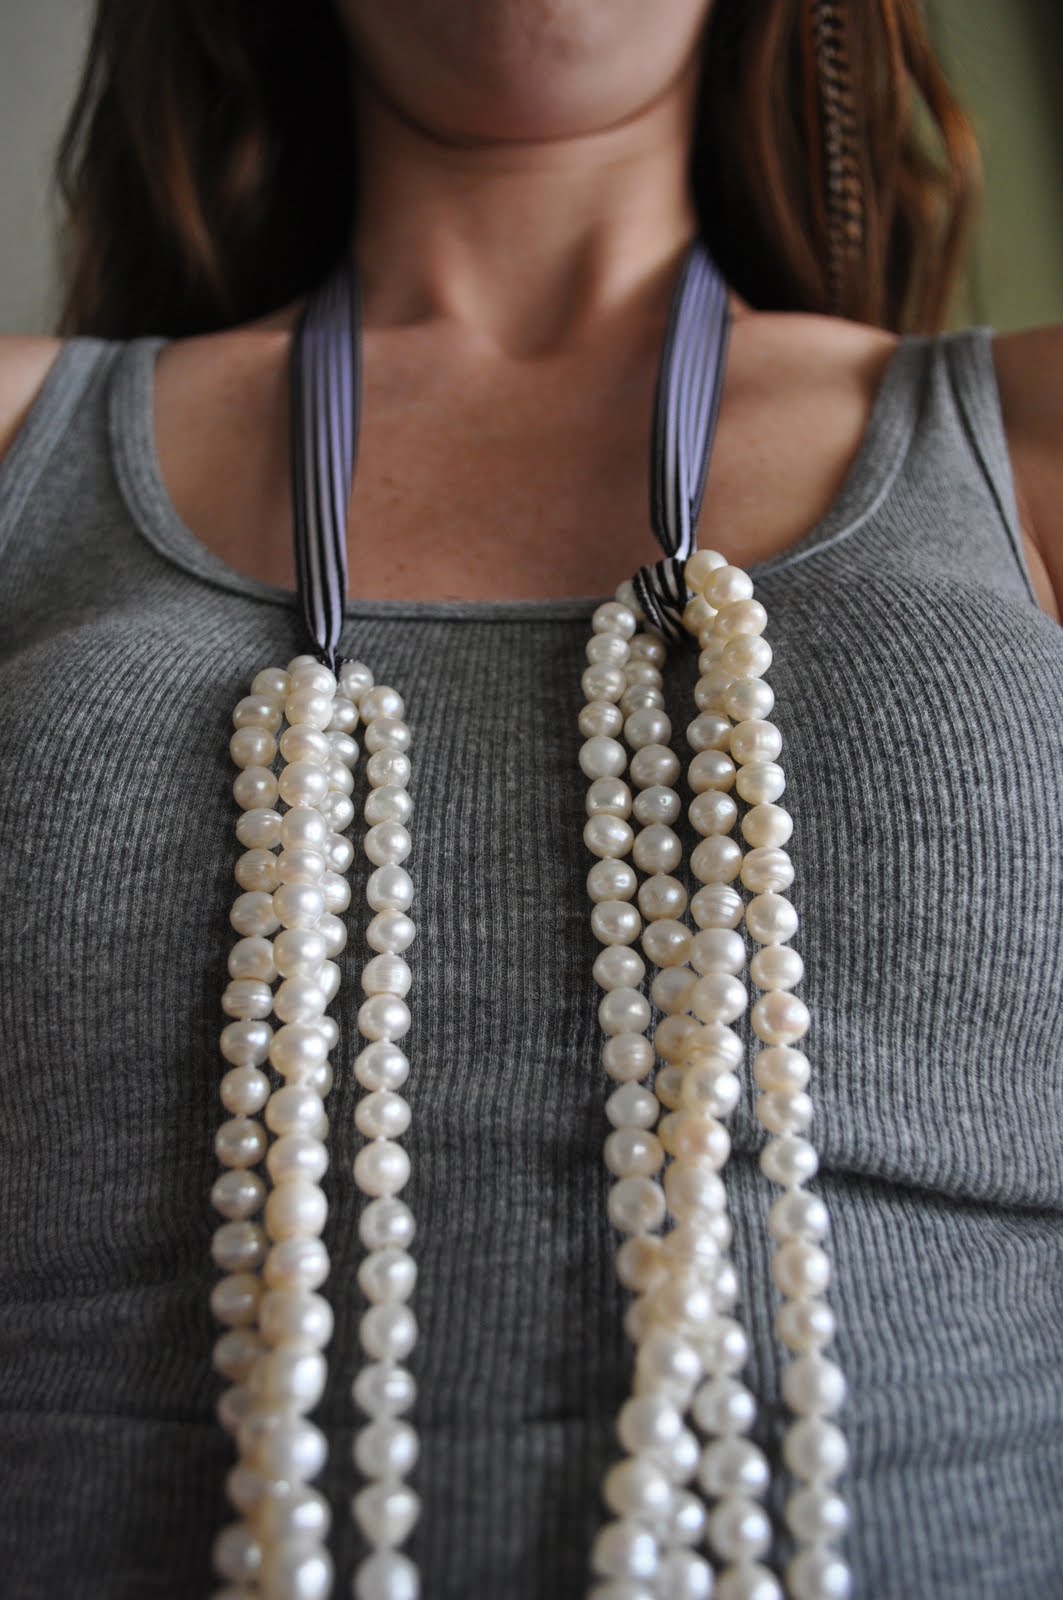
Take the pearls and double it up so you have a 4 strand necklace.  Wrap 1 piece of ribbon around each side and tie it in a knot.  Trim the excess ribbon.  Tie the necklace in a bow at the back to desired lenth.

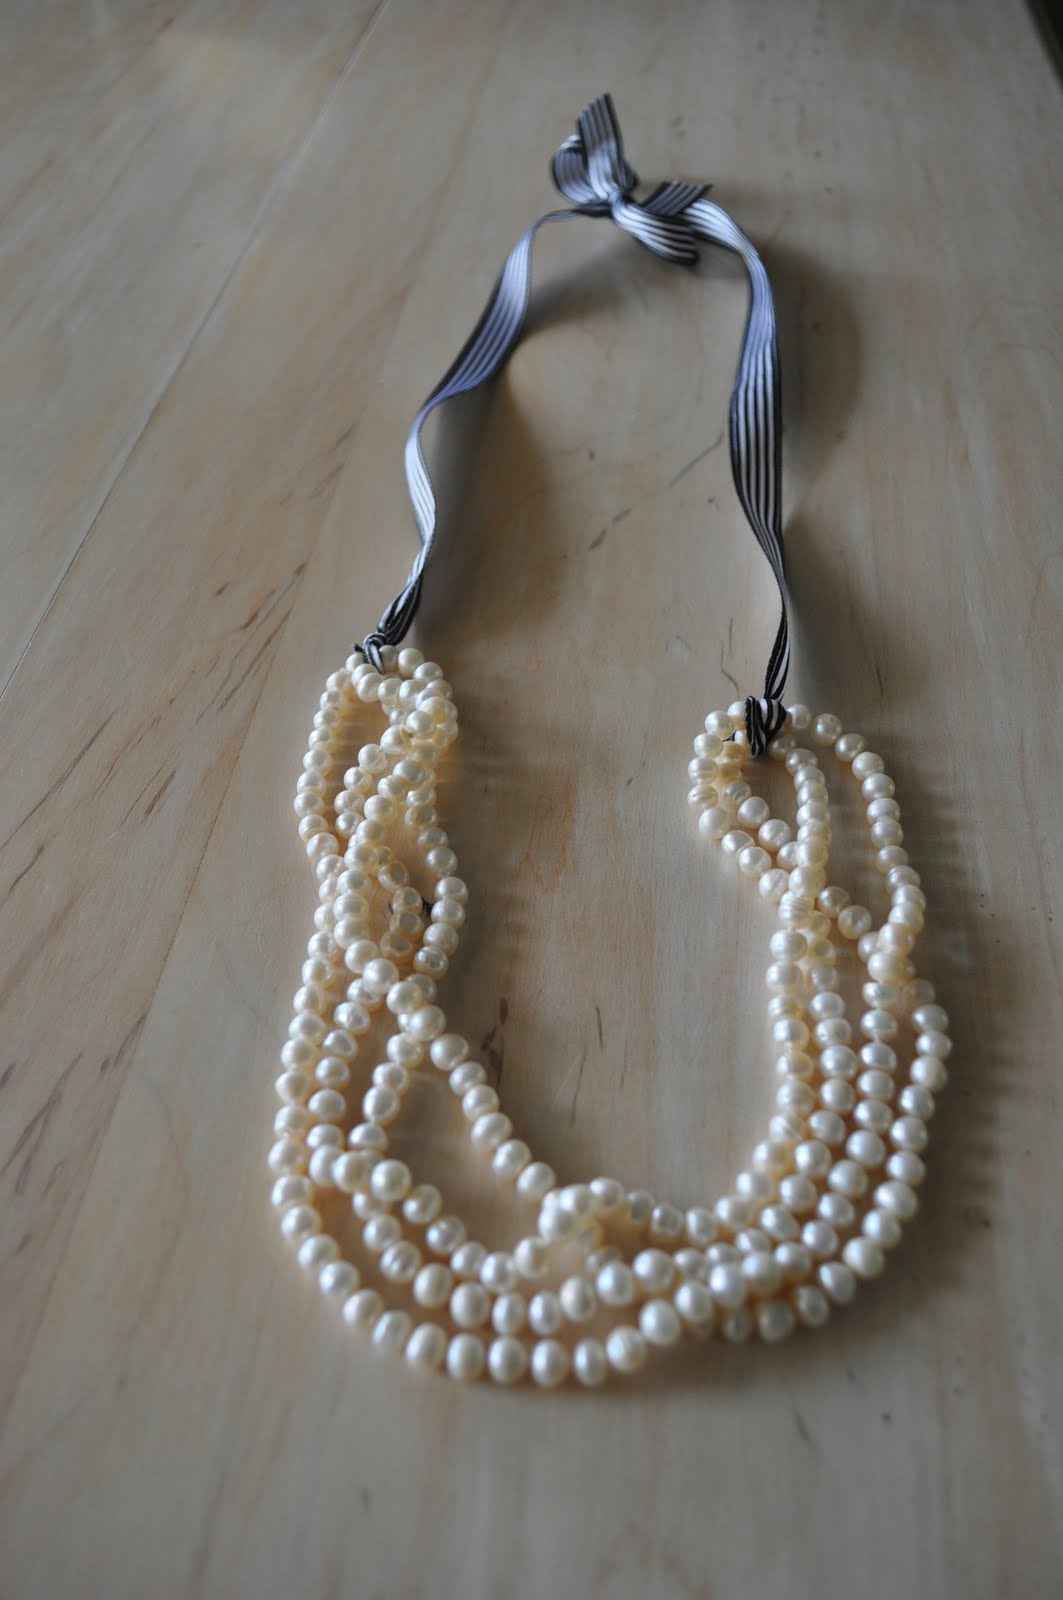
There’s your finished product! Quick and SUPER easy!  AND you can always change the ribbon out very easily if you want a different look.

Pearls: Free (bridesmaid gift from a dear friend)
Ribbon: $3.59 for the spool
Total cost of poject: $3.59

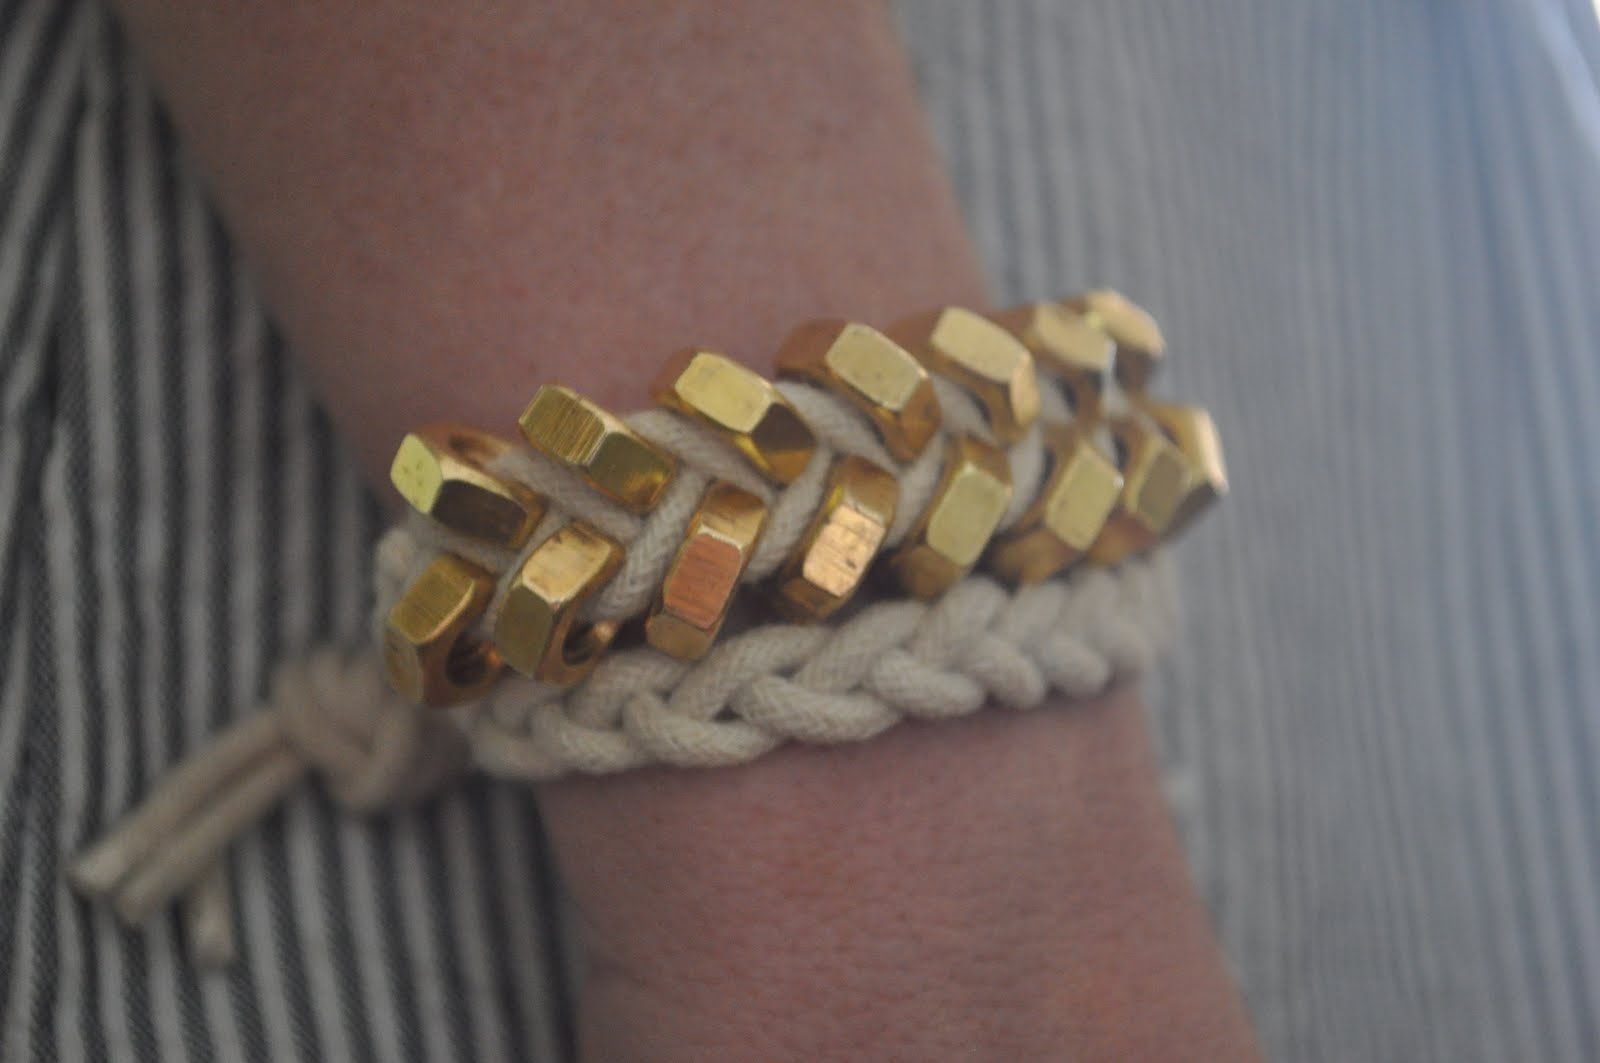
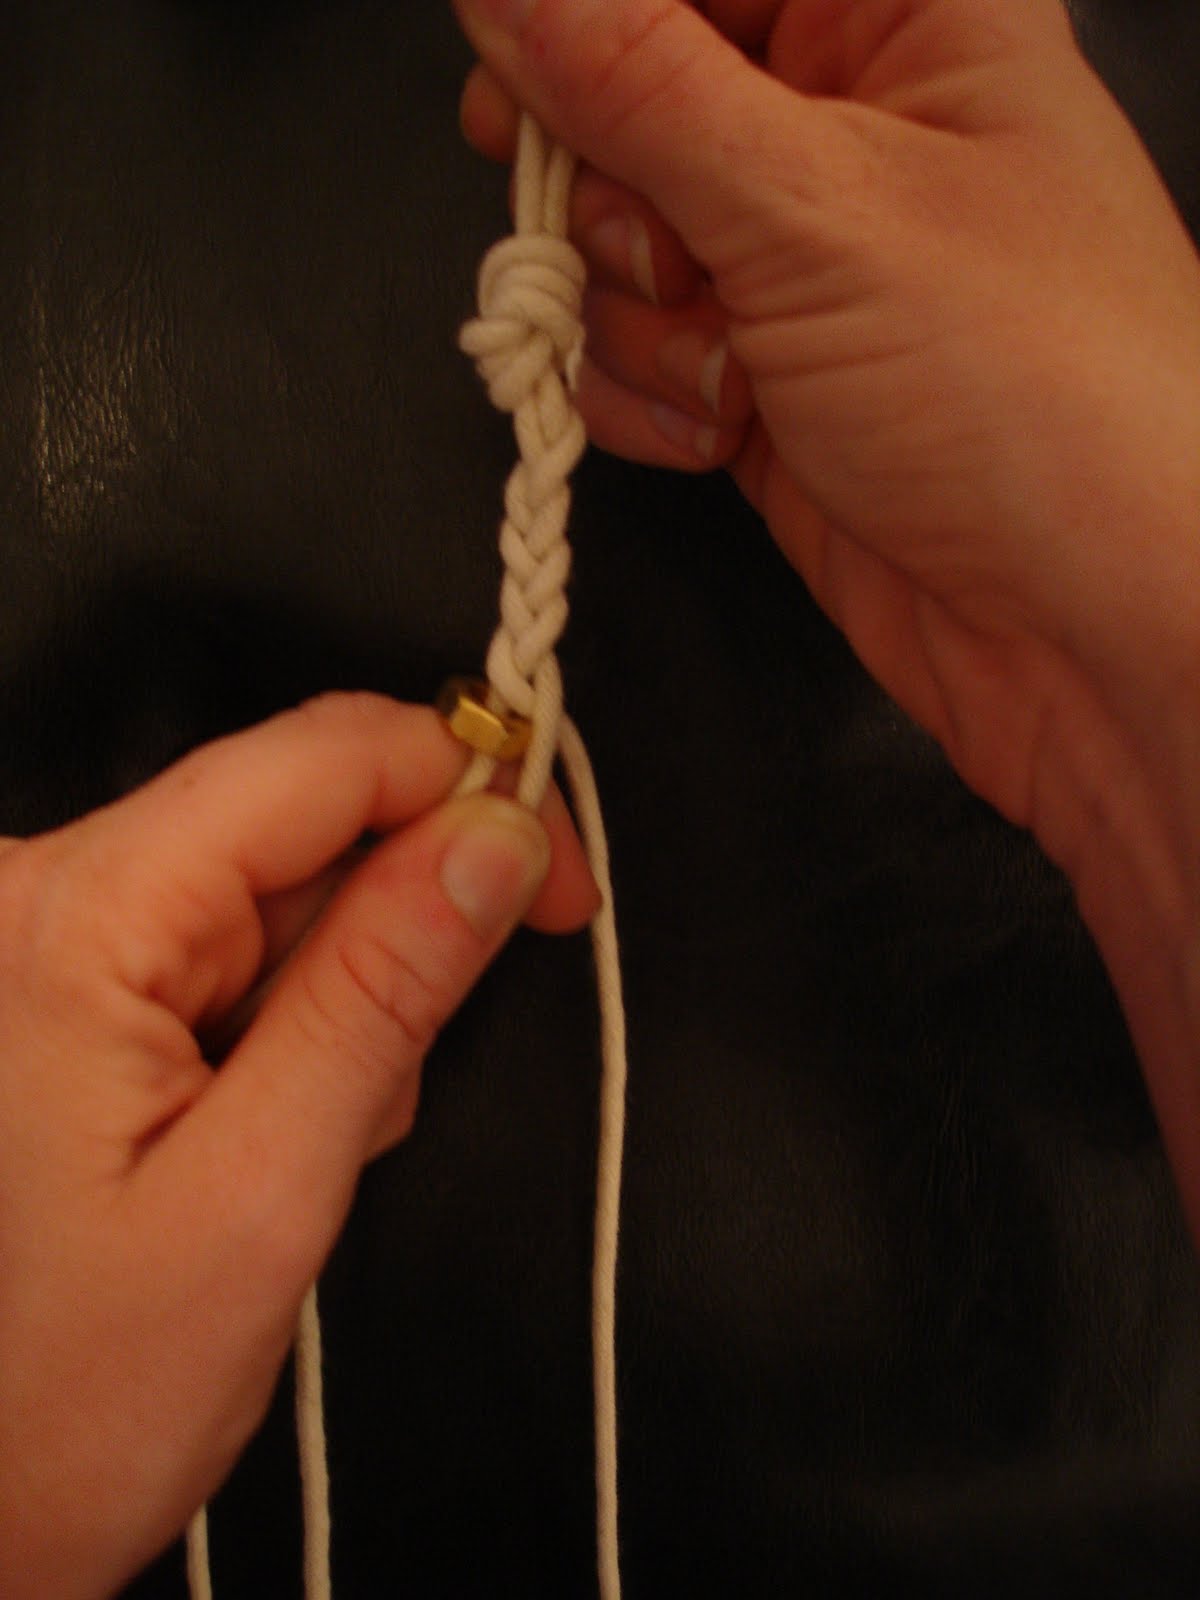
DIY Braided Hex Nut Bracelet
You’ll need:
-3 strands of twine cut into one yard pieces
-18 small brass hex nuts
-Nimble fingers!

Gather the 3 strands of twine and tie a knot at the top, leaving about 2 inches of excess. Start braiding. At about an inch of the way down, you’ll begin braiding in the nuts. Before you braid the far left strand over the middle strand, thread on a nut, push it against the base of the braid, and crossover. I wrapped tape around the bottom tips to prevent the twine from fraying. 
       
Keep your thumb at the base of the braid, holding the nut in place. Before you braid the far right strand over the middle strand, thread on another nut, push it against the base of the braid and crossover. Again, make sure to hold your thumb tightly against the base of the braid, keeping the nut in place. Thread another nut onto the far left piece and crossover.
                                
  
Repeat the steps, by threading the rest of the nuts to the outer pieces of twine before they are crossed over. Thread, cross, thread, cross. Braid twine to the bottom and make a loop at the end.
The bracelet should wrap around your wrist two or three times. Trim it to your liking.
                               

Happy braiding!
Twine: $4
Hex Nuts: $5
Total Cost of Project: $9
Upcycled Tie Bibb Necklace
You’ll need:
-Tie
-Suit button (or anything you’d like to use)
-Scissors
-Pins
-Needle and Thread

Lay out your tie, and start folding and pinning in a manner that’s pleasing to you. 
Lay it around your neck and add or remove folds to get the length you want.  Remember you’ll want to be able to have the necklace slip on and off your head.
Take your needle and thread and tack down the folds from the back side of the necklace.
Place your button or accent piece and stitch down.
Enjoy your fabulous statement necklace!
Tie: Free (stolen borrowed from hubby)
Button: $.50 from JoAnn’s
Total Cost of Project: $.50
There you have it!  Quick and easy, right?  For more home decorating ideas and DIY projects, visit my blog, The Wayman Family Nest.  A big thank you to Julia for having me on her fabulous blog today!

DIY ProjectsFeatured Guest Blogger
Share

Uncategorized

You might also like

DIY Repurpose Old Lamp Bird Bath (Easy Tutorial)
August 31, 2019
DIY Double Mountain Book Ends (From Wood Scraps)
August 6, 2019
DIY Boho Front Door Floral Basket (Tutorial)
July 16, 2019


@houseofpixeldust