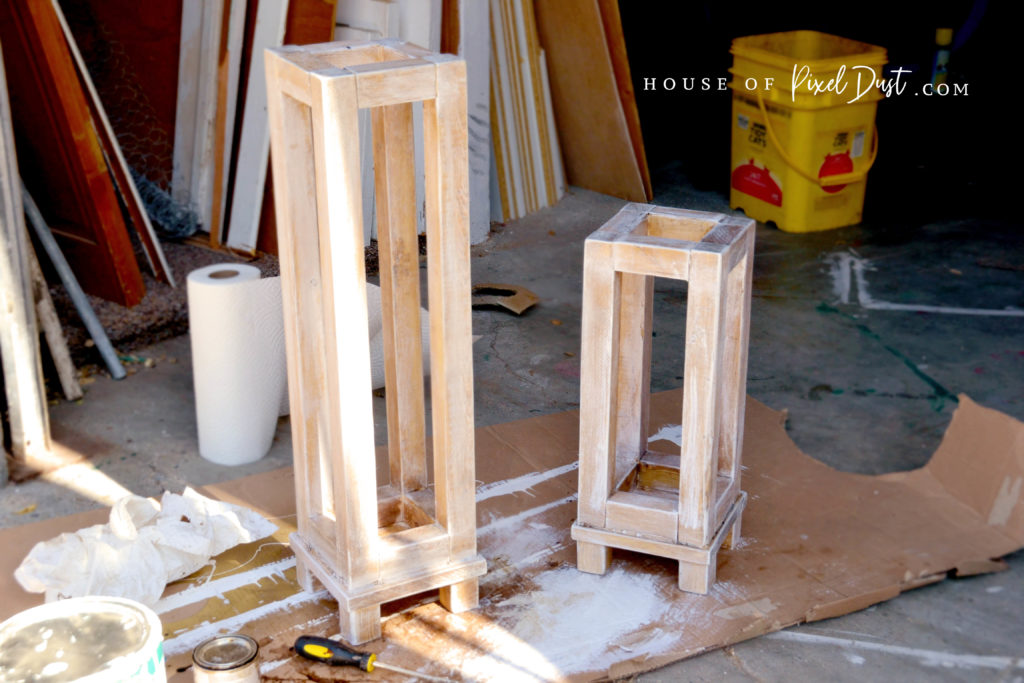
These large porch lanterns can add some much
Most small to medium wooden craft projects work well with utilizing a hot glue gun. The small grooves and

1st Tip: No Need For A Saw. Use your local wood supply hardware store where you buy your wood. Ask them to cut the wood down to your measurements. Most hardware stores that sell lumbar with cut your wood to the size you need them. So no need for a saw of your own for this project.

Supplies For Two Lantern Set:
Supplies Need
- 2×2 Pinewood 8ft long (x3)
- 1×8 Pinewood
- glue gun plus 5 to 6 glue sticks
- paint or stain
Cuts:
- 24 inch long -2×2 wood (x4) (taller pillars)
- 3 3/4 inch long 2×2 wood (x16) (slats)
- 15inch long – 2×2 wood (x4) (smaller pillars)
- 1 1/2 inch long – 2×2 wood (x8) (feet)
- 7 3/4 square – 1×8 wood (2) (platform)

Cut & Sanding: For this lantern set I’m making a larger 24 inch one and a smaller 15 inch one. I have a chop saw at home so I’m just going to cut mine myself. But you can have yours cut at most hardware stores. For sanding; If you want your lanterns to have a more rustic look you don’t need to sand them. I sanded mine because it is smoother and I will be less likely to get a sliver if I do.
- Start with the Platform: Hot glue four of your wood feet to the bottom of your 1×8 wood square to make the platform. Tip: if the feet are not completely even and a little wobbly you can add a little hot glue to the bottom of the foot to create a little
foot pad .

2. Sides First: put together just two of your sides first by hot-gluing two 24 inches 2×2 pillars to the outside of two 3 3/4 2×2 slats to make a long rectangle. Hot glue cools fast. When you have your two long rectangles assembled take another 3 3/4 inch 2×2 slat and glue one of each on both bottoms and both tops to create a 3D rectangle lantern top.
3. Top & Base: When you have your top all glued and cooled down and your bottom platform you can glue them together. Be very generous with your hot glue for this part. There is a lot of weight put on this section and the more hot glue the better.
Repeat steps 1 through 3 for the smaller 15 inch lantern.

Paint & Wood Stain: If you like the raw wood look you are done and ready to decorate. Or you can paint it anything you want. I chose to do a boho

Modern Herringbone Design: I wanted to add a herringbone pattern to my lanterns and decided to just do it on one side so I can change the look of my lanterns depending on my mood. I love versatile decor. To achieve the haring bone pattern was easier than I thought it would be.

Easy Herring Bone Template: For a quick reference guide for the herringbone pattern I used a square cardboard piece and then cut it from one edge to the other edge so that it was cut in half and a perfect triangle. Then I used the triangle

Let everything dry over night and then the next day it is ready for decorating! Yay! There are so many ways to decorate these lanterns and you can redecorate them holiday after holiday with all your favorite things. Some of the things I love to use to decorate my lanterns are vases full of bobble lights, sea glass, plants, planters, mini Christmas trees, floral arrangements, candles, nutcrackers, chestnuts, mixed nuts, candies, ornaments, and so much more.

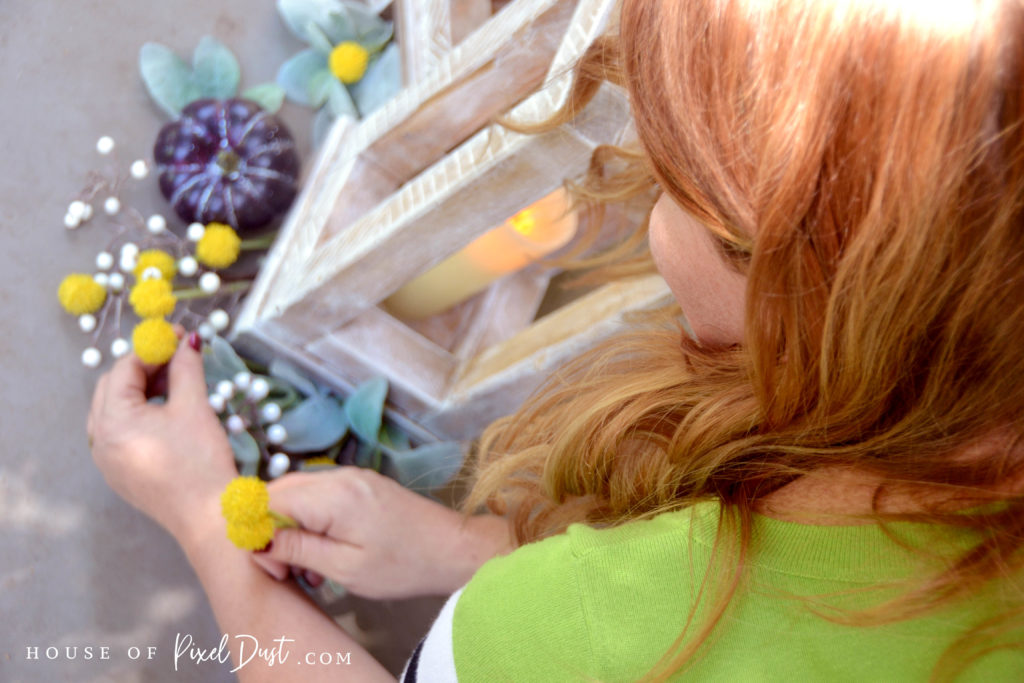
Unexpected Fall Colors: For a fall look this year

To light up my lanterns I found this fantastic battery operated candle set on Amazon for a steal. They are made out of Real Wax and the faux flame on top moves just like a real flame. And super bonus….. wait for it…. the candles come with a remote control! What! Thats right! You can set up a whole candle display and turn it off and set the lighting intensity of your candles with your included remote control! Sometimes I really love technology!

How are you going to decorate your lanterns?
I would love to hear about and see your no-tool lanterns. Please message me with any questions or leave a comment below.
Also Remember Sharing Is Caring! There are few things a blogger loves more than getting some social media shares from their readers sharing their content! It really makes a difference so please share this craft with as many of your fiends and family as you can!

SHARE THIS STORY