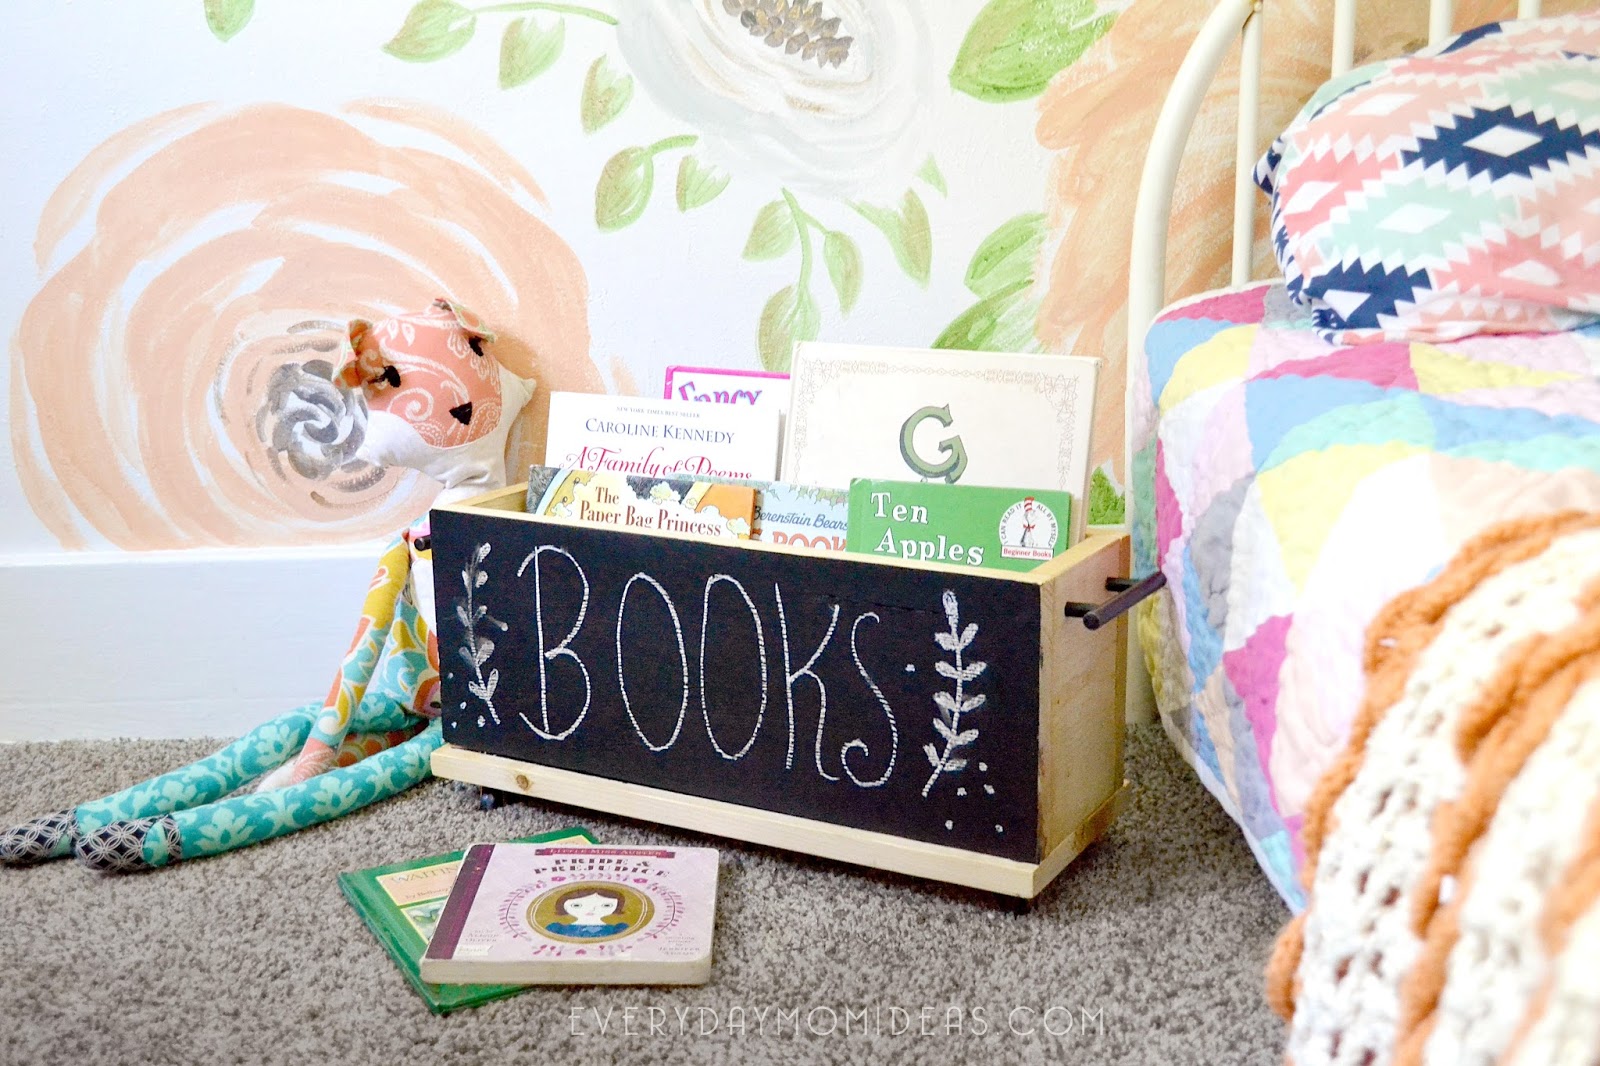
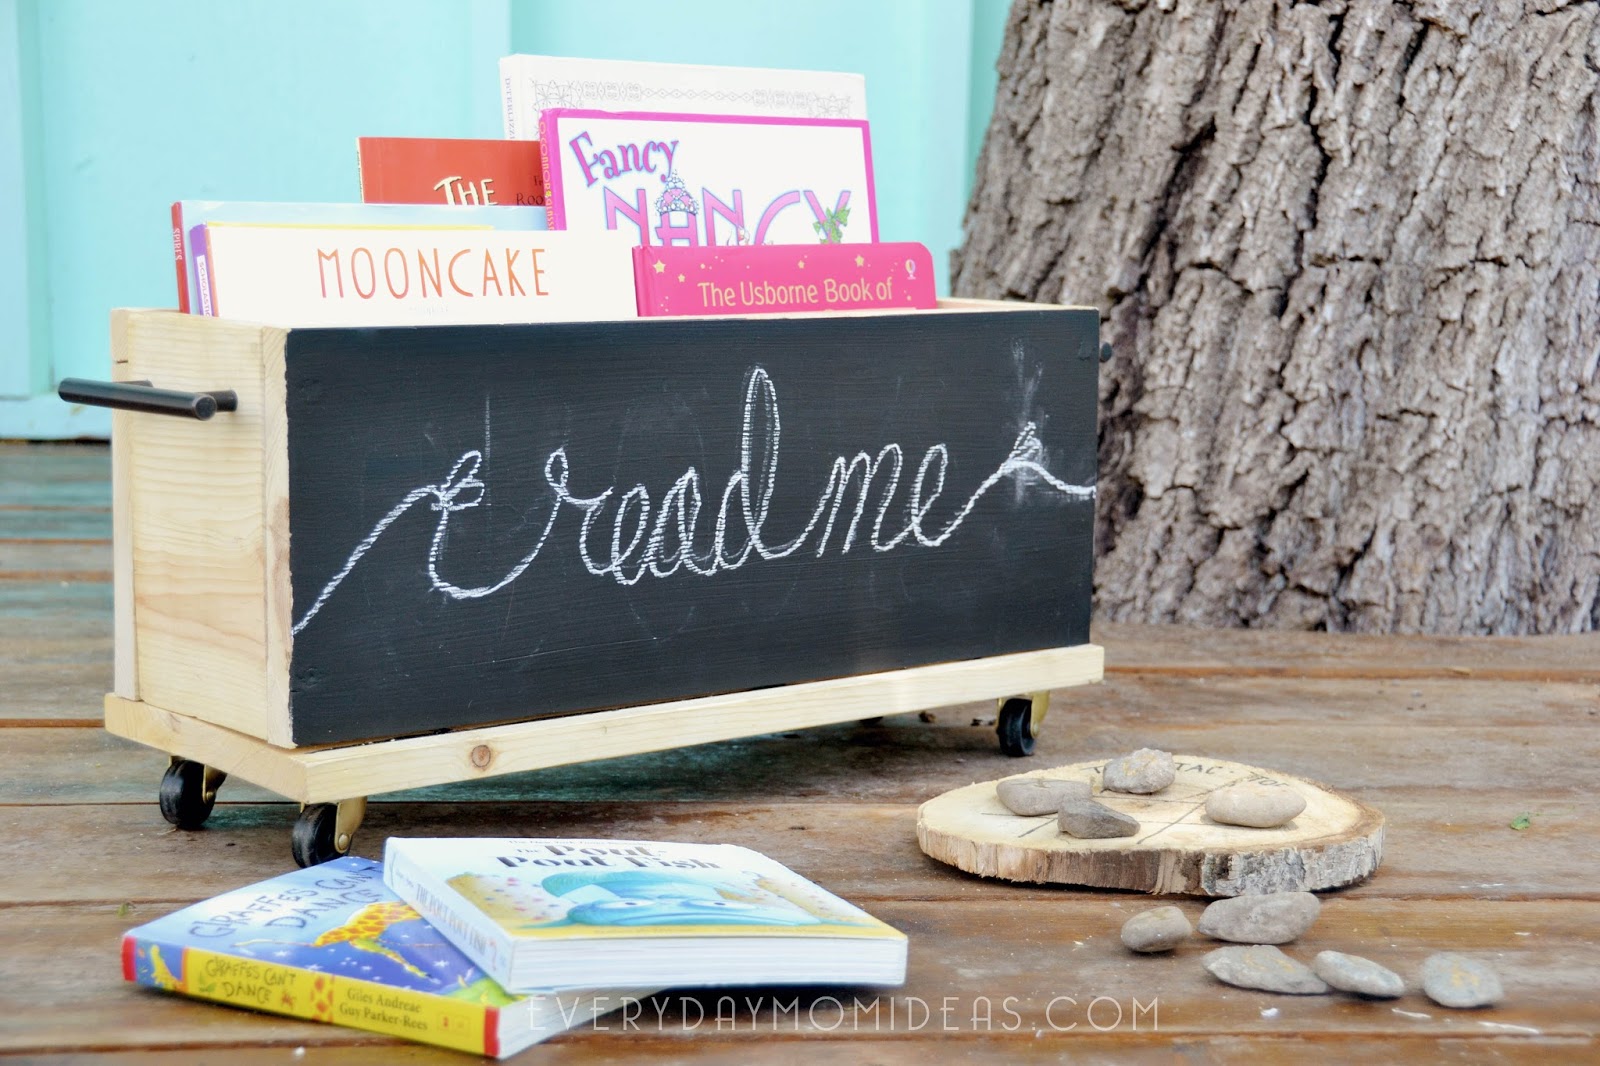
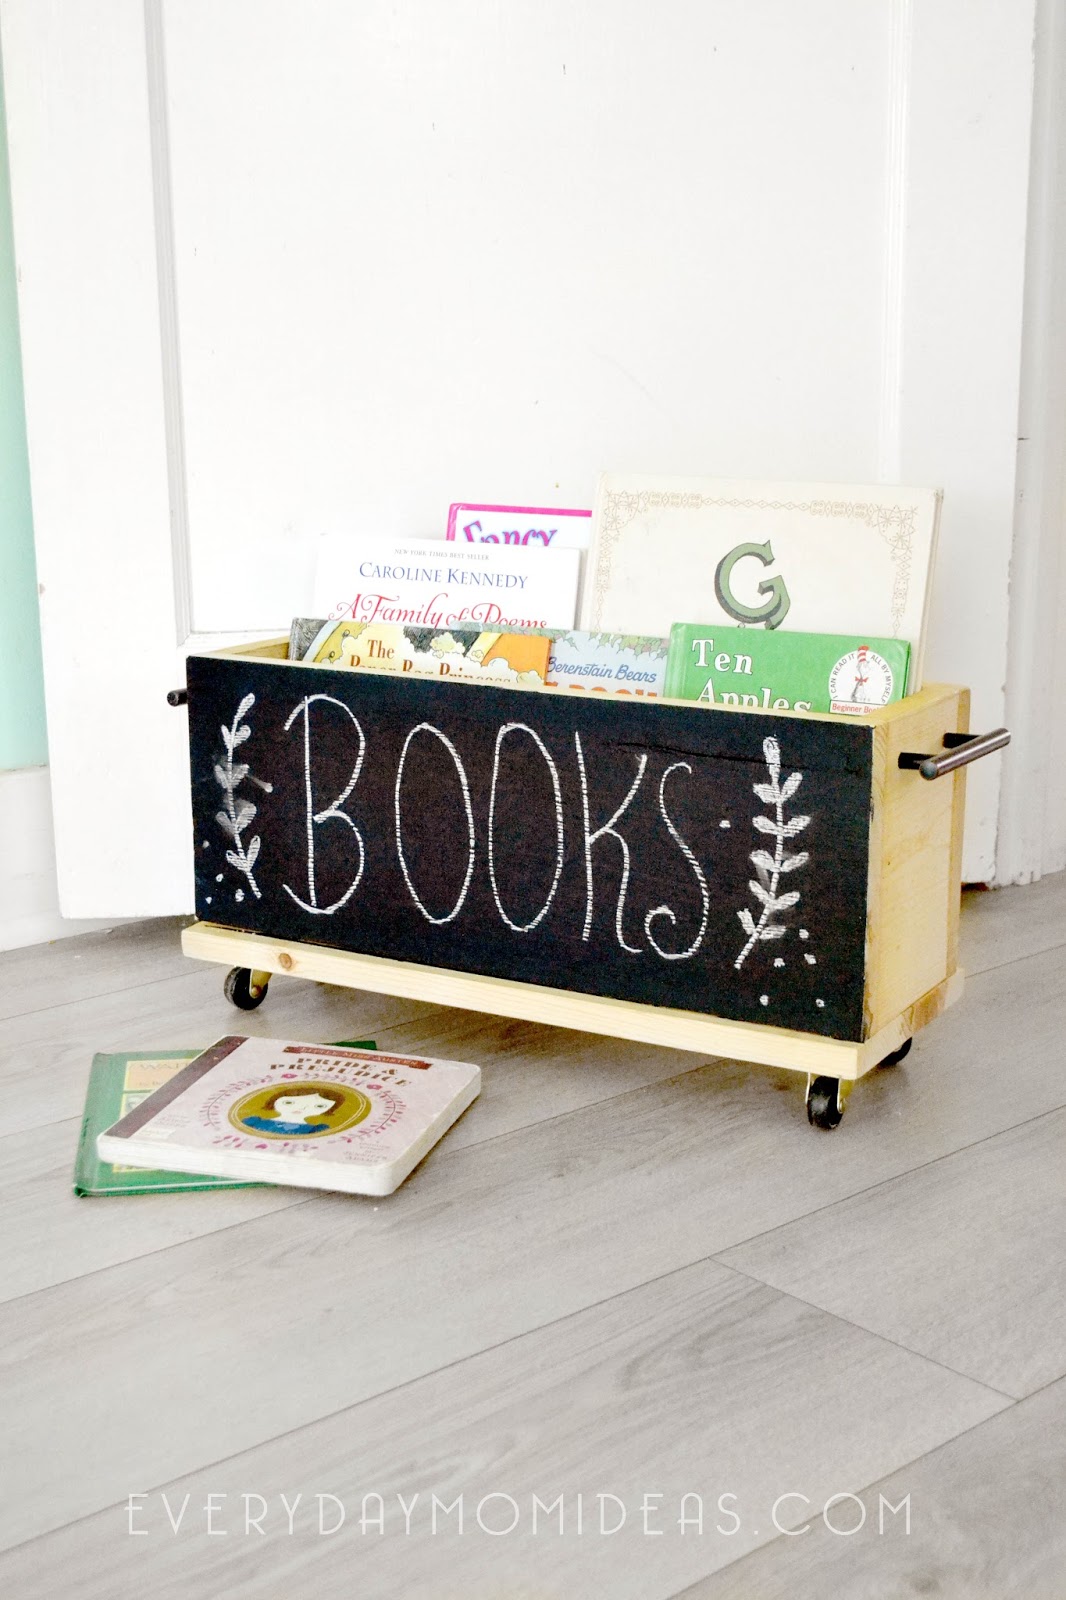
I saw this adorable toy wooden box on wheels with a chalkboard front and handles on Pinterest and and then I saw the price tag… It was over a hundred bucks. Then I thought to myself I could totally make that. Lol! $10 bucks and a few days later, Whooola! Ive got myself a wonderful new box for my all my daughters picture books to go in that is cute as all heck.
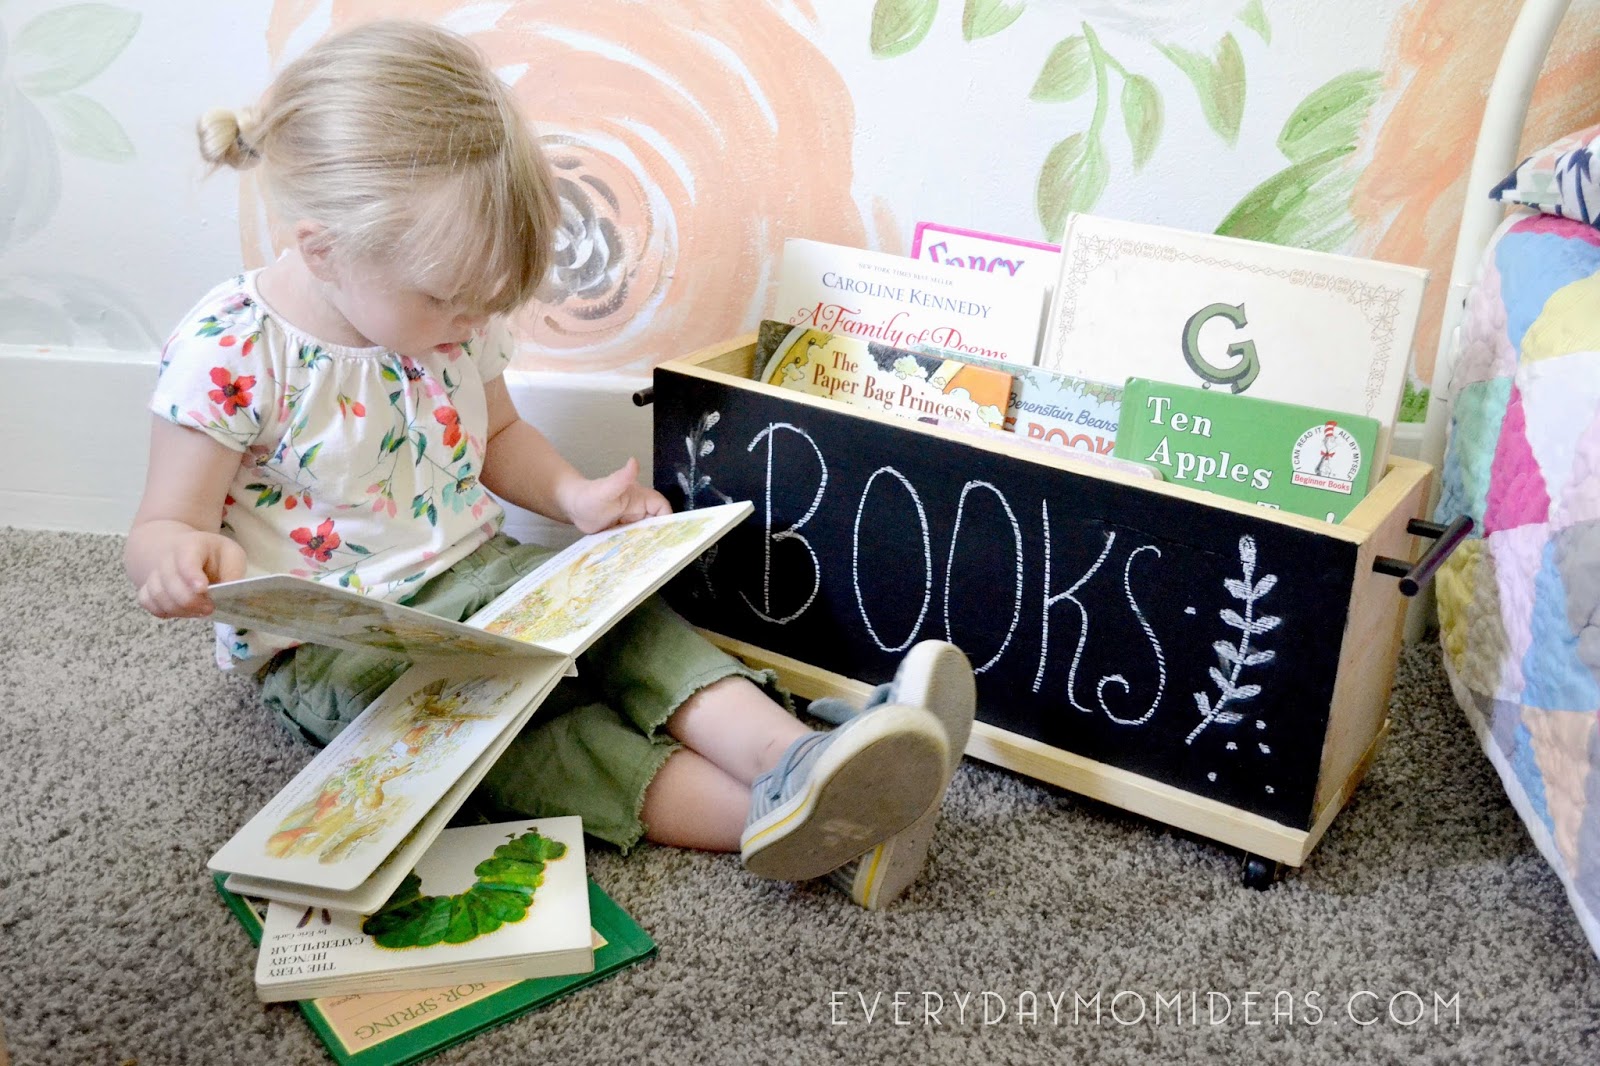
I can’t tell you how much I just love this little thing! It was so easy to make with a chop saw and drill and only took a few hours over the course of two days. My sweet toddler daughter loves it because she can easily move her books all around to where she wants them. This also would make for a great little toy box, or magazine holder.
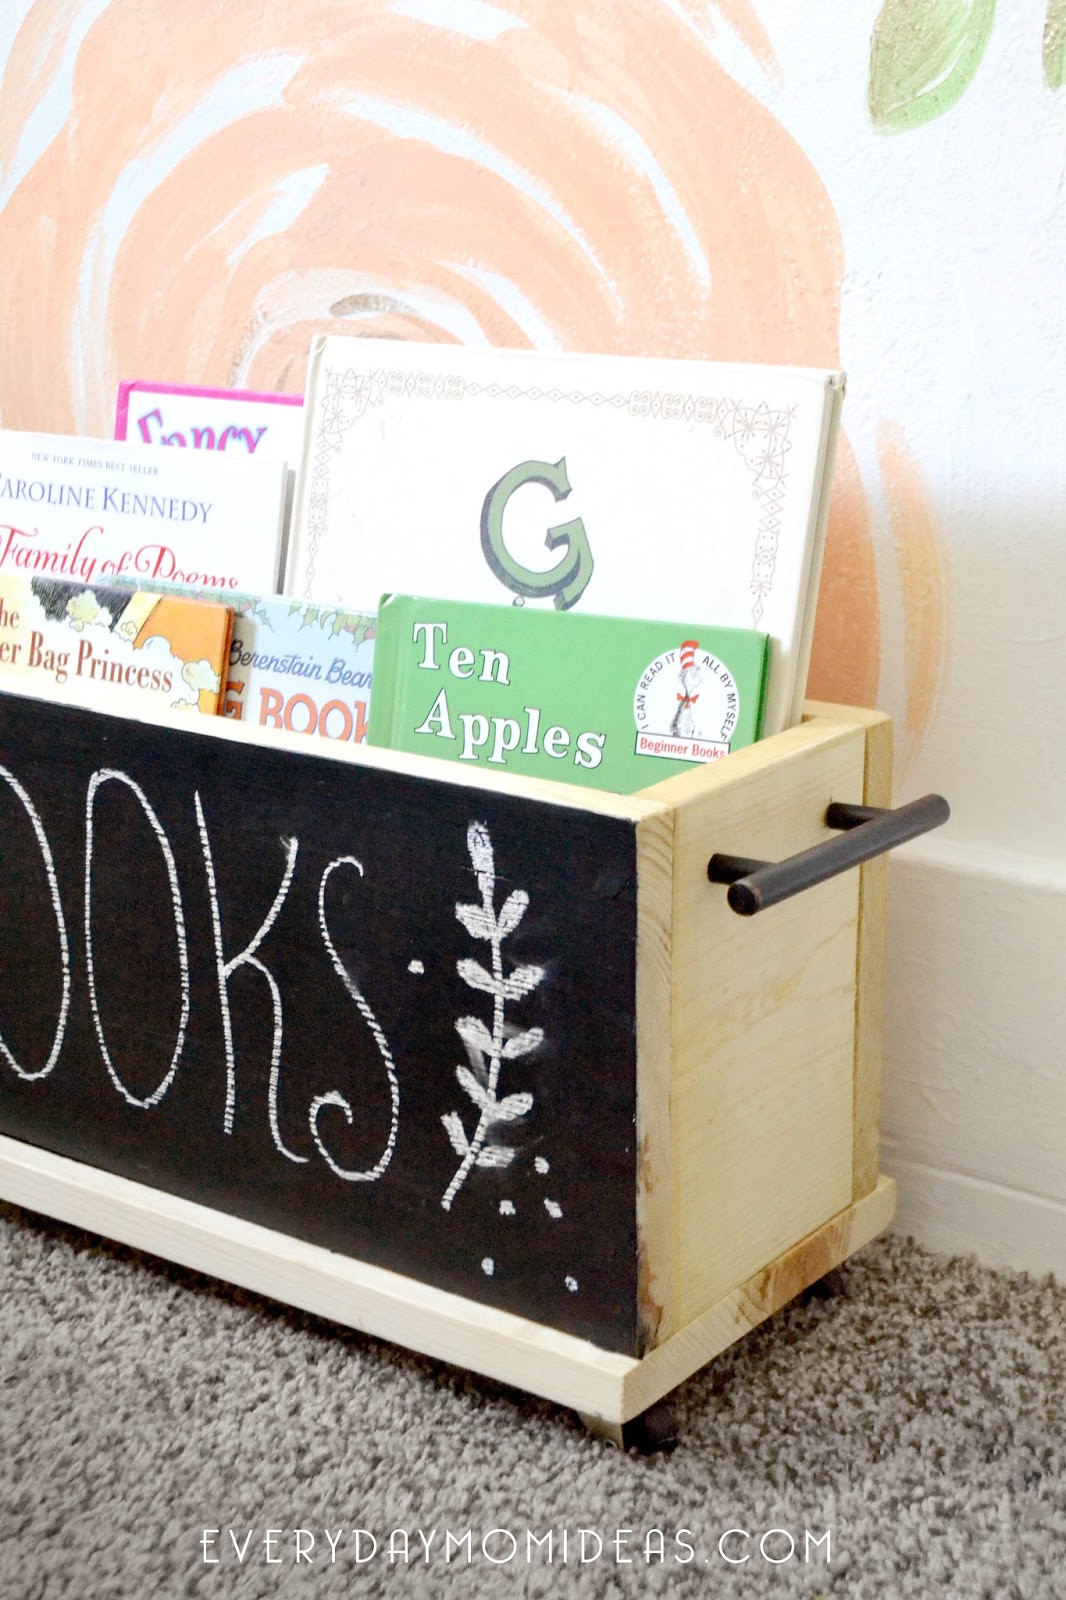
The chalkboard front makes a wonderful touch because you can always change up the box a little bit with different sayings and labels for different usage. The handles are added for easy lifting.
TIP: get creative with the handles for a more modern or vintage look depending on your decor.
Price:
I only spend $10 for this project because I had the wood, chalkboard paint, screws and necessary tools for this project already. You only need one 1×8 wooden pine board that is at least six feet long, and that usually cost you around five dollars. The Handles I purchased where four dollars for the set and the caster wheels were also four dollars for all four. I would estimate that this project would cost around $20.00 to $25.00 for all the supplies not including the tools.
DIY CHALKBOARD BOOK BOX ON WHEELS TUTORIAL
Tools:
Chop Saw
Drill
Paint brush
Sander/Sandpaper
Project Supplies:
1- 1×8 Wood Board, Six footer
2- Drawer Handles
Set of 4- Caster Wheels
Wood Filler Putty
12- 6×1 Flat Head Philips Screws
Wood Cuts:
3- 19 1/2 inches
2- 4 3/4 inches
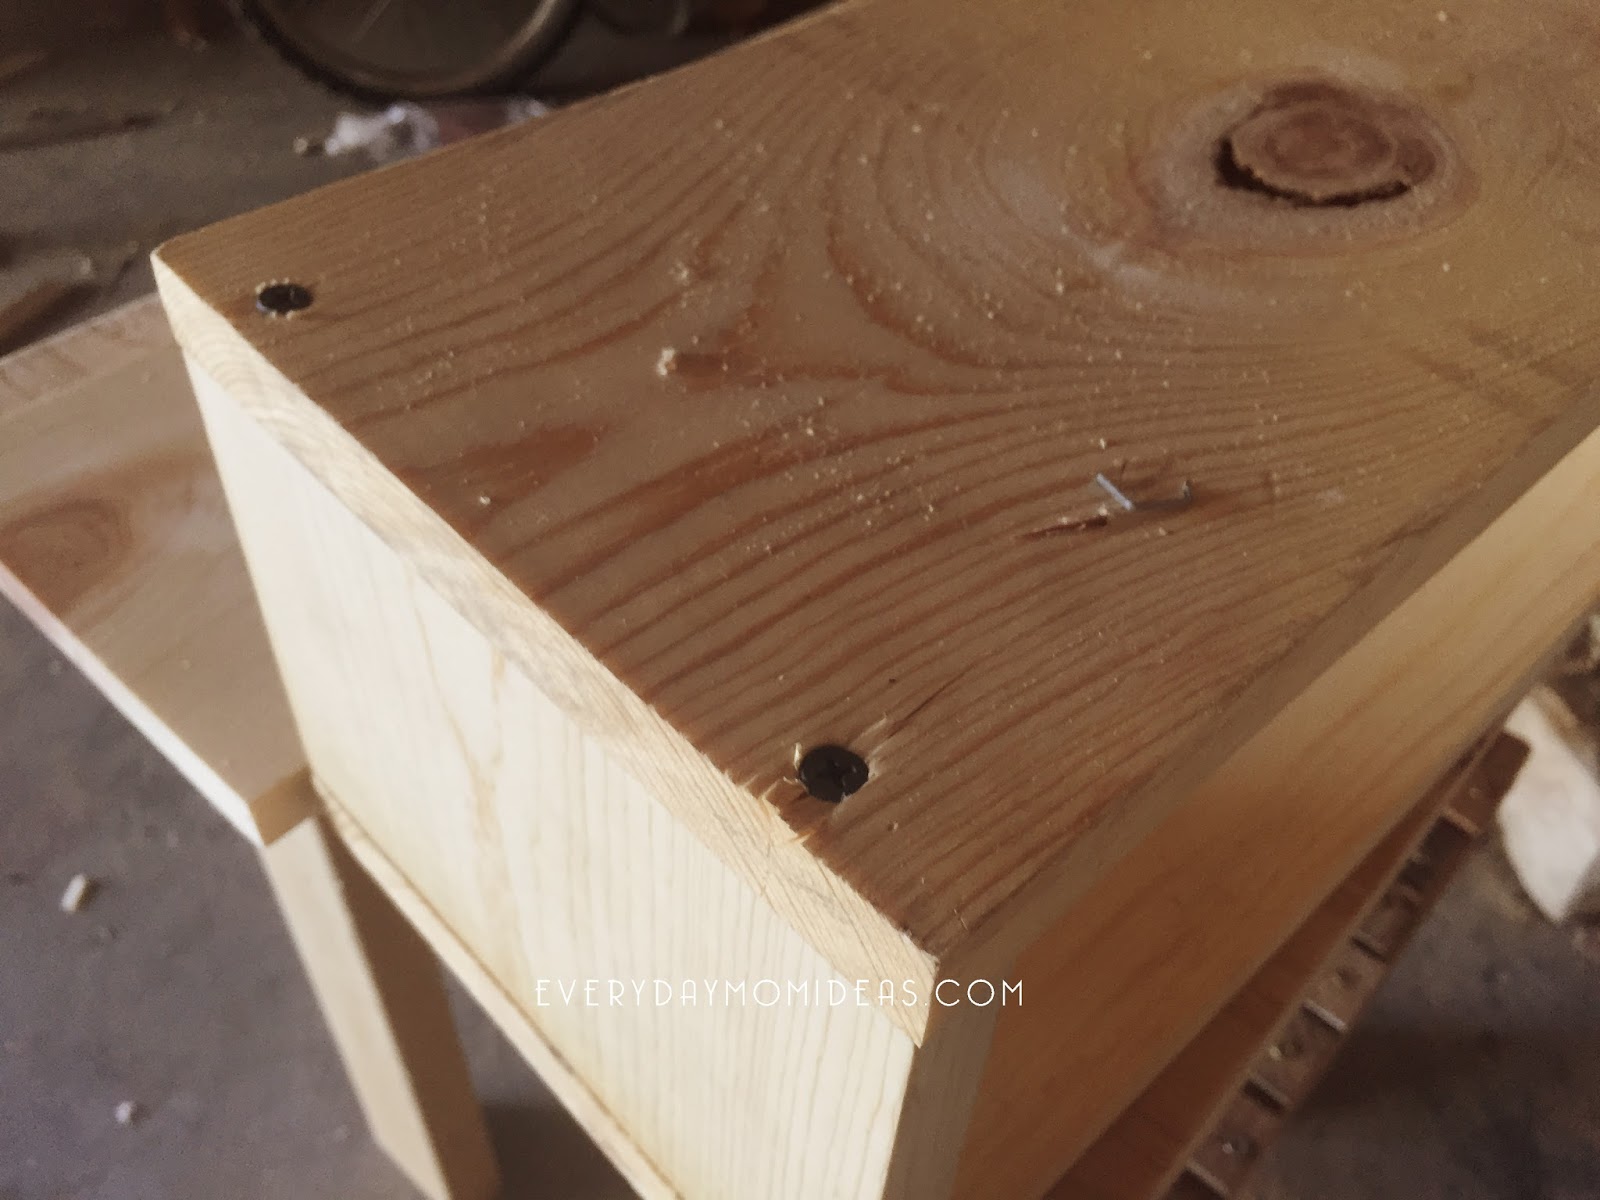
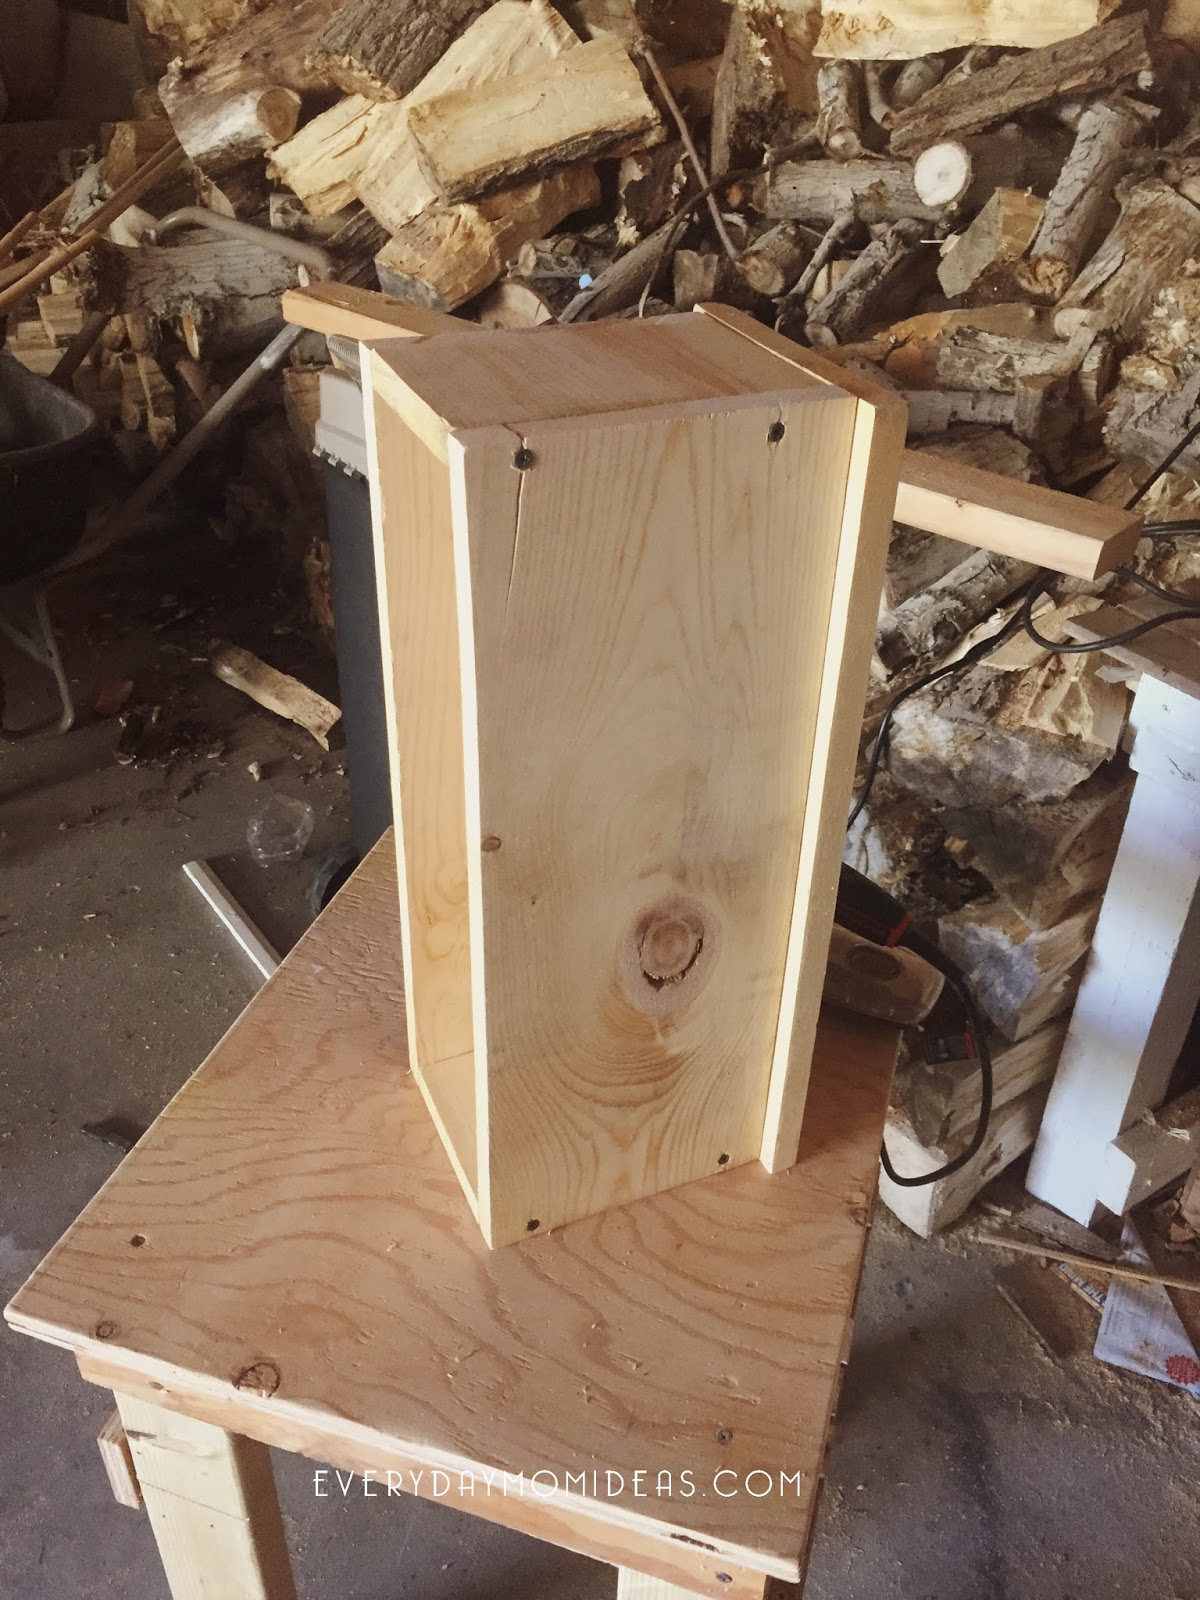
1. After you have made your board cuts using a chop saw or band saw with the measurements above. Its time to get assembling! Yay! You can secure the four sides together easily using 6×1 screws in each corner like the photo above. Placing the smaller 4 3/4 inch side pieces inside the two larger pieces of wood.
Tip: Make sure your screws go in all the way and lay flat against your board with no raise. It will make for easier putting latter and a smoother chalkboard finish.
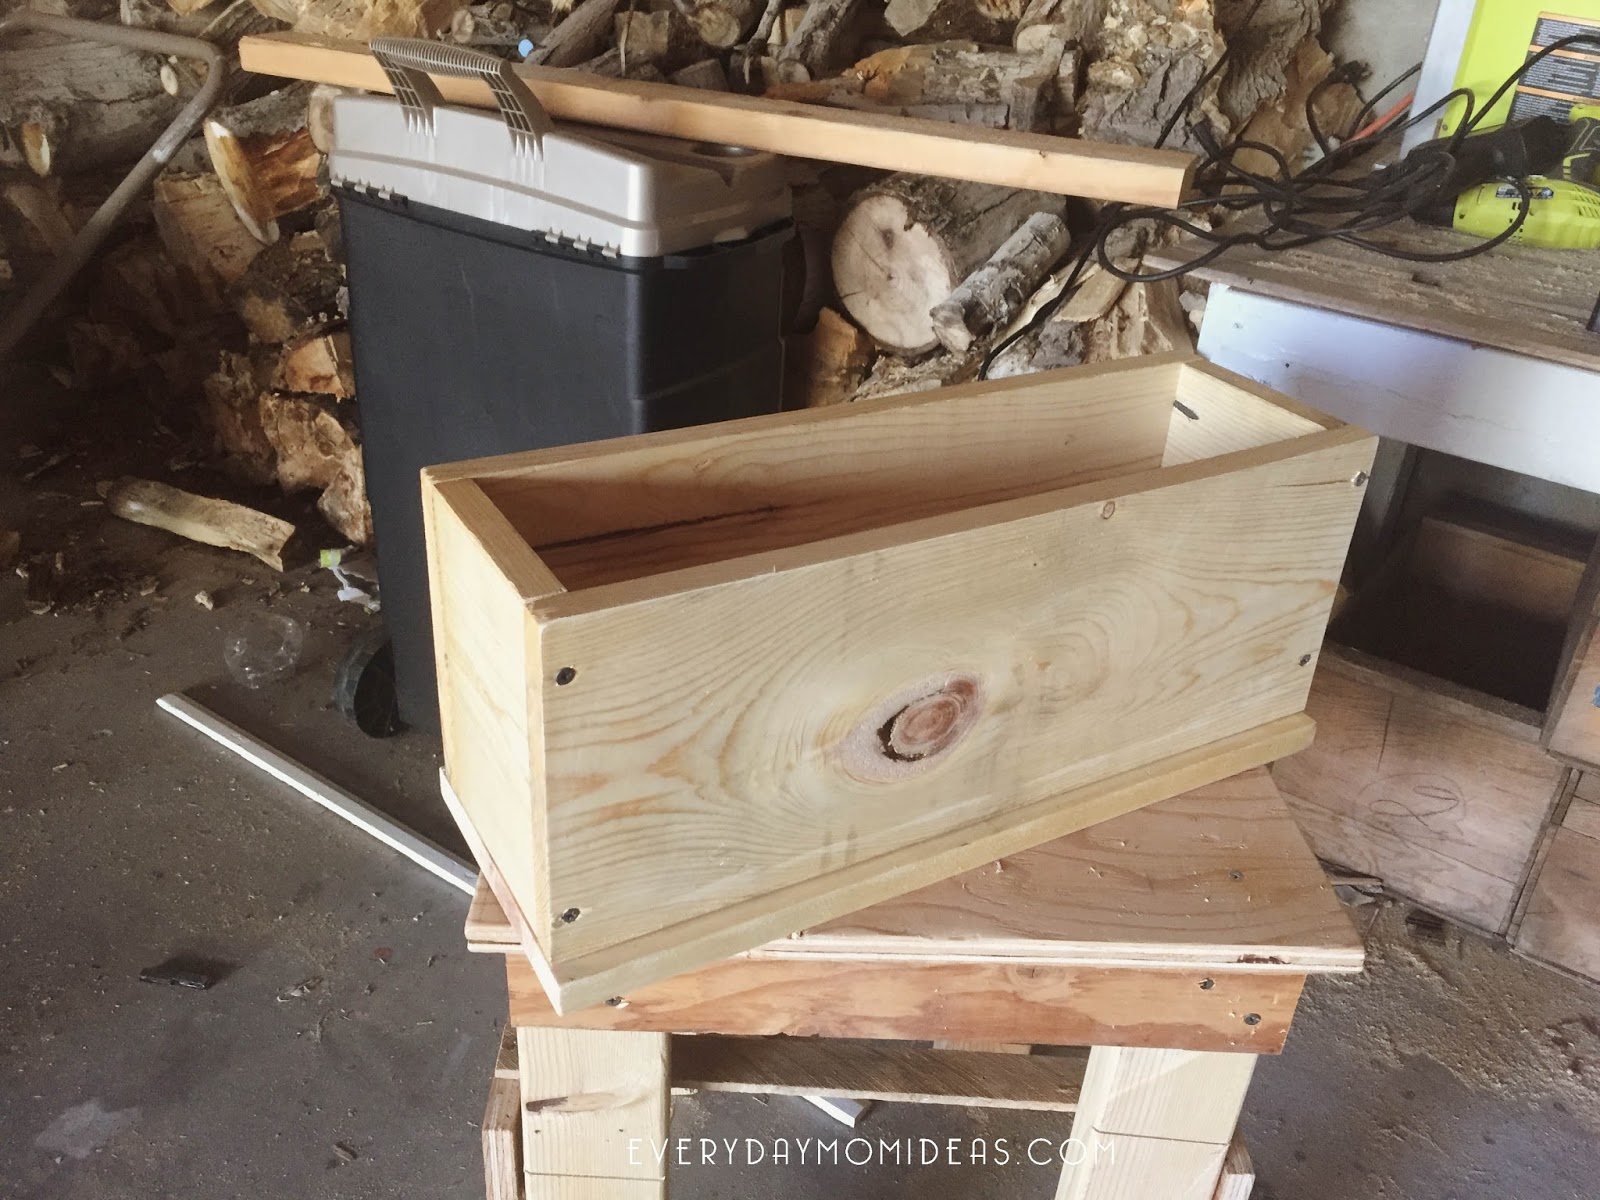
2. To avoid splitting your wood like I did the the picture above. Drill holes first and/or try to make sure you don’t drill too close to the edge and drill the screw down too far leading to cracking a breaking of the wood piece. Once all four sides are assembled you can attache the bottom. Lay your wood box on its side so that you can have an even little lip on both sides where the bottom wood piece sticks out just a little bit.
Looks about done right?!
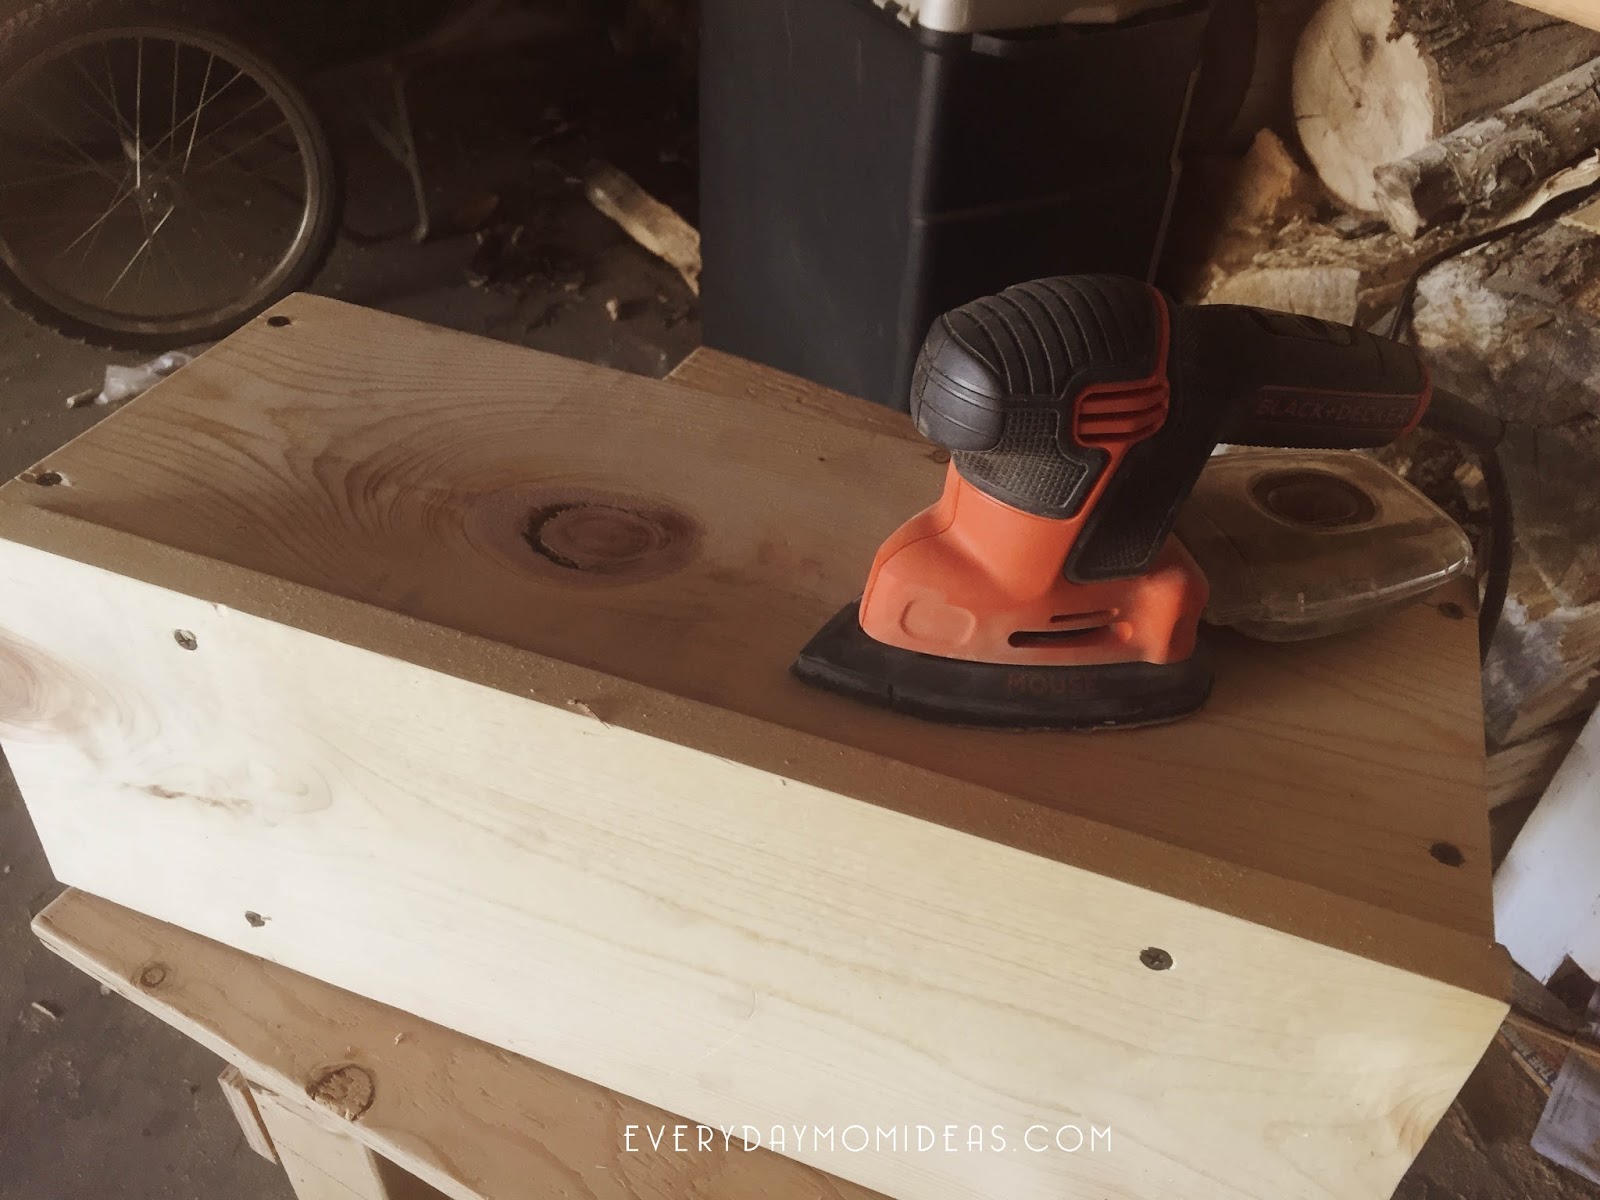
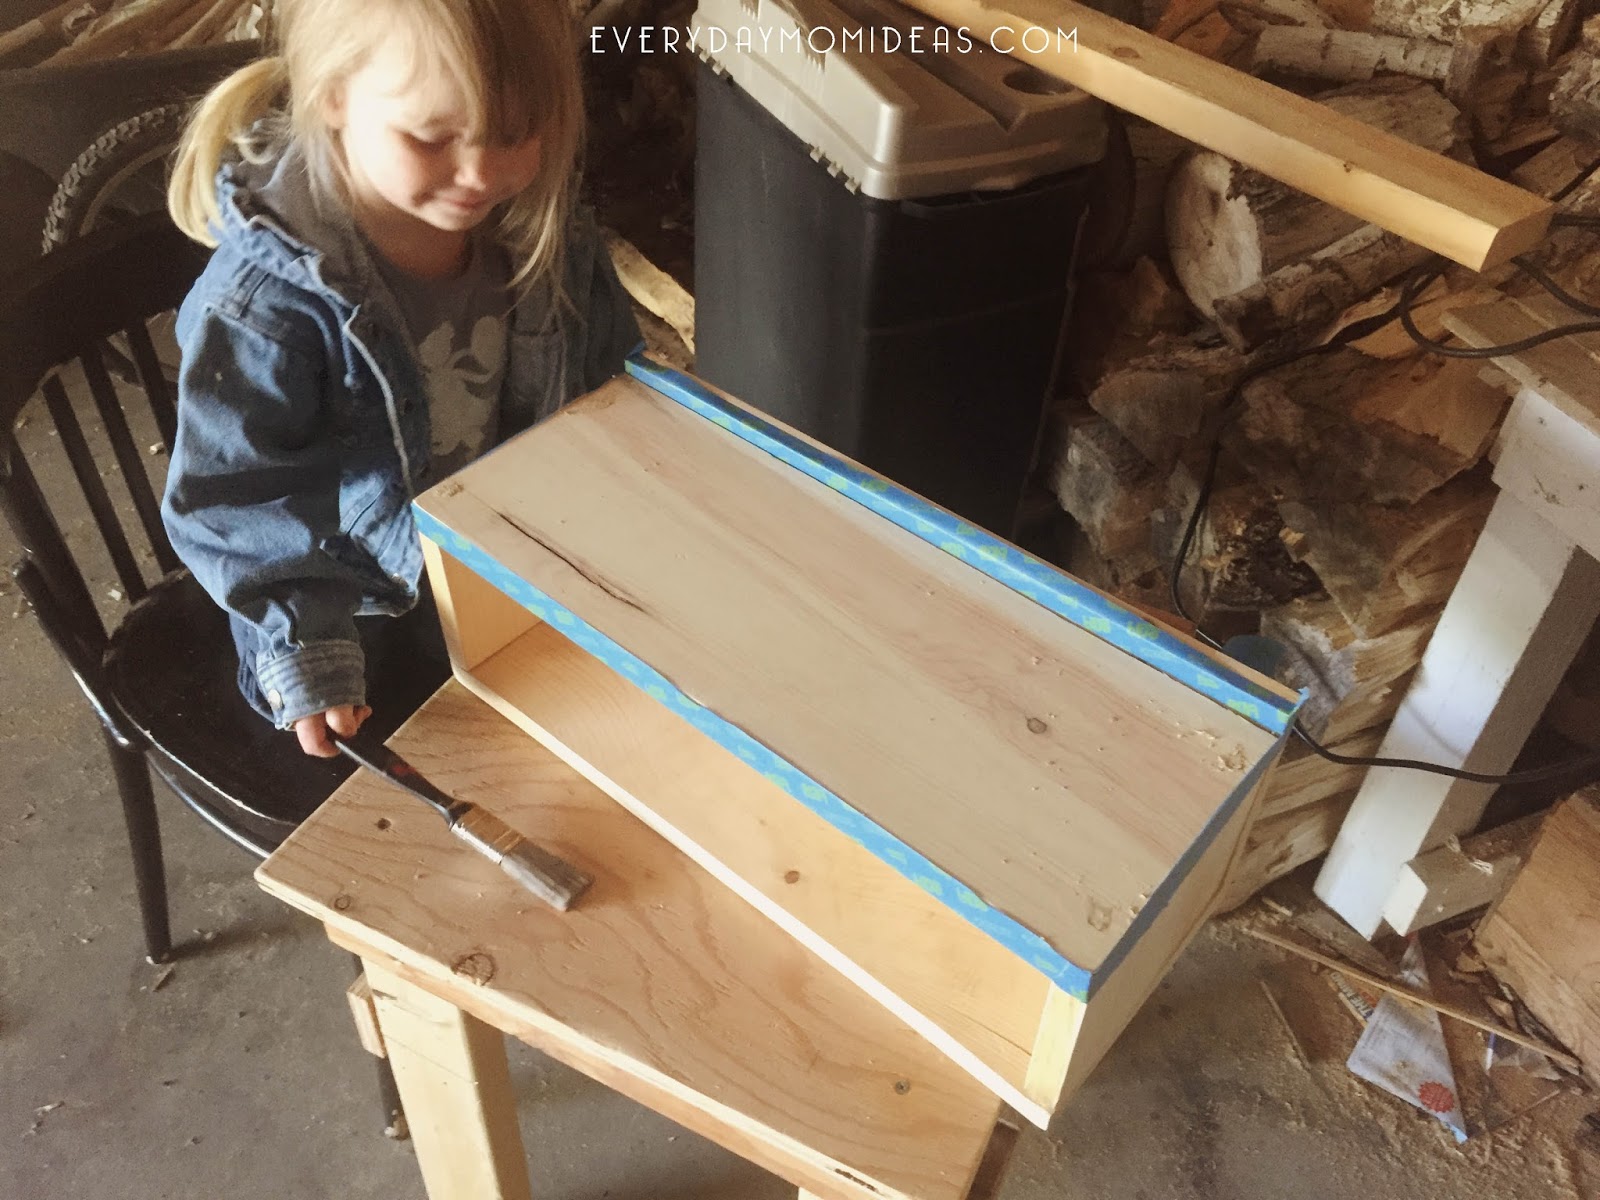
3. Now is a good time to sand down your wood box and make sure you don’t have any overly sharp edges and rough surfaces. Wipe off sawdust as best you can with a rag or suck it up with a vacuum.
4. Fill in over your visible screws with Stainable Wood Filler. This stuff dries in a matter of minutes. Once its dry just lightly sand over the dry wood filler until everything is smooth. Dust off any remaining sawdust before tapping and painting the chalkboard.
5. Paint chalkboard side. The smoother the surface the better your chalkboard will work and be able to be easily cleaned. Paint at least two coats. Let dry overnight.
Now its time for adding the hardware!
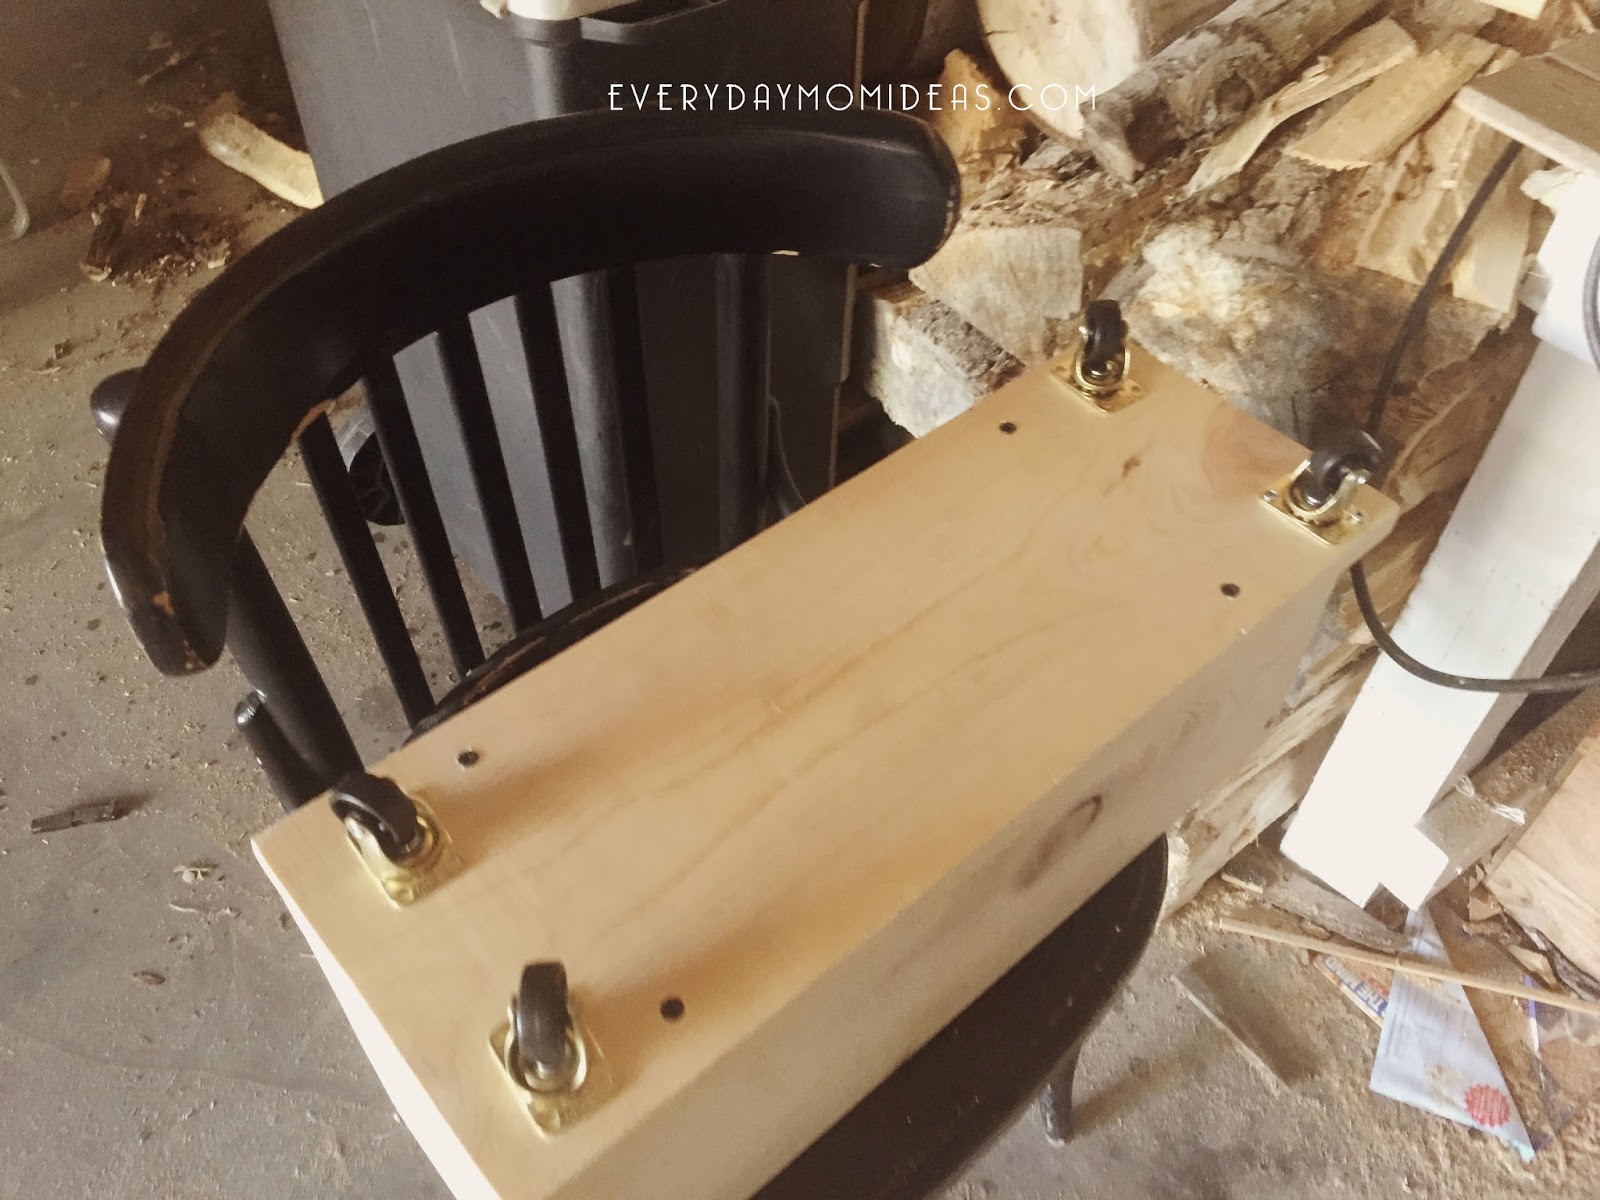
6. Just add four basic 2 inch Low Caster Wheels to the bottom of your box. Most caster wheel sets come with their own screws to use.
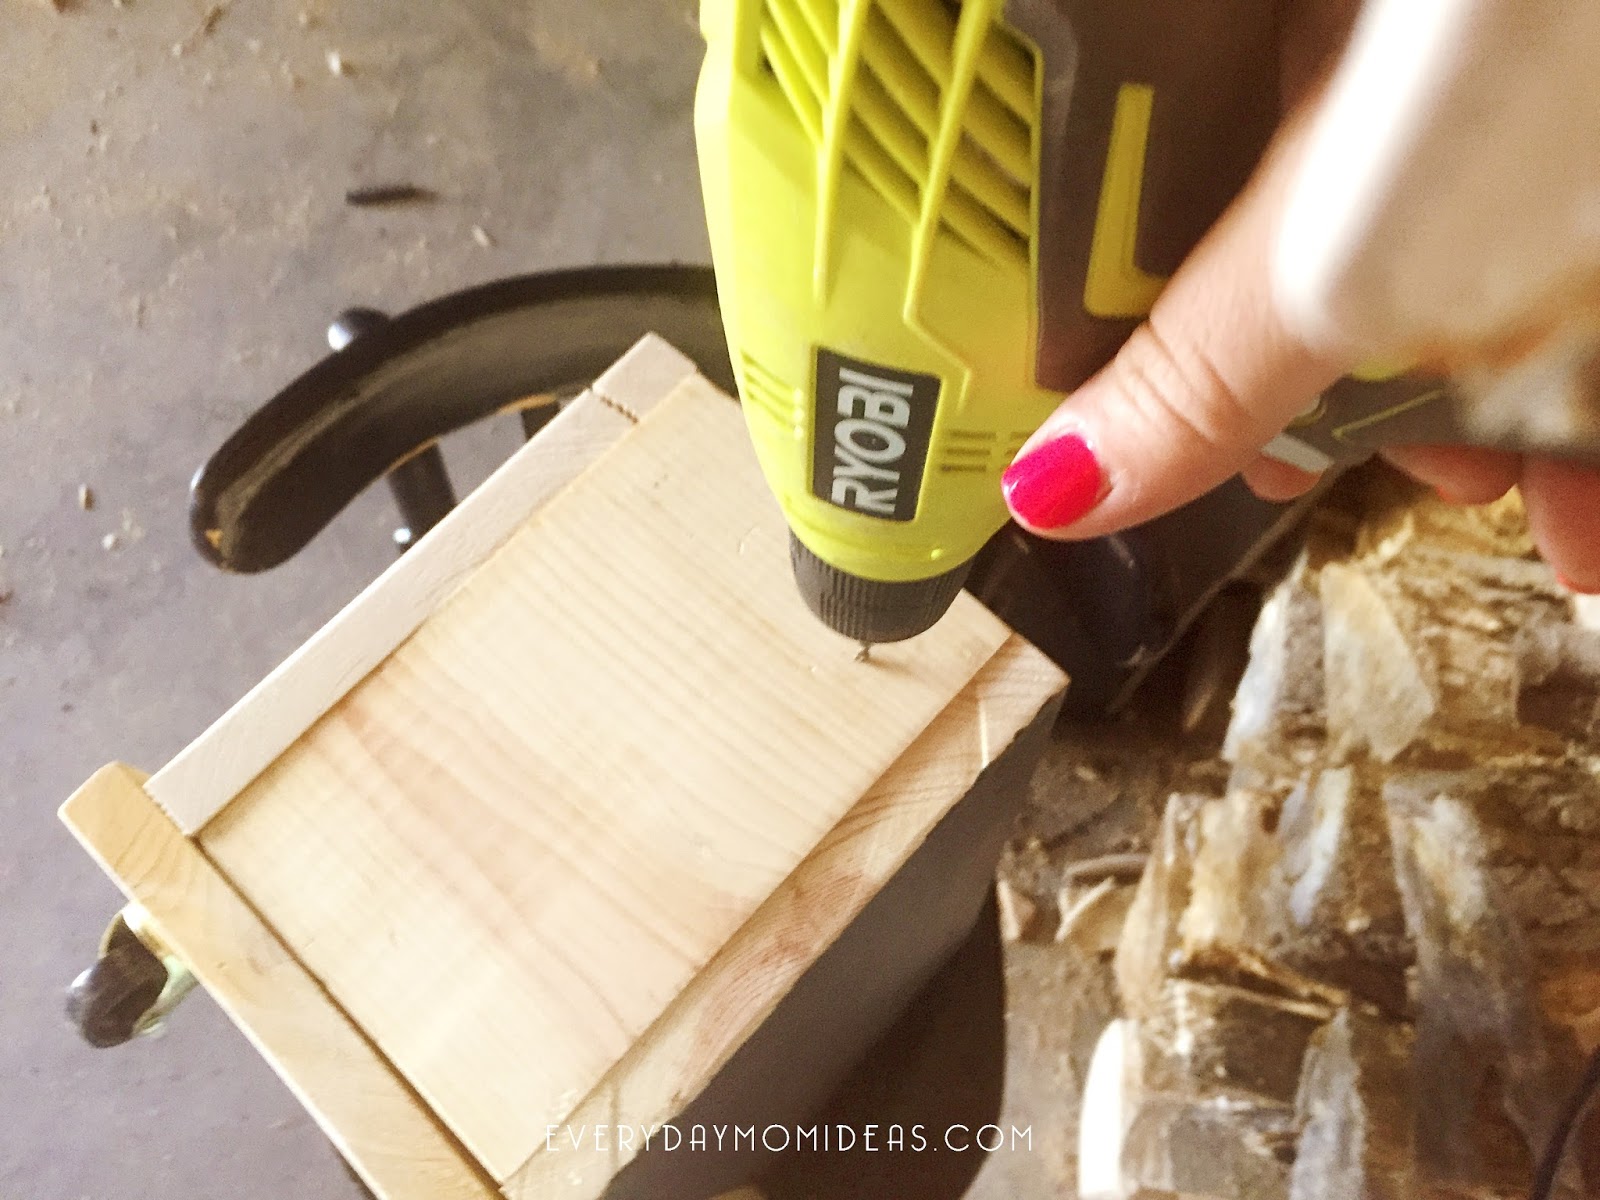
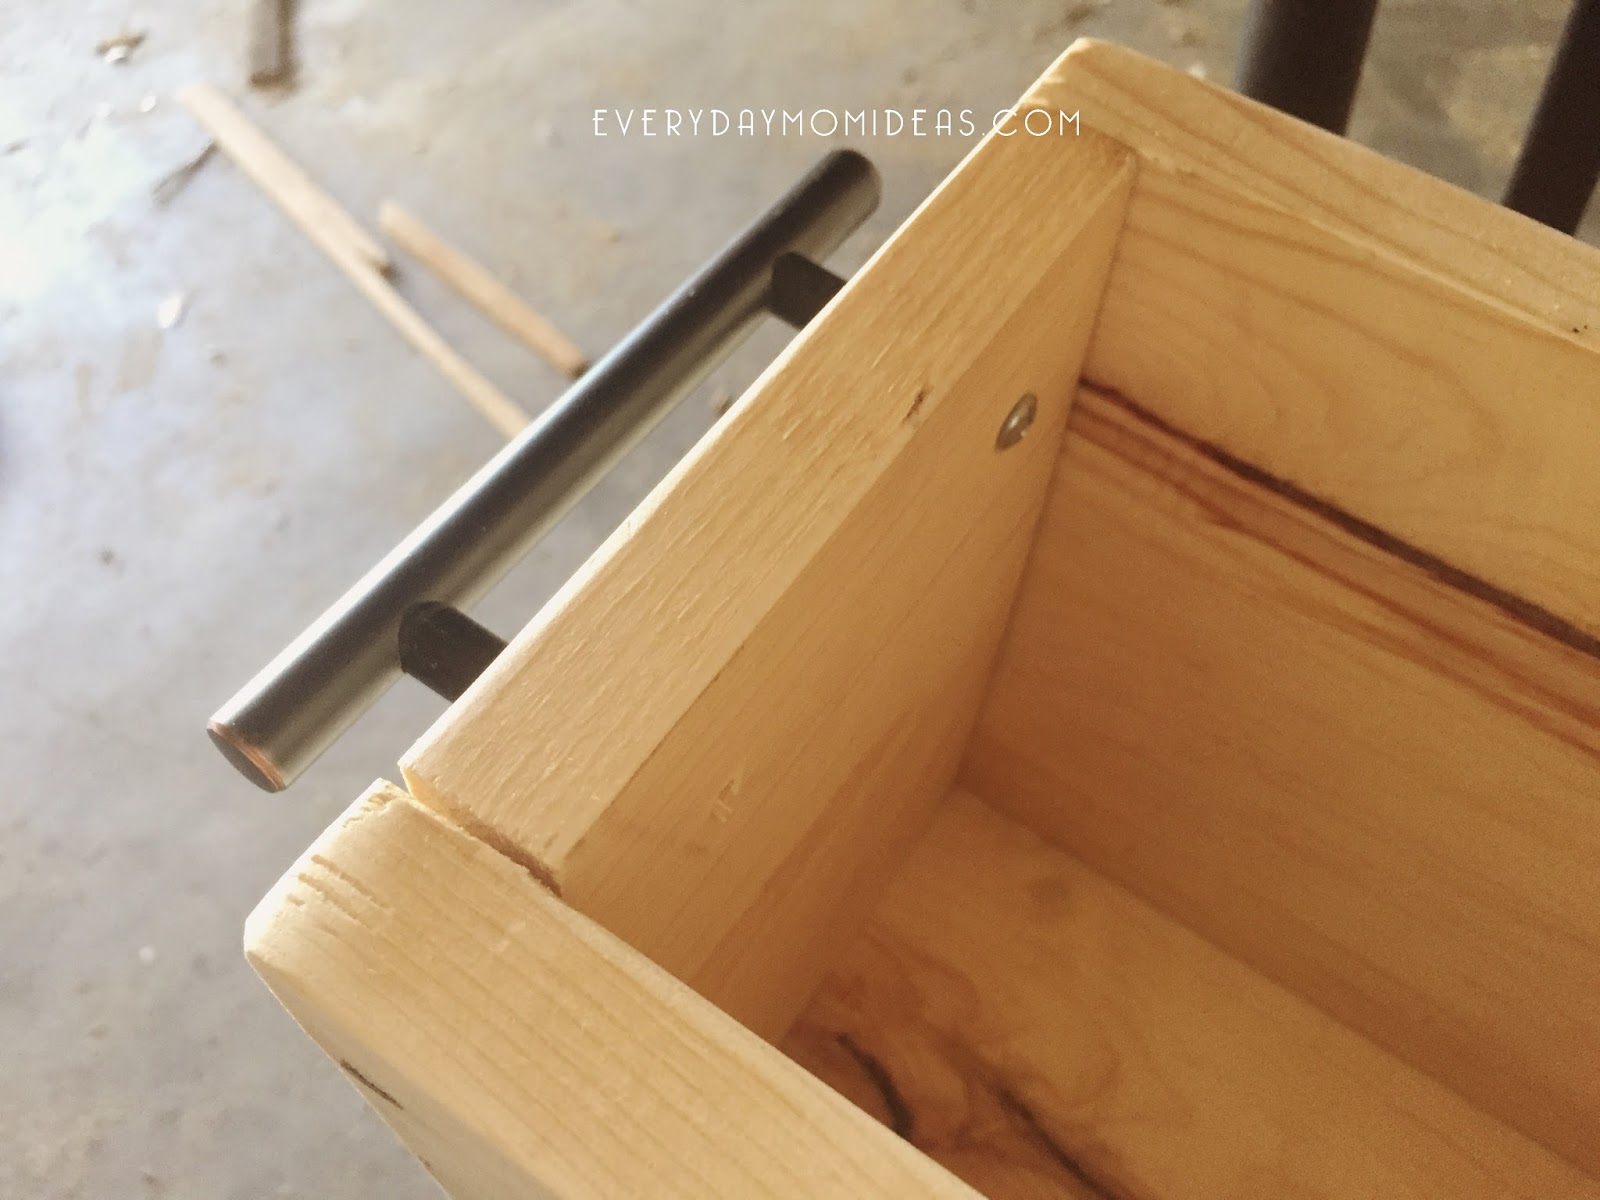
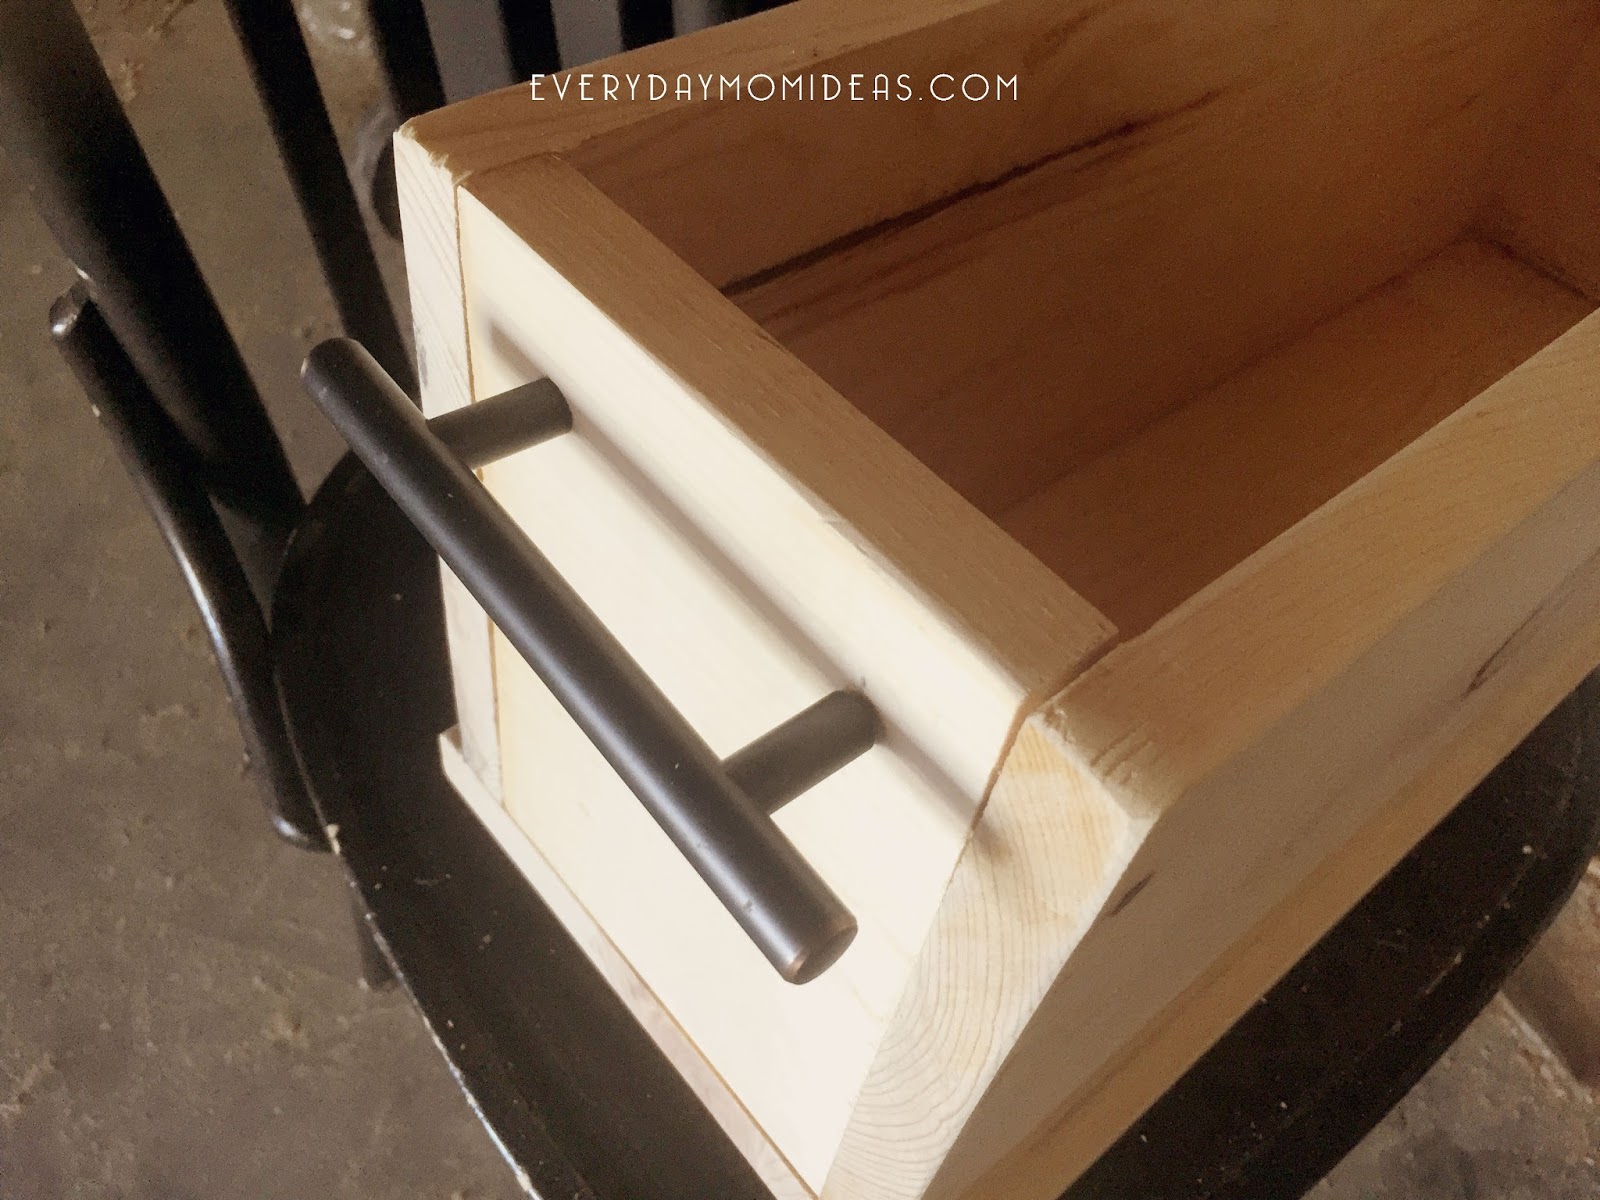
7. Handles: Adding the handles can be a little more tricky. Make sure you mark your drill points accurately. A crooked handle shows easily. I had to use a couple of drills to get the right size. Beginner Tip: Be careful not to make too big of a hole, start with a smaller drill bit size than work your way up.
I left my wood raw because I liked the more modern look to it. But this entire box’s style can easily change by adding a wood stain and different handles. There are just so many possibilities with this fun woodworking project. If you would like to protect your raw wood look a little bit better you can always try spraying it with a finishing spray or waxing coating.
This is a great book organizer not only because its super cute and cool but its great for toddlers and little ones because they can easily get their books out and put them away. And because this book organizer is on caster wheels its easy for them to move around for easy cleanup and storage.
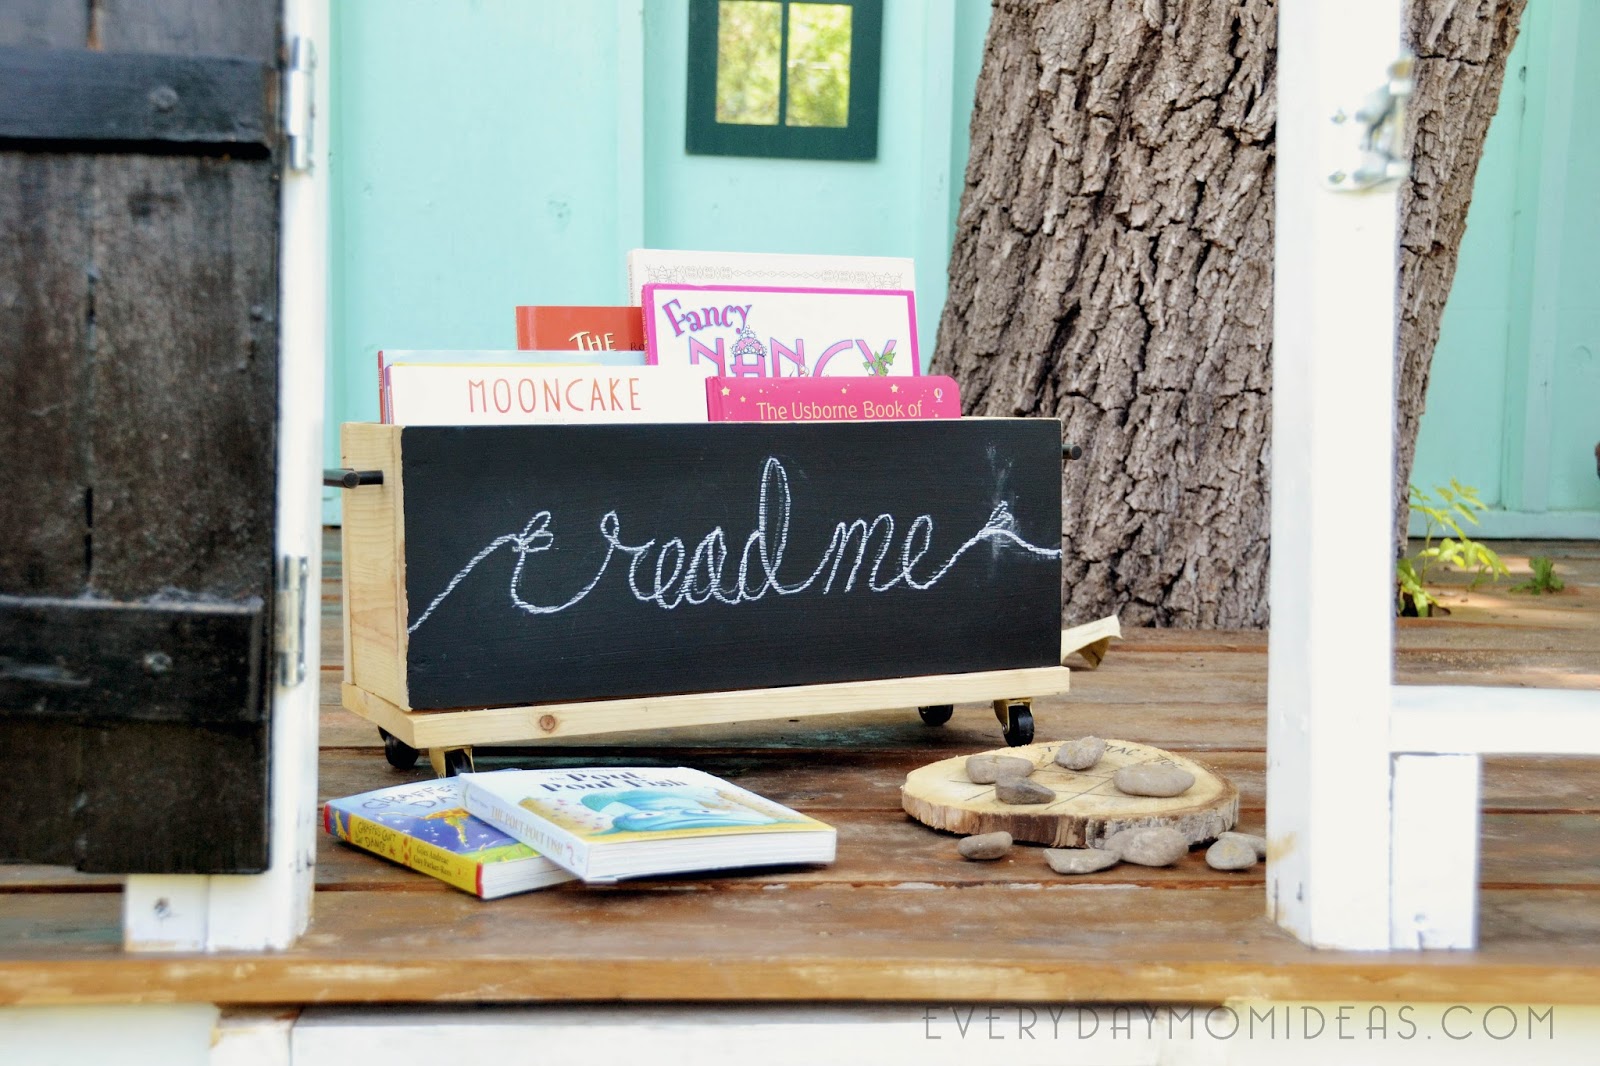
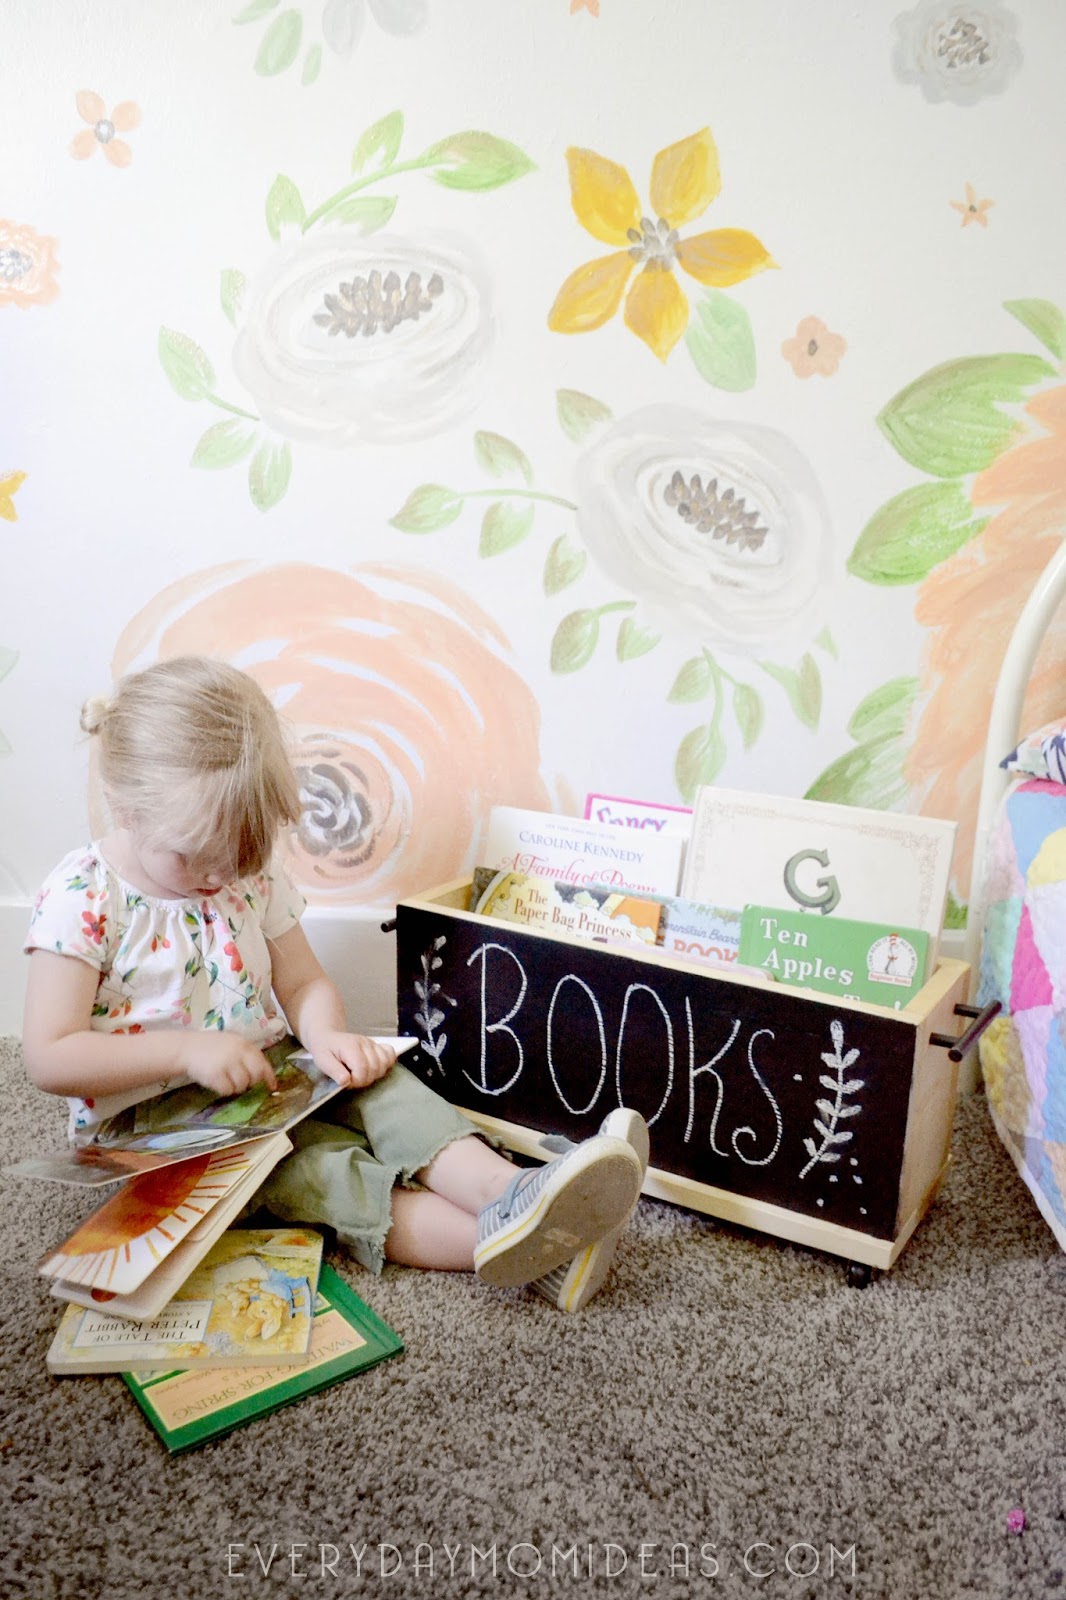
This chalkboard book box really is a nice addition in our home no matter where it ends up. I think it adds a modern touch to her Hand Painted Floral Bedroom Design and easily traditions to the living room or even the Tree House. Im amazed at how this simple design goes with so much. I plan on making many more Chalkboard Book Organizers to come for other cute storage solutions.
I would love to read your comments and thoughts or better yet see your wooden chalkboard book boxes! Please feel free to send me pics of this project and I will happily share them on my social media channels and also jump for joy because it feels awesome to get that kind of feedback.
Sharing is Caring!
Please share this DIY beginner woodworking project with your friends and family with this Pinterst friendly image below or save this project for another time.
SHARE THIS STORY
