
Dreaming of a white Christmas this year? Help yourself to some extra good slumber vibes with a stunning Christmas dreamcatcher that you can make all by yourself. Dreamcatchers are said to be able to watch over you at night and catch the bad dreams trying to disturb your sleep. Dreamcatchers will only let the lovely dreams past through its nets and into your head while the bad dreams get caught in its webs of yarn and string.
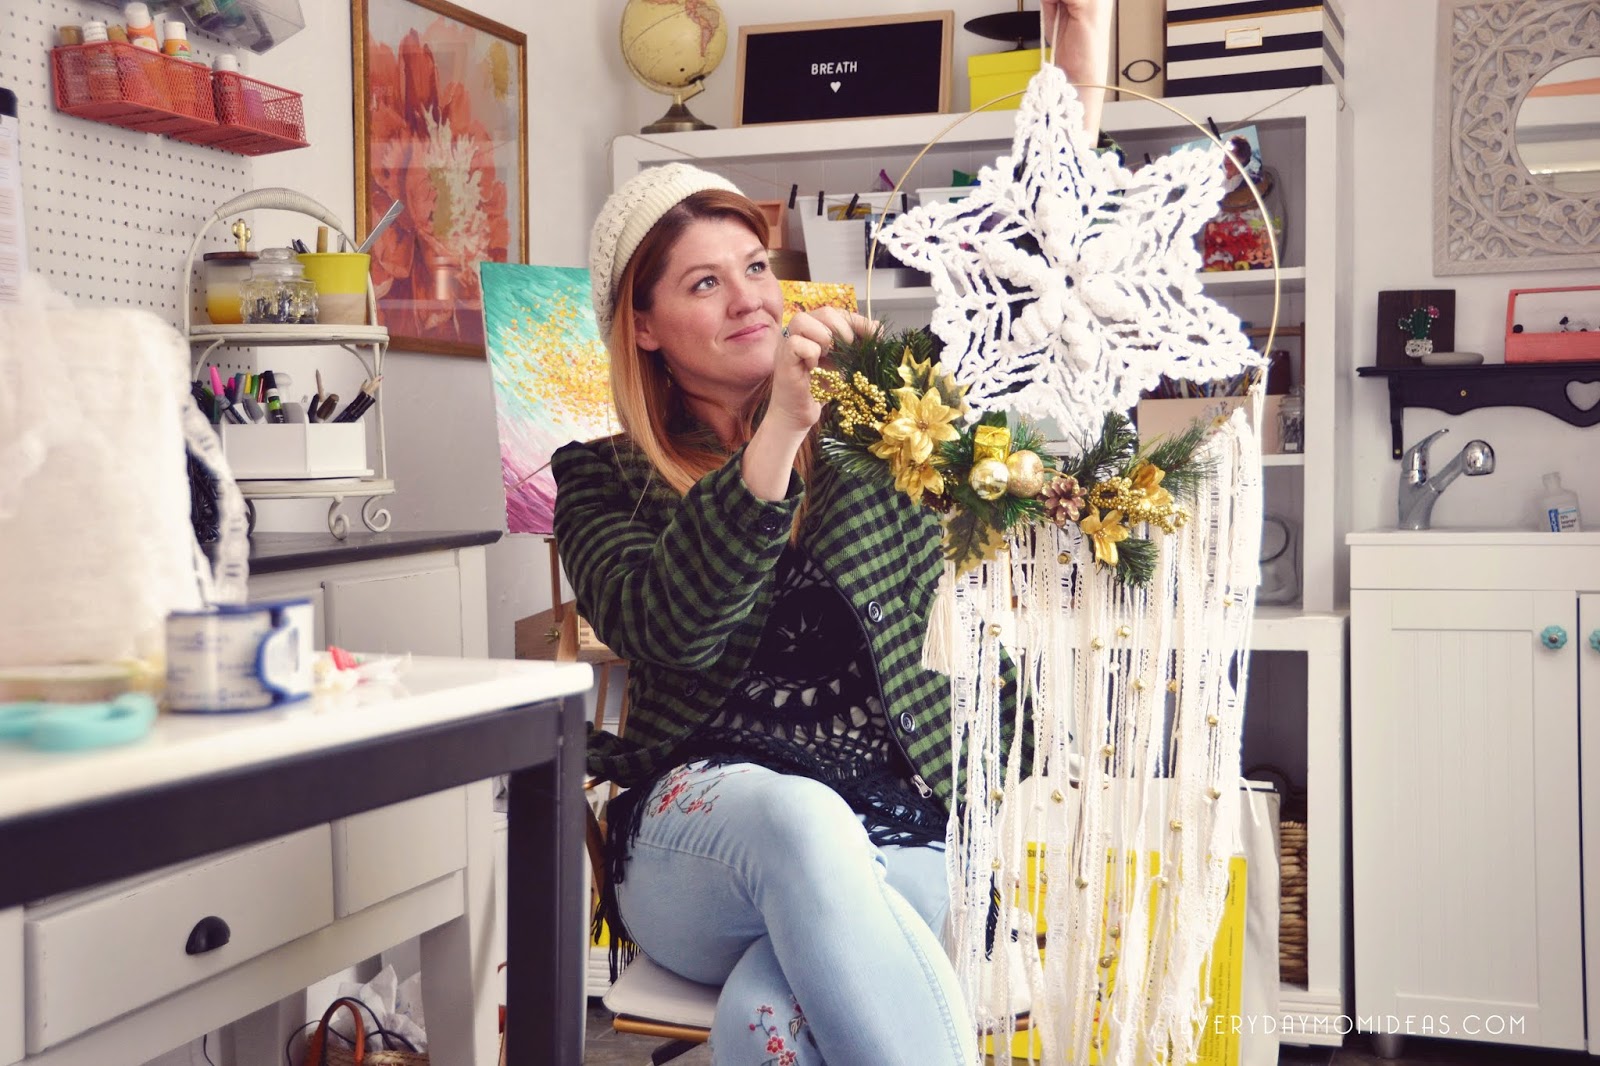
Im completely in love with the BOHO movement that is bringing back all these natural earthy moods mixed with a soft touch of feminine glamour. And I am especially excited about seeing it pop into a lot of Christmas decor this holiday season. I have been so inspired with the new/old trend that I decided to make a dreamcatcher wreath decoration this Christmas season and put a holiday spin on it. And Its everything and more I could have wanted. The jingle bells are the best part and it makes this a fun decoration to put on a front door because the door will chime when people are coming in and out, and maybe a bunch of angles are simultaneously getting wings as well.

I love how dreamcatchers just show of thread textiles like lace, ribbon and yarn. In this Dream catcher you are just hanging strings of lace, ribbon and yarn over and over again. Not doing any fancy ties or weaves, just letting it be with a few knots and jingle bells and then putting in on display as itself.
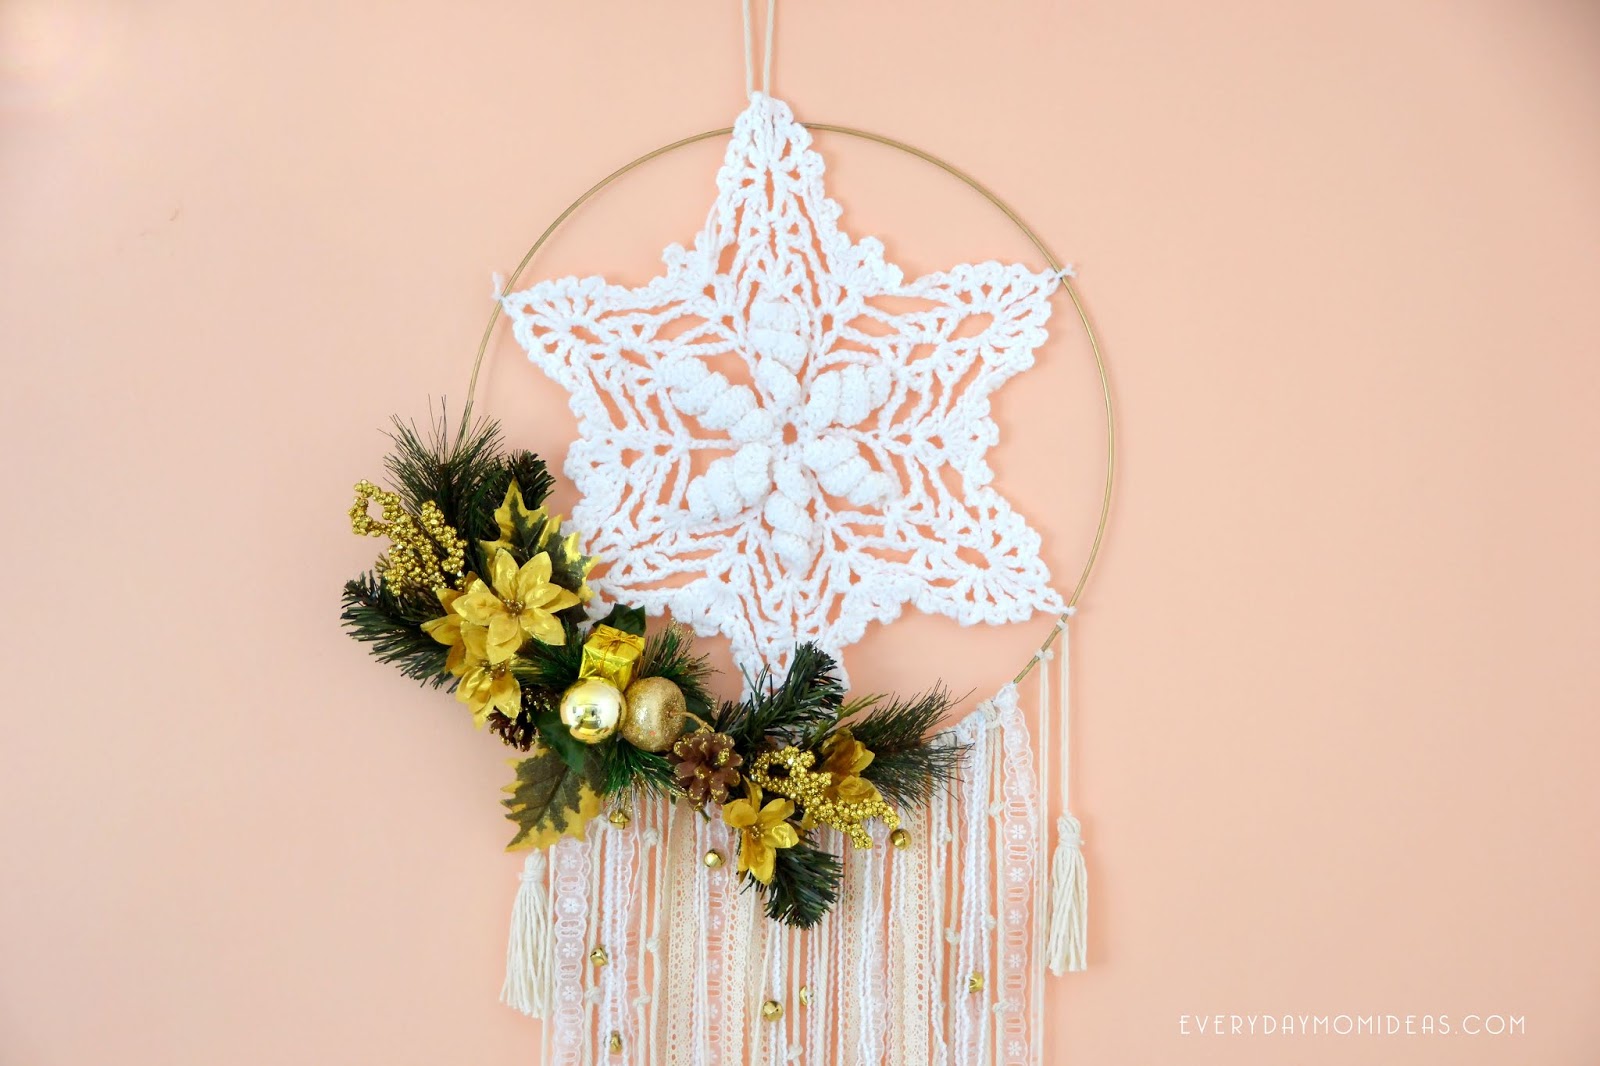
The Main part of the dreamcatcher is made up of a Christmas star doily that my sister crocheted from this free crochet pattern here. I love this design because this star can be a snowflake, star or even be interpreted as a poinsettia flower. Anyway you interpret this pretty crochet star it looks christmasy so you win any way to see it. If you are not a crocheter you can just go ahead a use any doily to get the effect. You can find doilies already made at your local craft store or thrift store and they are pretty inexpensive.

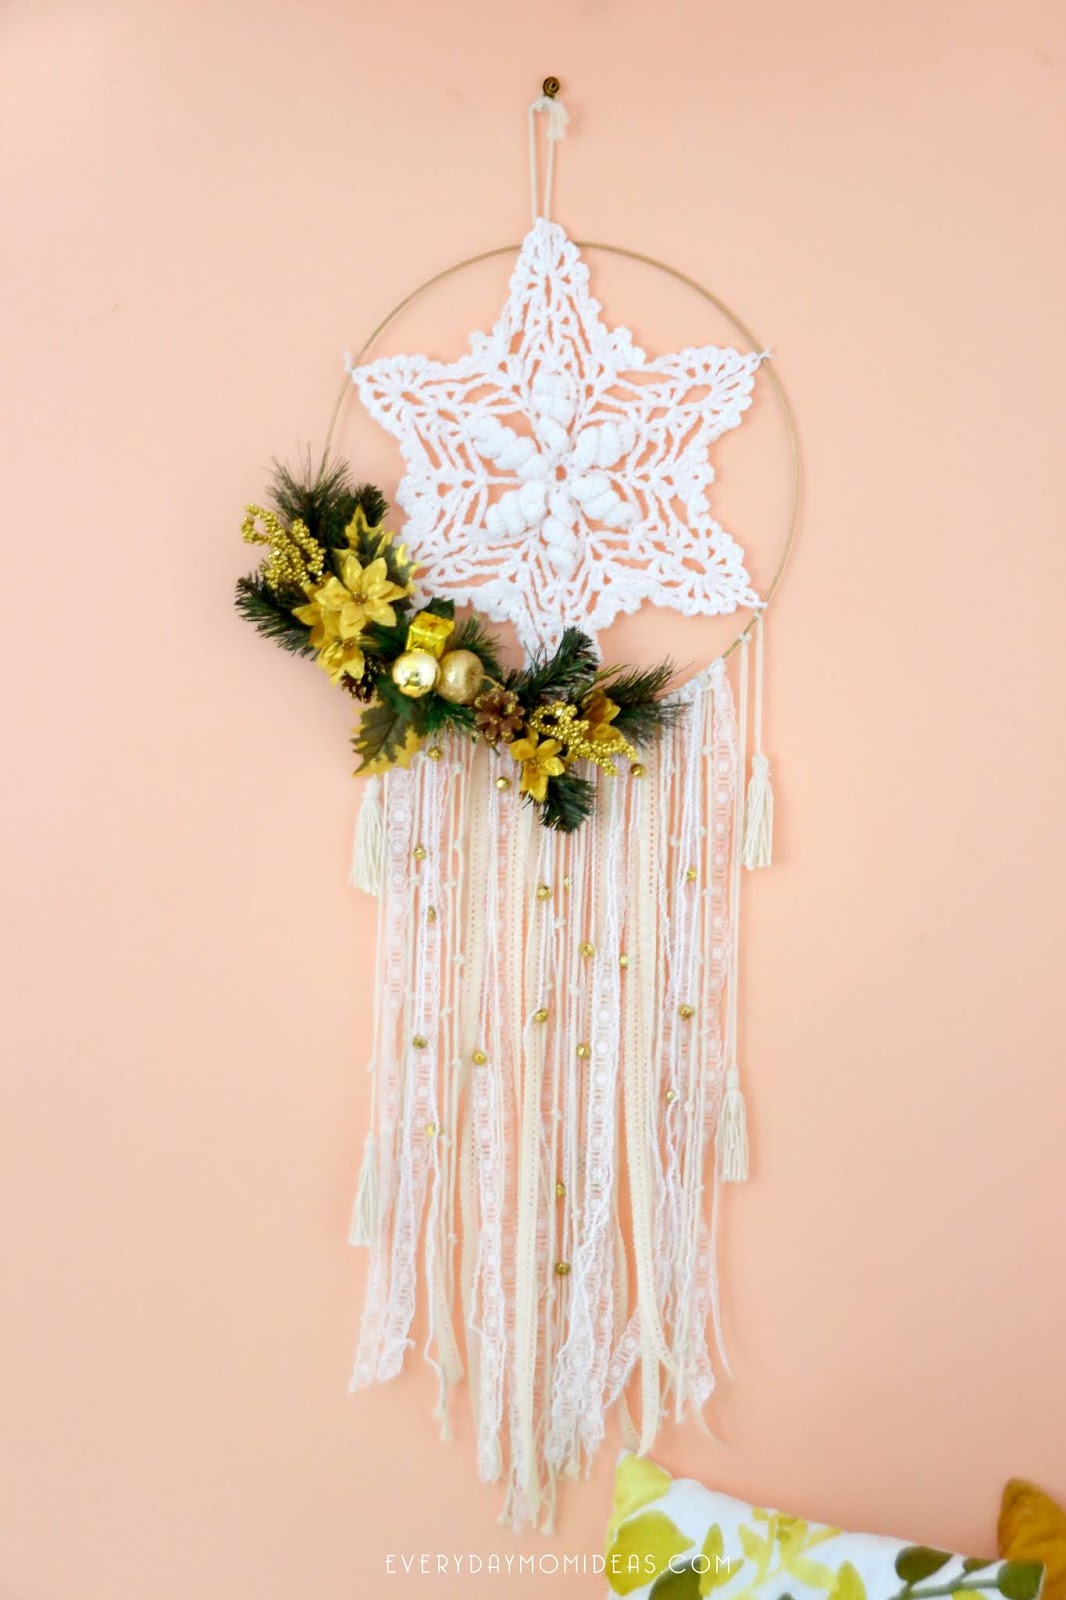
These Christmas dreamcatchers make fantastic replacements for the traditional Christmas wreaths. Every dreamcatcher should be different and I encourage you to get creative with your own without a lot of technical skills. They are so easy to make and don’t have to cost a lot of money. I made mine with a lot of things I found at the dollar store.
Need:
3 to 4 -Floral Arrangements
Jingle Bells
Doily
Tools:
Hot glue gun, glue
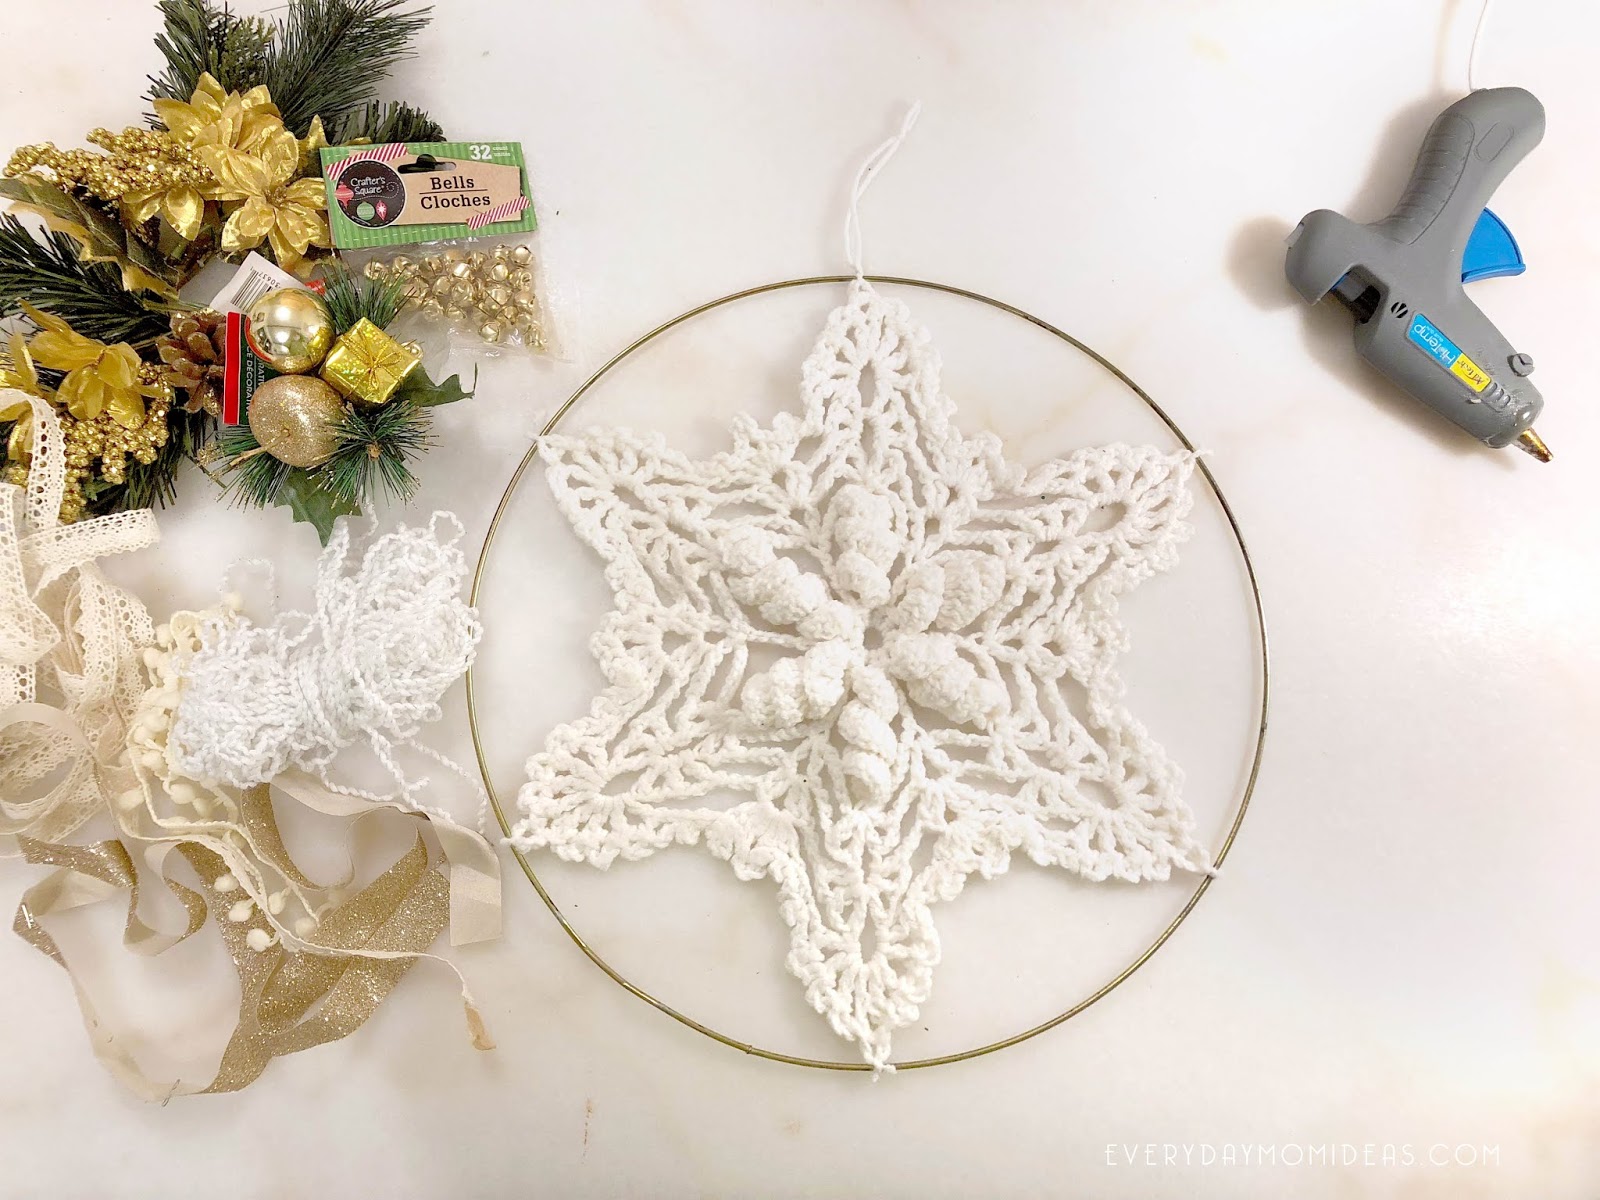
1. First thing you need to do is to secure your Christmas doily. You can just tie it on with extra yarn and just the little pieces off. I would recommend adding a tiny bit of discrete hot glue where the yarn is secured onto the craft ring so the doily doesn’t slide around to much.
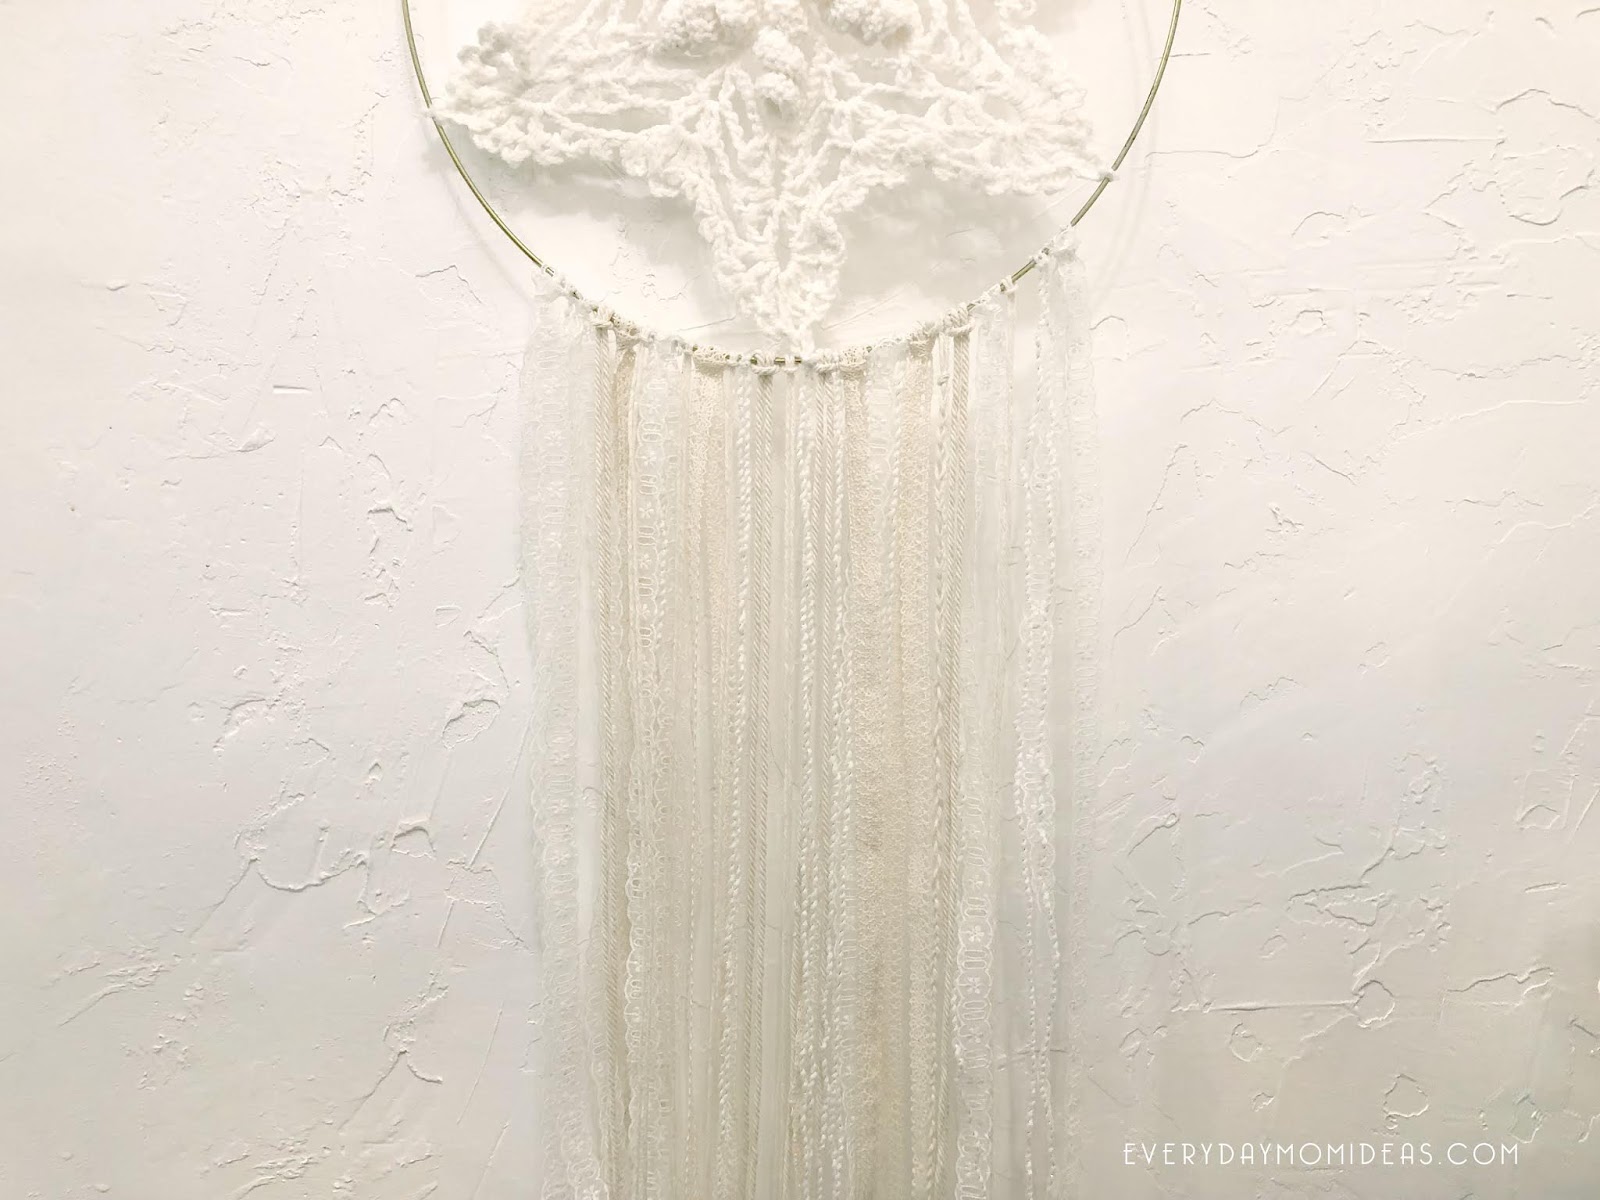
2. Once the doily is secured you can move on to the real fun part. Adding the lace to the bottom. I love having a wide array of ribbons and yarns to mix in with my lace. Get all of your lace and ribbon on with a standard larks head knot, that utilizes doubling over the string and securing it to the ring. Do not trim your lace at the bottom until your entire dreamcatcher is done. Adding knots, bells and floral arrangement can change the lengths of you lace and string and mess with your lace line at the bottom.
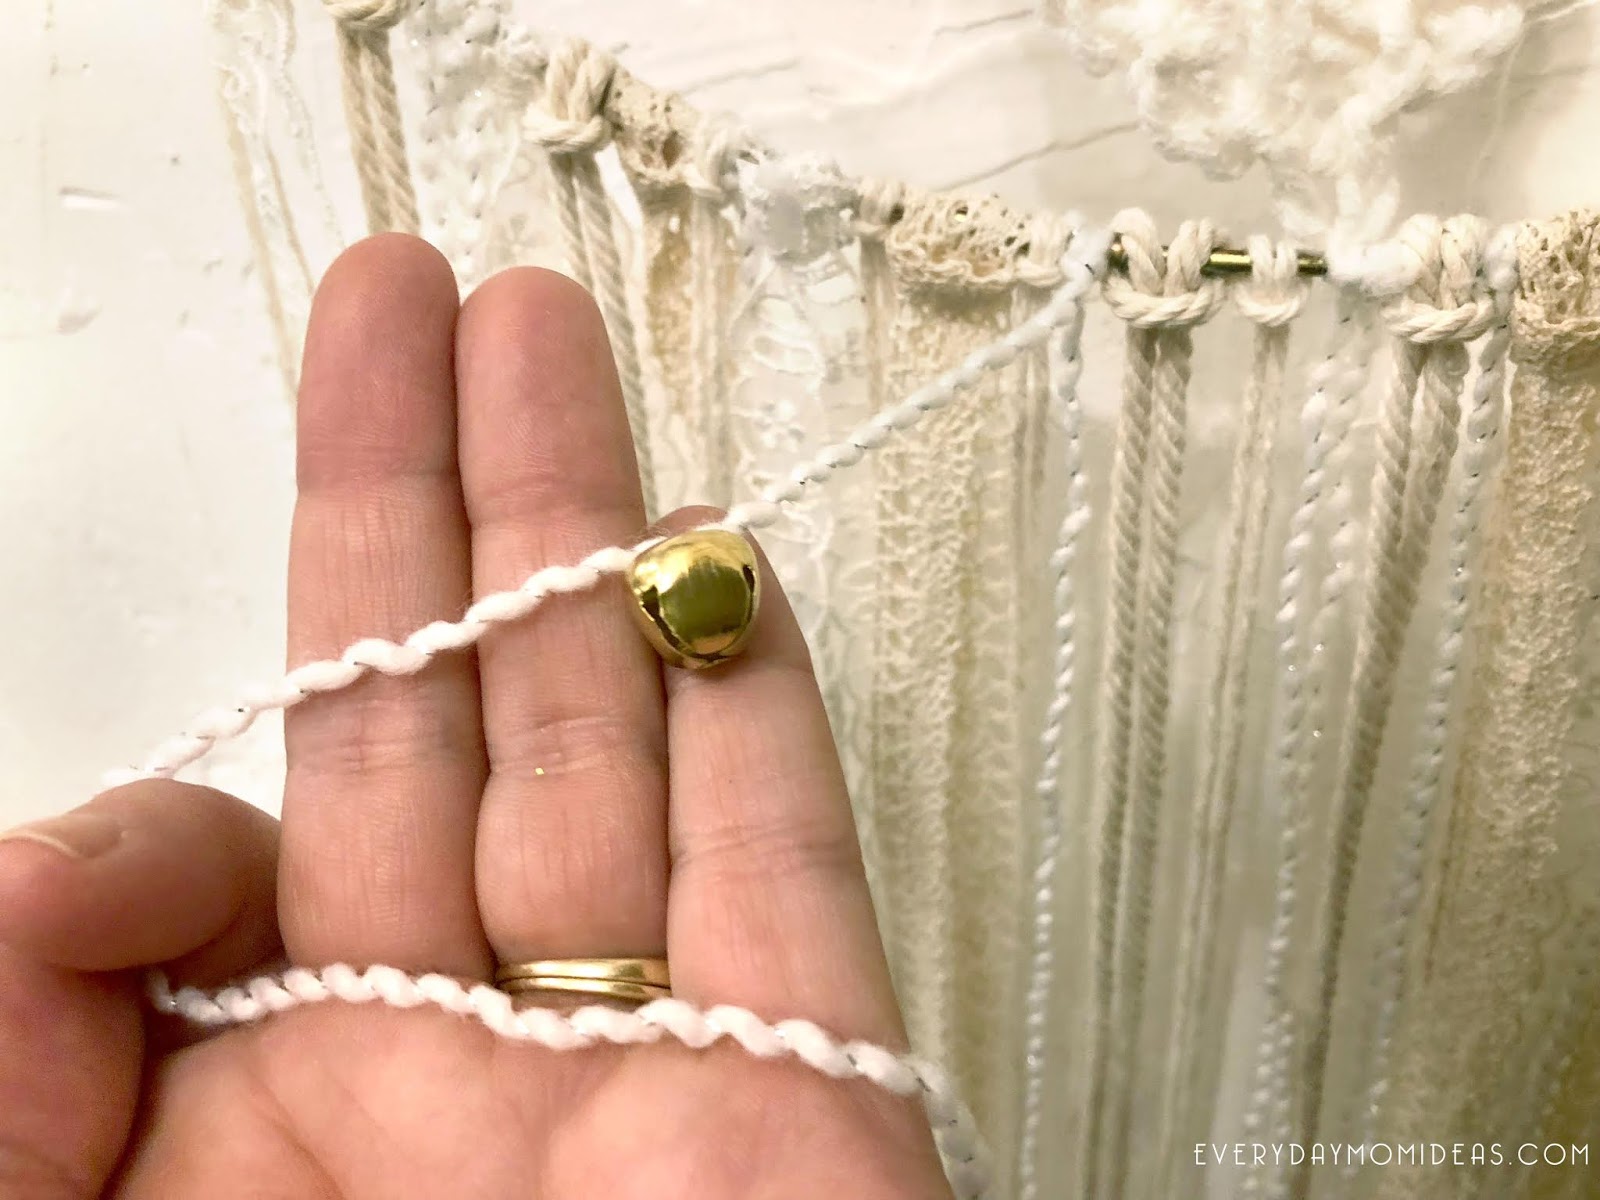
3. Once all of your ribbons are on you can play around with different knots and tying your bells on. When you tie your bells on you will want to start with tying the upper bells on first and working your way down the sting. Only tie one to three bells on a sting. I liked tying my bells onto the yarn not the ribbons because the yarn was thinner and lighter. The bells help weigh the thin yarn down so the yarn doesn’t wisp all over the place.

4. Adding Tassles: I feel like the tassels on the sides of the dreamcatcher really bring the whole design together and weights the lace down nicely. Tassels are really easy to make. Just roll a bunch of your macrame yarn around your hand about eight to ten times. Then cut the bottom of the loops of sting so all of your stings are the same leant. Then tie the loop tie around the middle of your bunch of sting. Fold the string down in half. To keep the stings all pointing down nicely take a piece of yarn and wrap it around the top of your tassel. I made this quick one minute tassel video that might help you make it faster.
5. And the very last thing you add on is the floral accents. I bought three Christmas floral bouquets at my local dollar store. They were completely perfect for what I was wanting. I also found some beautiful lace ribbon and the jingle bells there as well. Lots of crafting goodies at the dollar store. Just hot glue your flowers where you want them and in seconds your dream catcher is ready to hang and bring your some much needed boho Christmas cheer.
6. Trim: Don’t forget to trim your lace at the bottom. I cut mine into a tip at the bottom but you can cut your strait or keep your ribbons uneven. Just do what looks good to you.
TIP: If you take extra care to store your Christmas dream catcher away after the holiday you will be able to enjoy this dreamcatcher for years to come. These Christmas dream catchers also make wonderful gifts and look beautiful over the heads of little ones with sugar plums dancing in their heads.
Please share this Pinterest friendly image below with your fiends and family or save it to inspire you next year.

SHARE THIS STORY
Arts & CraftsBoho Christmasboho decorboho dreamcatcherChristmas Decorchristmas dream catcherdiy decordiy dream catcherdream catcher
You might also like
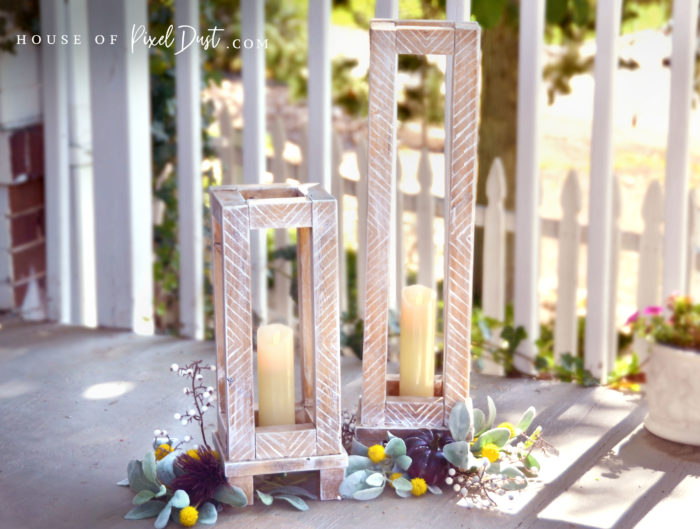
Large Wood Porch Lantern Set (DIY Decor Without Tools Tutorial)
October 7, 2019

Sunset Mountains (Modern Boho Art Print Freebie)
August 12, 2019

DIY Double Mountain Book Ends (From Wood Scraps)
August 6, 2019
