I looked everywhere for a wreath tutorial that I could do for Halloween where the items required was stuff I just had around my house and I came up with nothing!
So I had to make my own!
Best part of this design… No styrofoam needed!
Need:
Medium to Large size cardboard box
1/2 yard of fabric
Hot glue gun with sticks
1/4 yard of fabric for Big ribbon.
1. Unfold cardboard box and flatten it out. Cut out a large square piece. This is what we will use for the backing. To get the Wide circle outline for the wreath here is an easy trick:
Tack a piece of yarn measuring how wide you want the circle. Tie a pencil to it and use this to draw your circle. To make the smaller circle just tie the pencil to half the length of the yarn and draw from there.
2. Cutout outline. You can use scissors, a knife or a razor blade. It doesn’t have to be perfect.
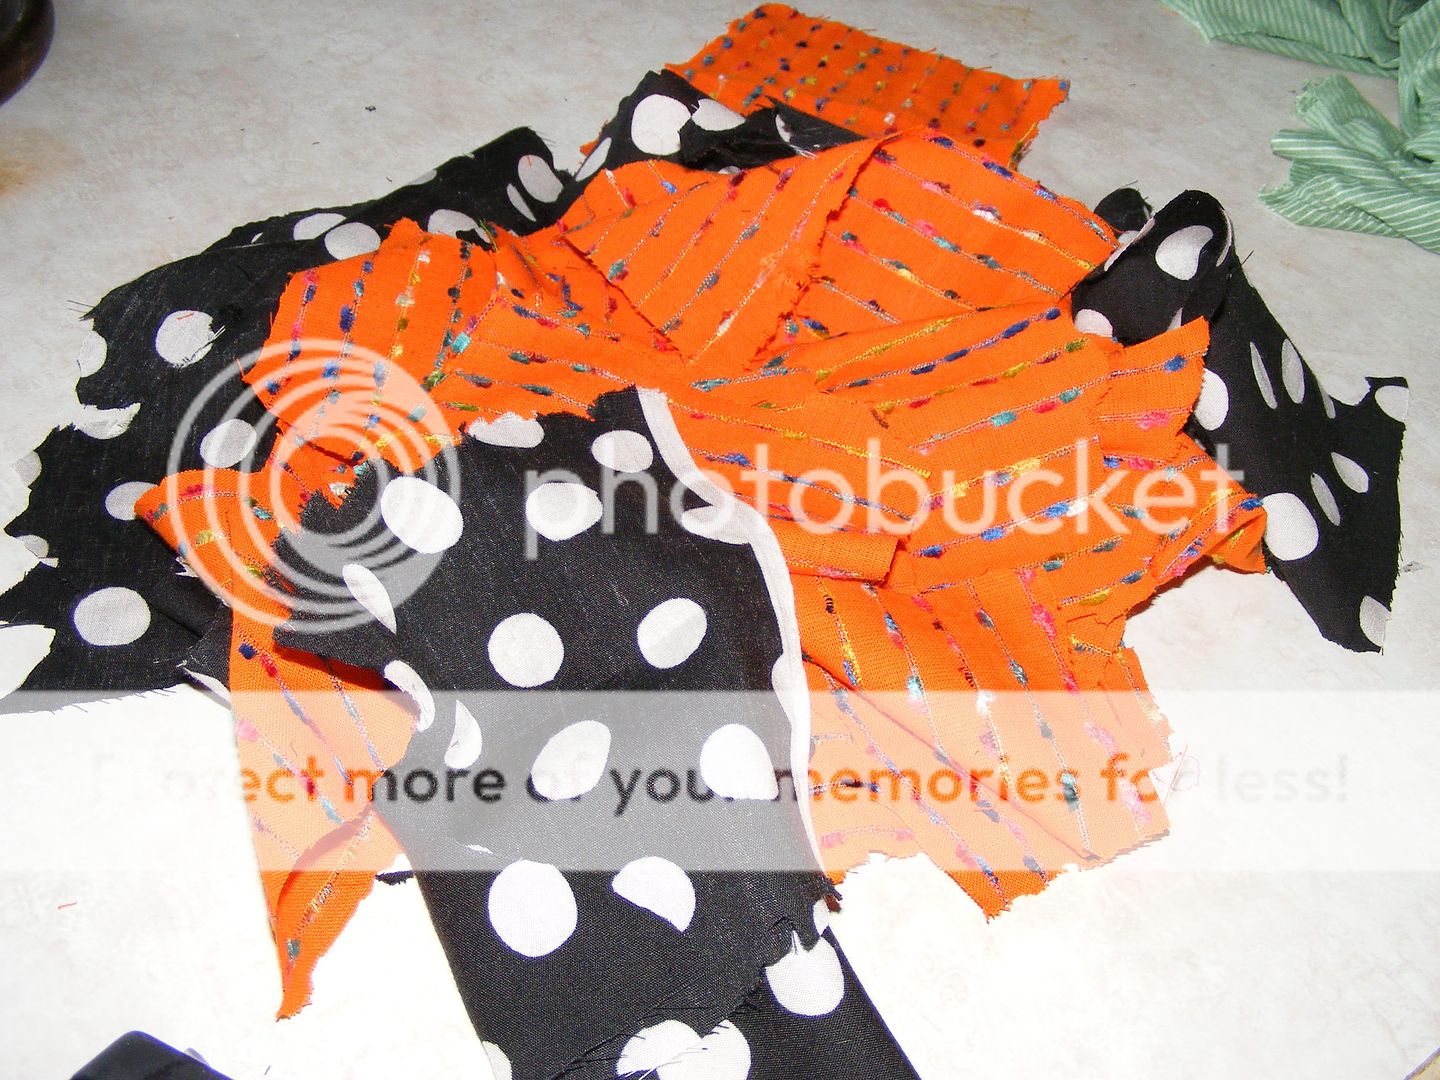
3. Next I cut strips our of 1/4 a yard of orange fabric and less than that out of some black fabric. The print does not mater. I then cut the strips into 2 to 3 inch squares.
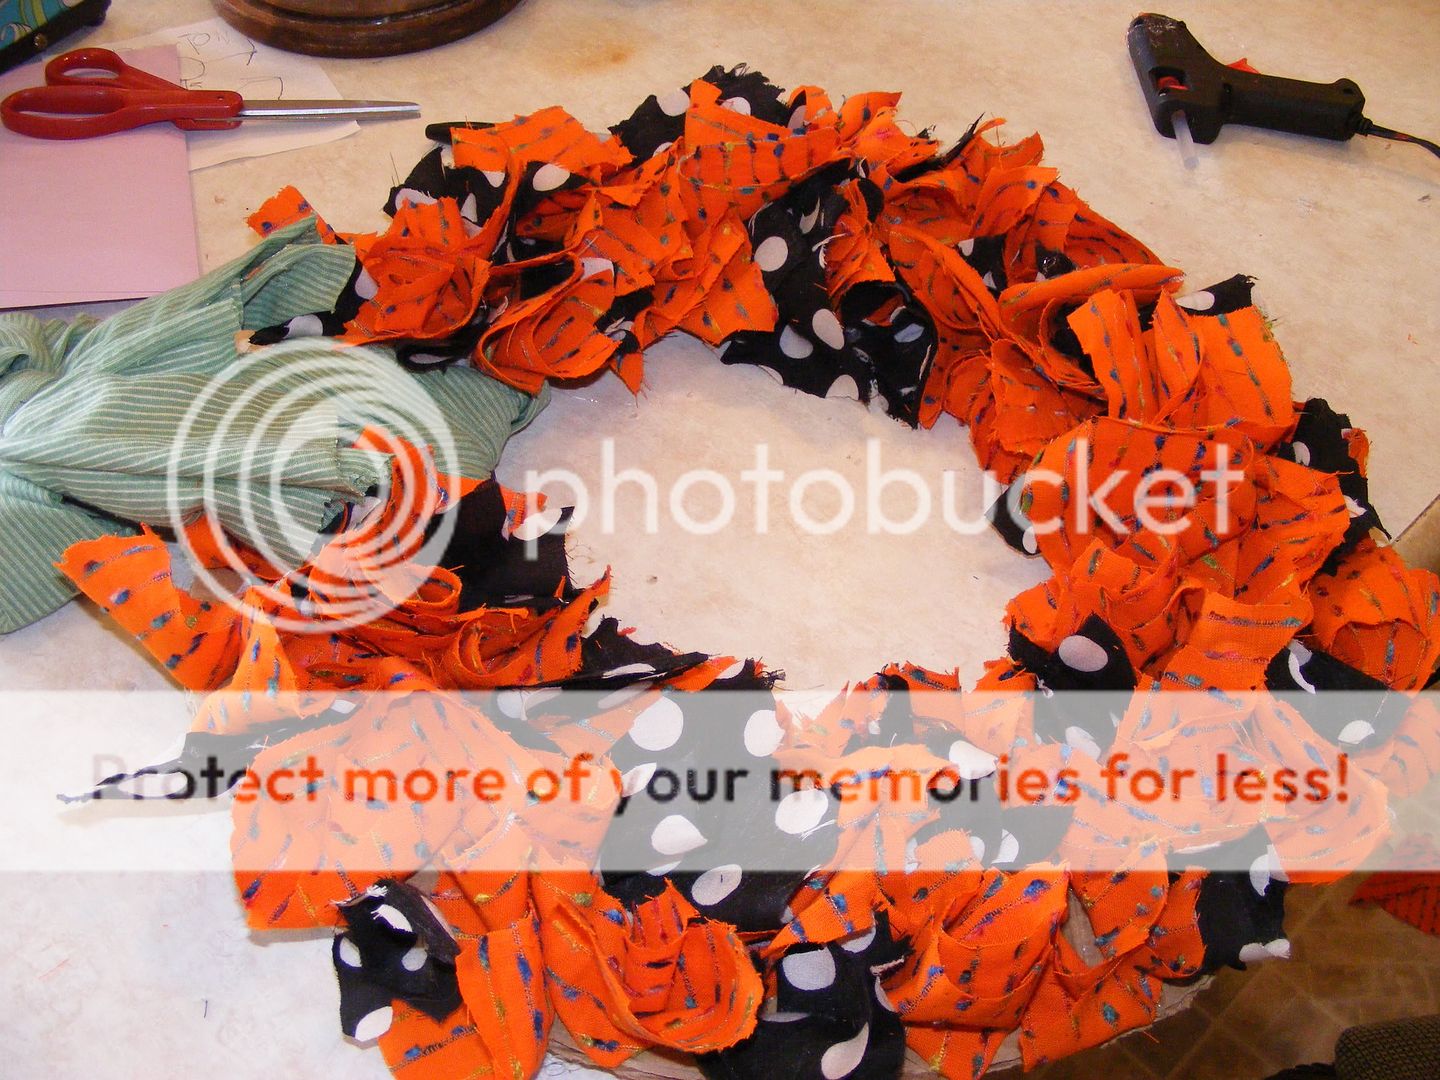
4. Here I folded the square twice and glued the middle tip to the cardboard. You don’t want to glue them too close, about 3 pieces of fabric a row across. It should start to look a little like this…
5. Your going to want to leave a little room at the top when your done to put the ribbon. You can use a 3 foot long piece of fabric for the ribbon. Tie the ends together first into a bow, then loop it in between itself and around the wreath kind of like a scarf. Then your done and its ready to hang!
I hope you have fun with this one!


