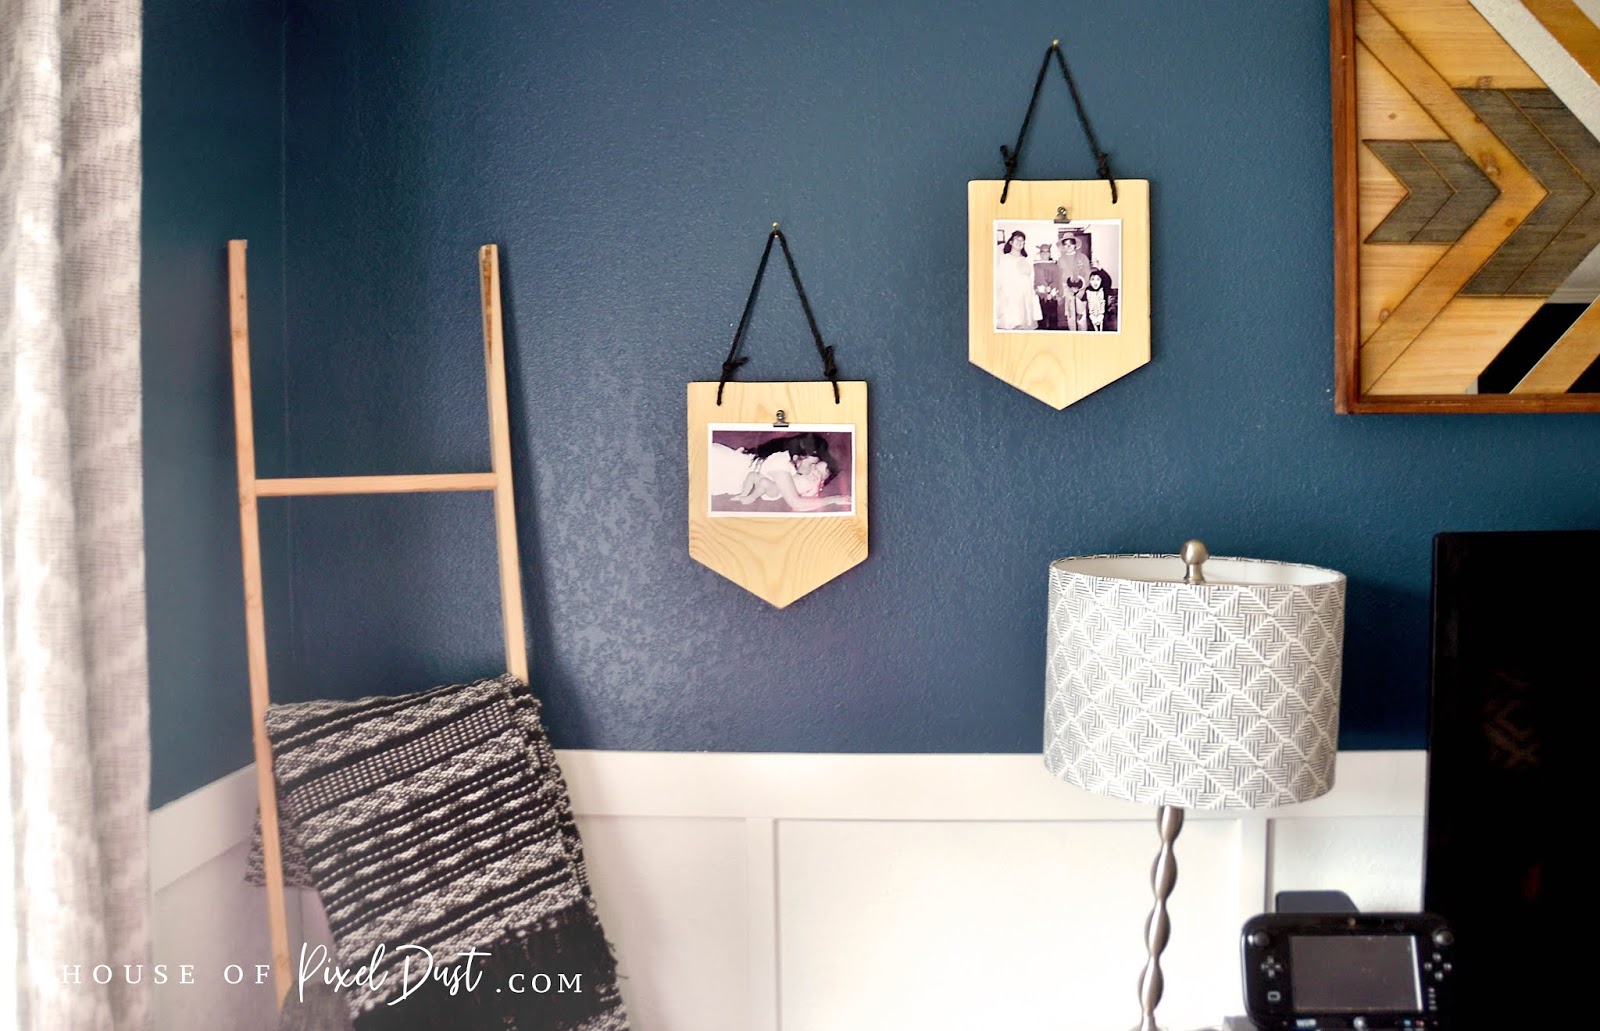
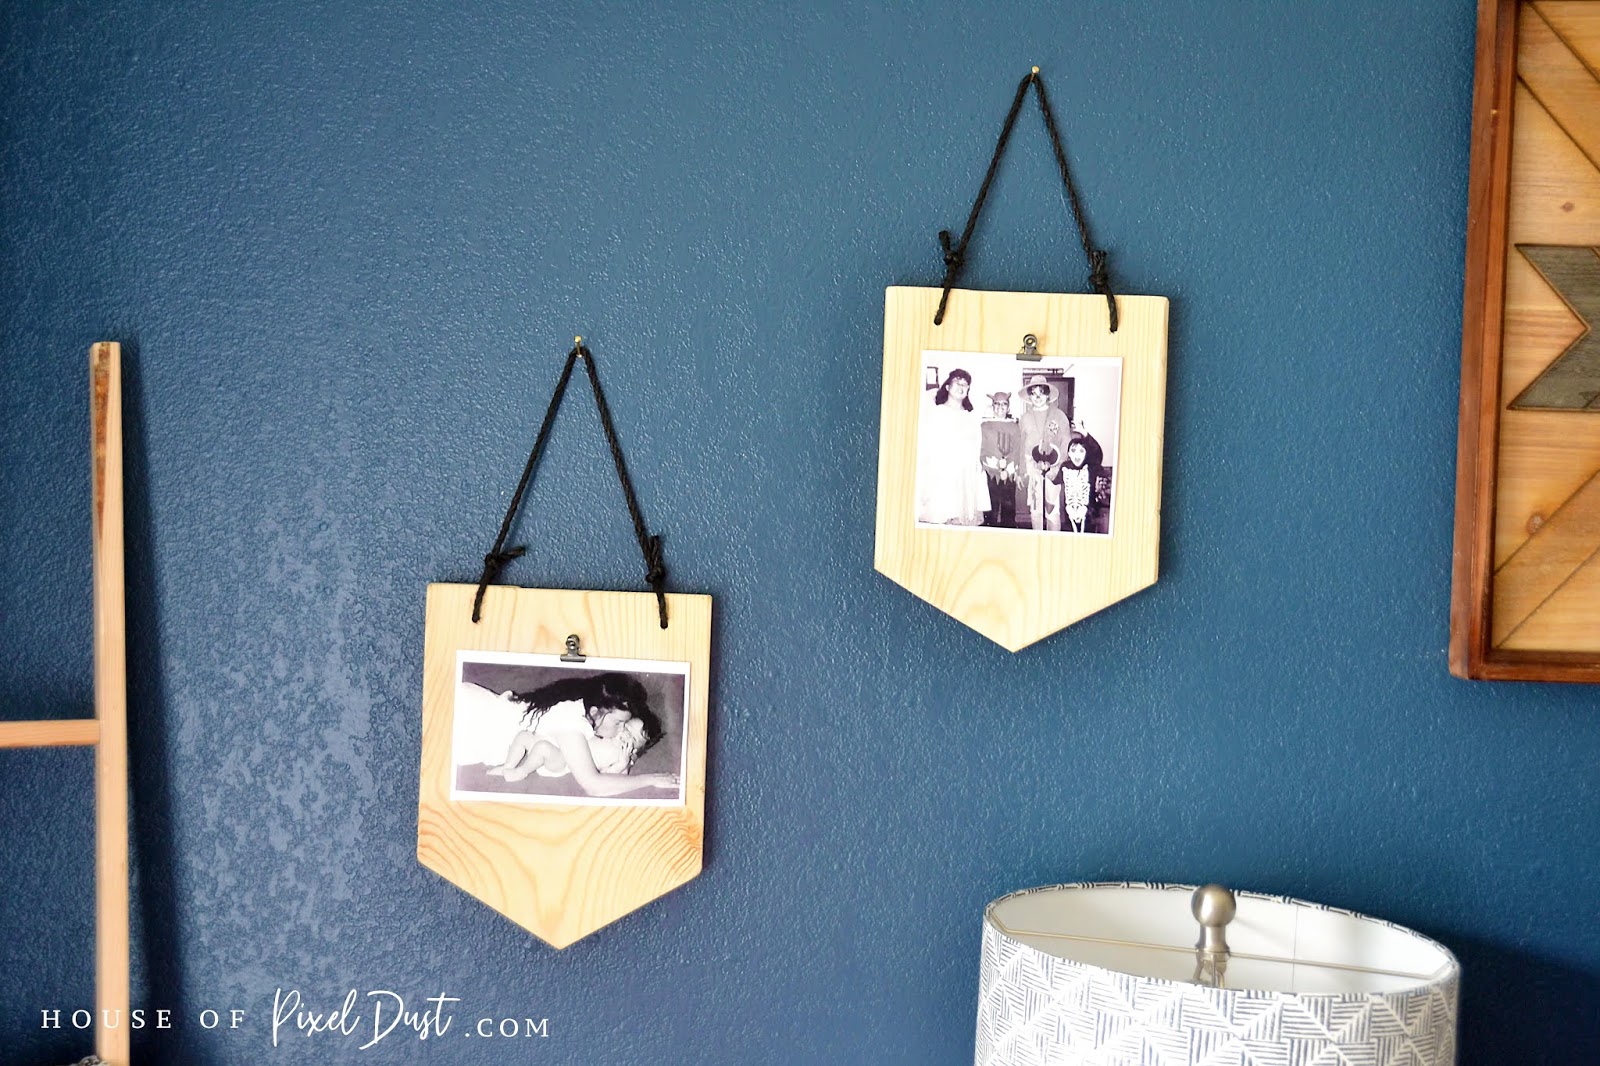
This easy craft project is a fun boho twist on a classic photo clip frame. Photo clip frames are an awesome option to displaying your favorite photos because they are easy to change up and switch out photos and art work regularly. I like the casualness a clip photo frame can add to your decor vibes and thought it would make the perfect addition to the wall display I was designing in my brothers new sophisticated boho bachelor pad.
I was inspired by all the adorable wall art flag banners I have seen trending on Pinterest lately, and wondered what it would be like to create that same banner flag look but with a studier substance like wood instead of felt. And then I asked myself how do we keep this as simple and as natural as possible but keep it interesting? This is the result.
Two cuts, two drilled holes, one black string, a clip, and one raw wood board. Its that easy!
Boho Photo Clip Frame Instructions:
Project Time: 20 Minutes
Need:
1×8 board
12 inch long black rope string
Clip
Tools:
Chop Saw
Drill
Hot Glue
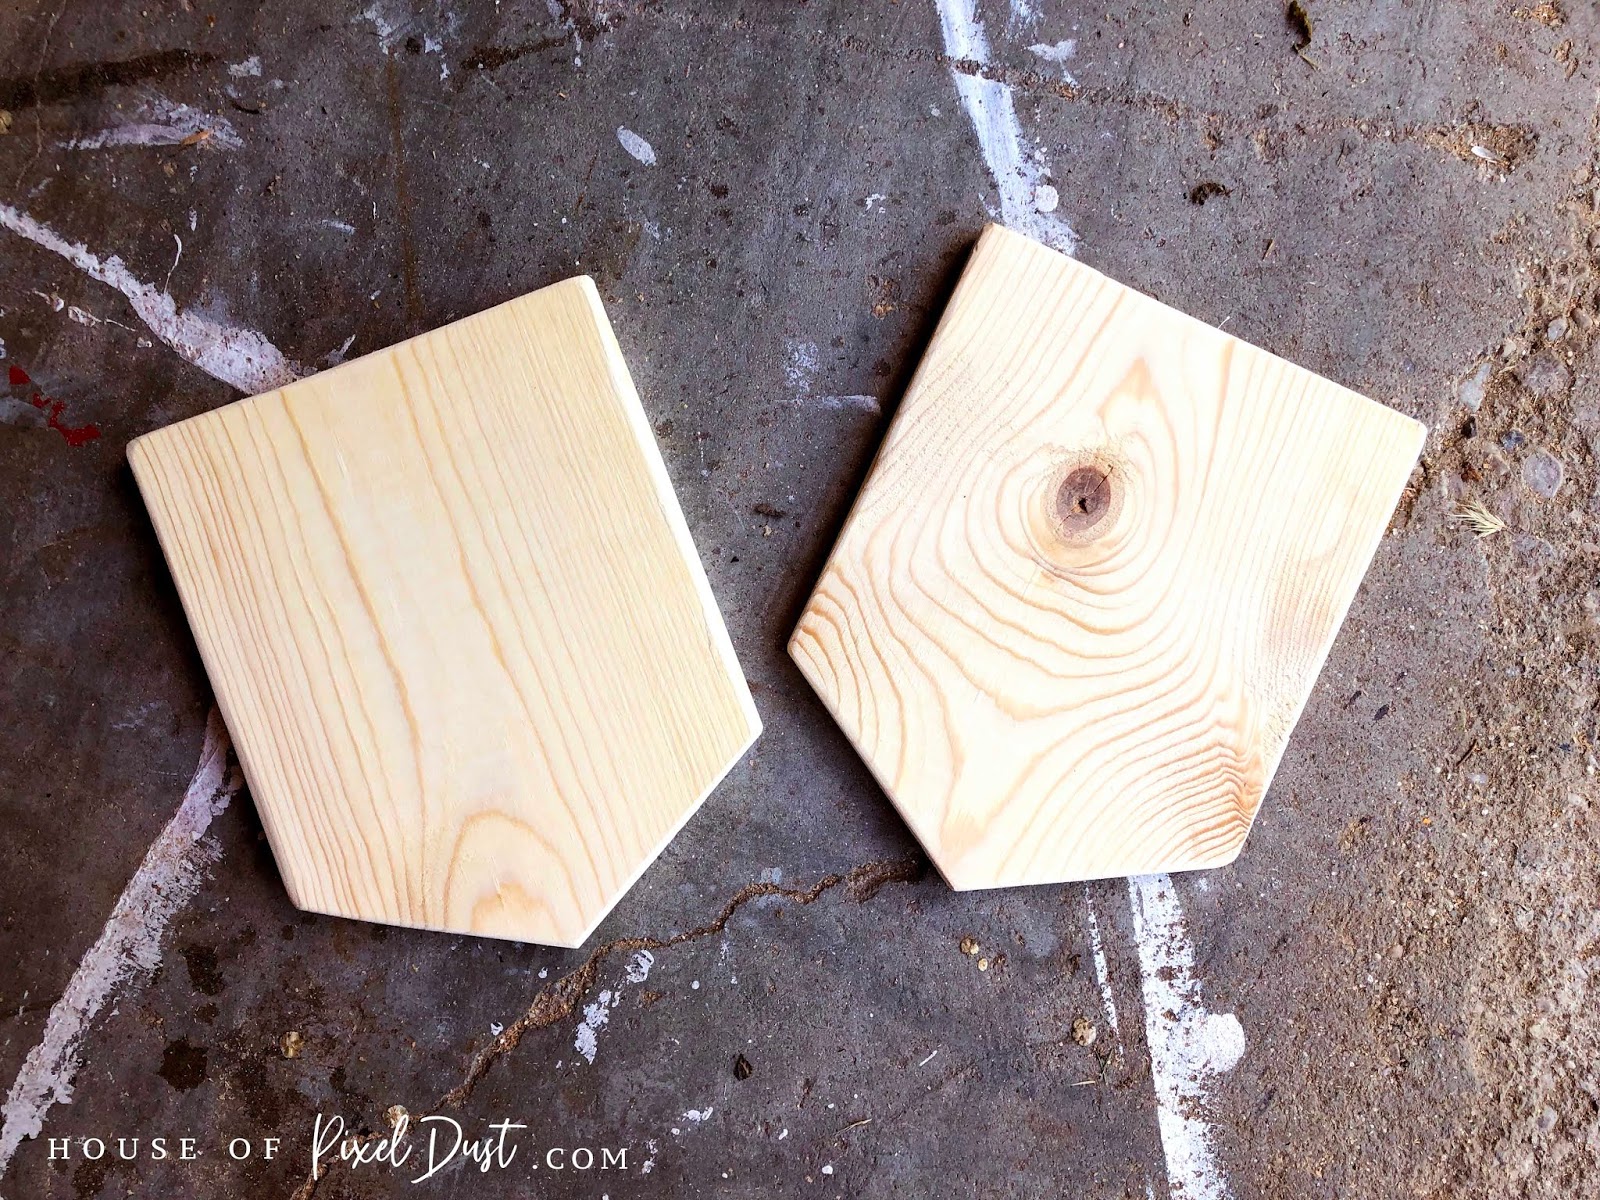
1. Mark and Cut your board at an angle 10 inches down from the top of your 1×8 board. Cut the corners of your board at a 30 degree angle off each side to create your arrow point.
2. Once all your sides are cut sand your sides and tips down smooth with a fine grain sandpaper. The 120 grit works great for this this kind of project.
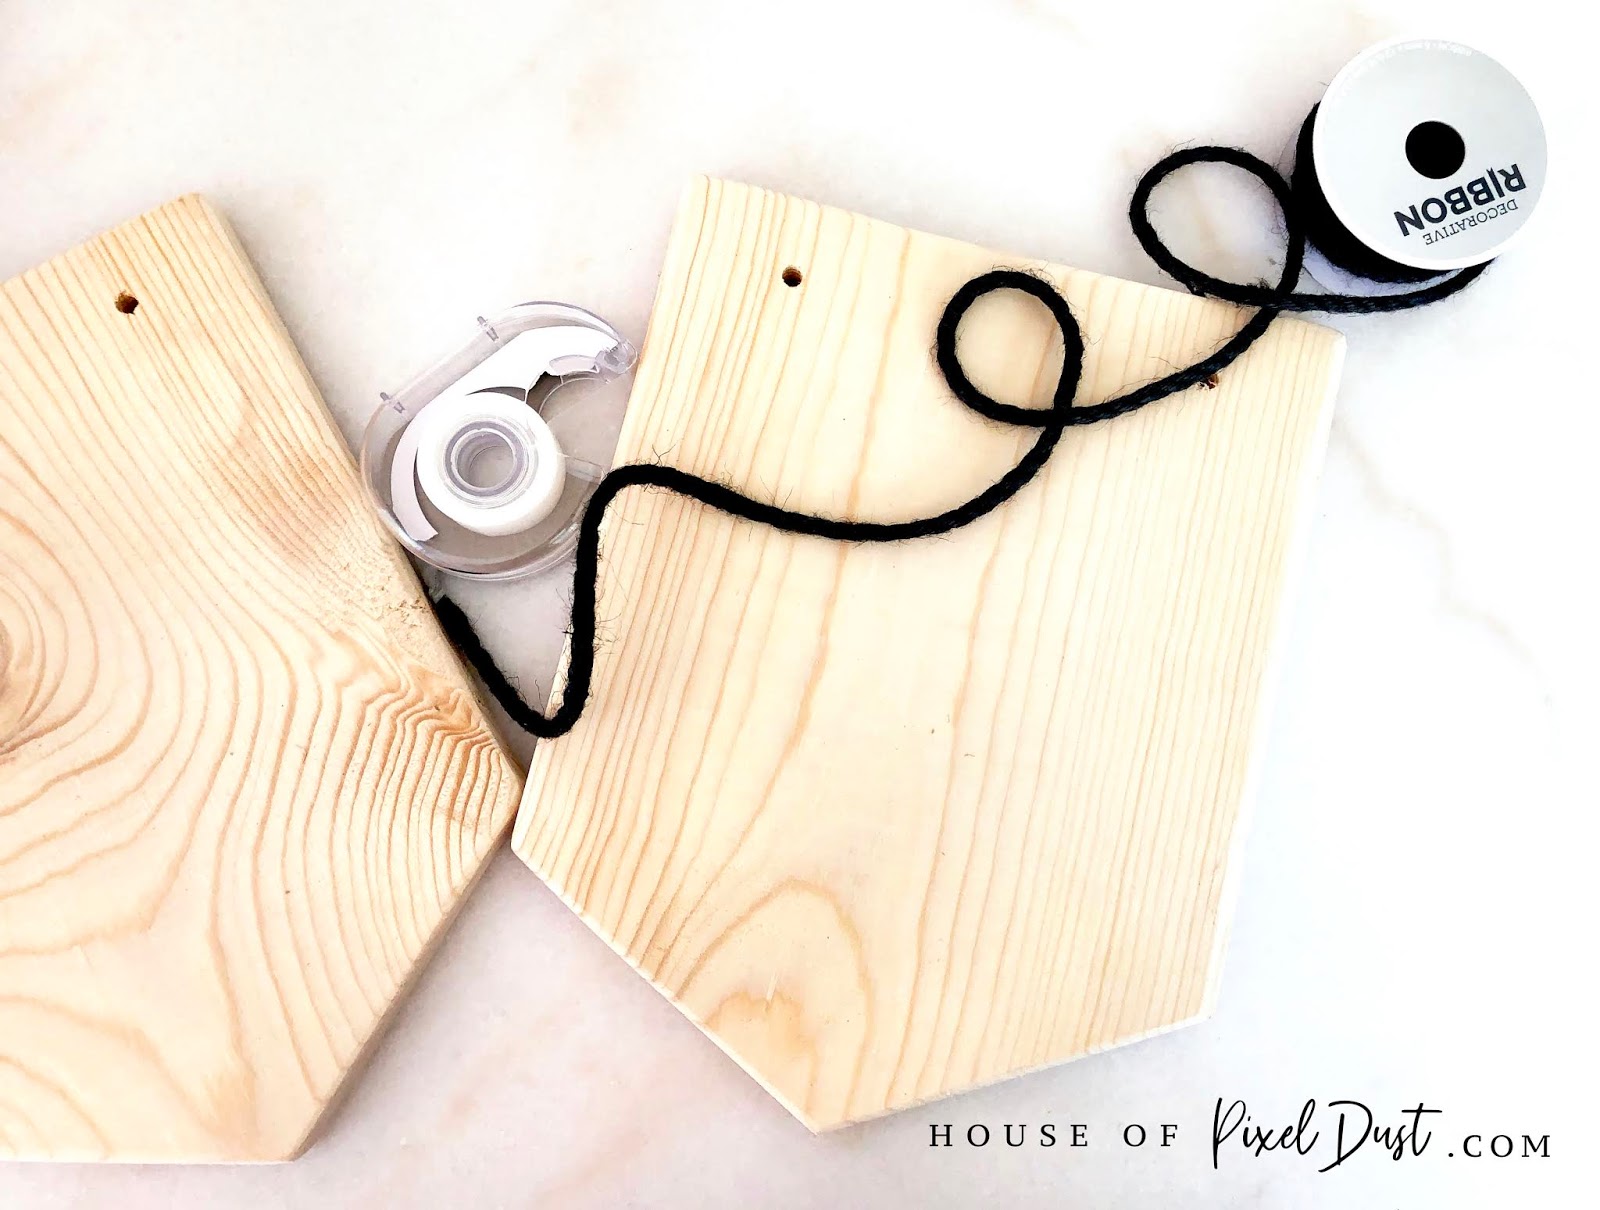
3. To drill the holes place your boards on some pieces of scrap wood to bring your board up off the ground. Drill your holes for your sting about five inches apart and about a half of an inch from the top. Don’t worry if its just a little off if won’t mess with the hanging of your picture frame.
4. Once your holes are drilled and everything is cut and sanded smooth you can add your string.
TIP: To add your string easily just tape one of the ends of the string nice and tight so it doesn’t fringe when your trying to thread it through the hole. Then you can remove the tape or cut it off once your string is all the way through.
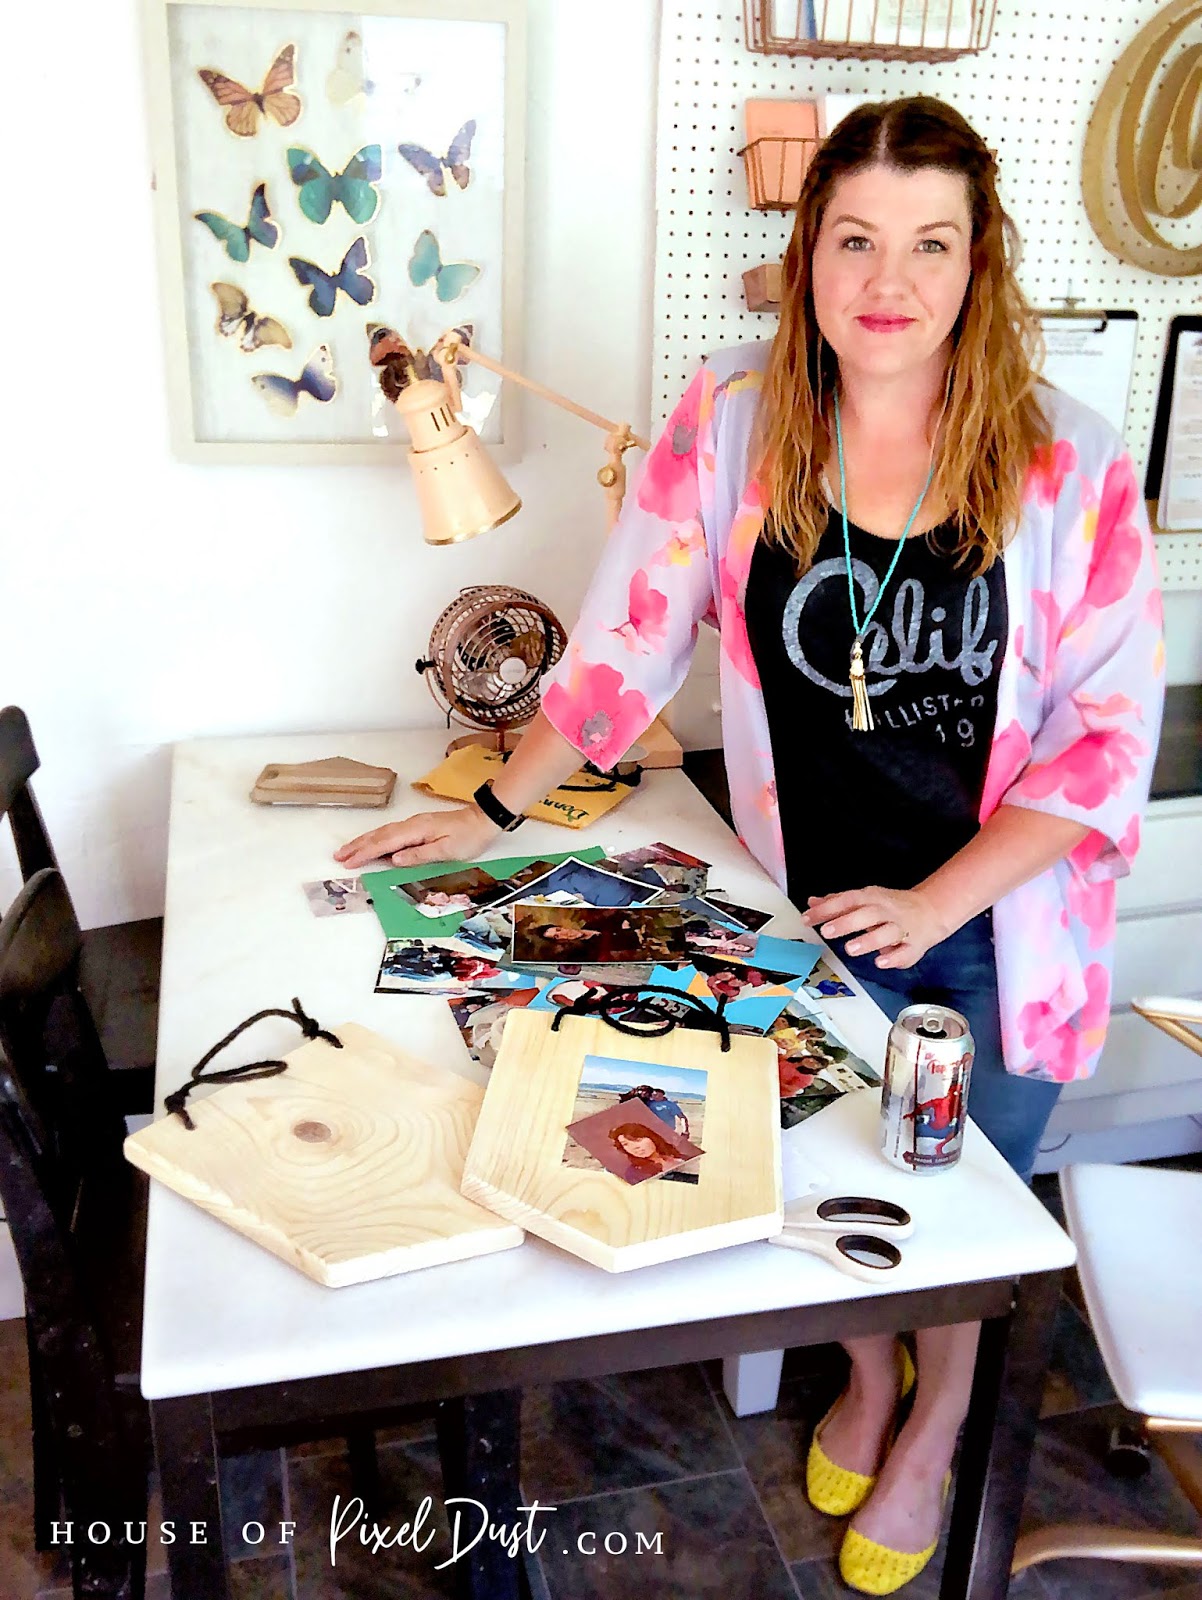
5. Hot glue the back of your clip to your board. I found some great metal mini clips at Hobby Lobby in the scrapbook isle for just a few bucks.
Tip: Larger square photos that are six by six inches seem to work the best for this size of a photo frame
Stain: These wood clip frames look great with a dark wood stain as well but I wanted to have a more natural wood look for mine. Wood stain and a top coat of polyurethane helps protect your wood and keep it more dirt resistant.
I hope this tutorial is helpful to you and you will enjoy your DIY photo wall displays for years to come. I love seeing your projects and getting feedback so be sure to leave a comment below and let me know if you have any questions about this project.
SHARE THIS STORY
Arts & Craftsbohoboho decorBoho Picture framebudget craftDecoratingdiy decorDiy Picture frameDIY Projectsdiy signsdiy wood projecthome decorhome decor artpicture displaywall artwall decorwood craftwood decorwood signswood workingwoodworking


