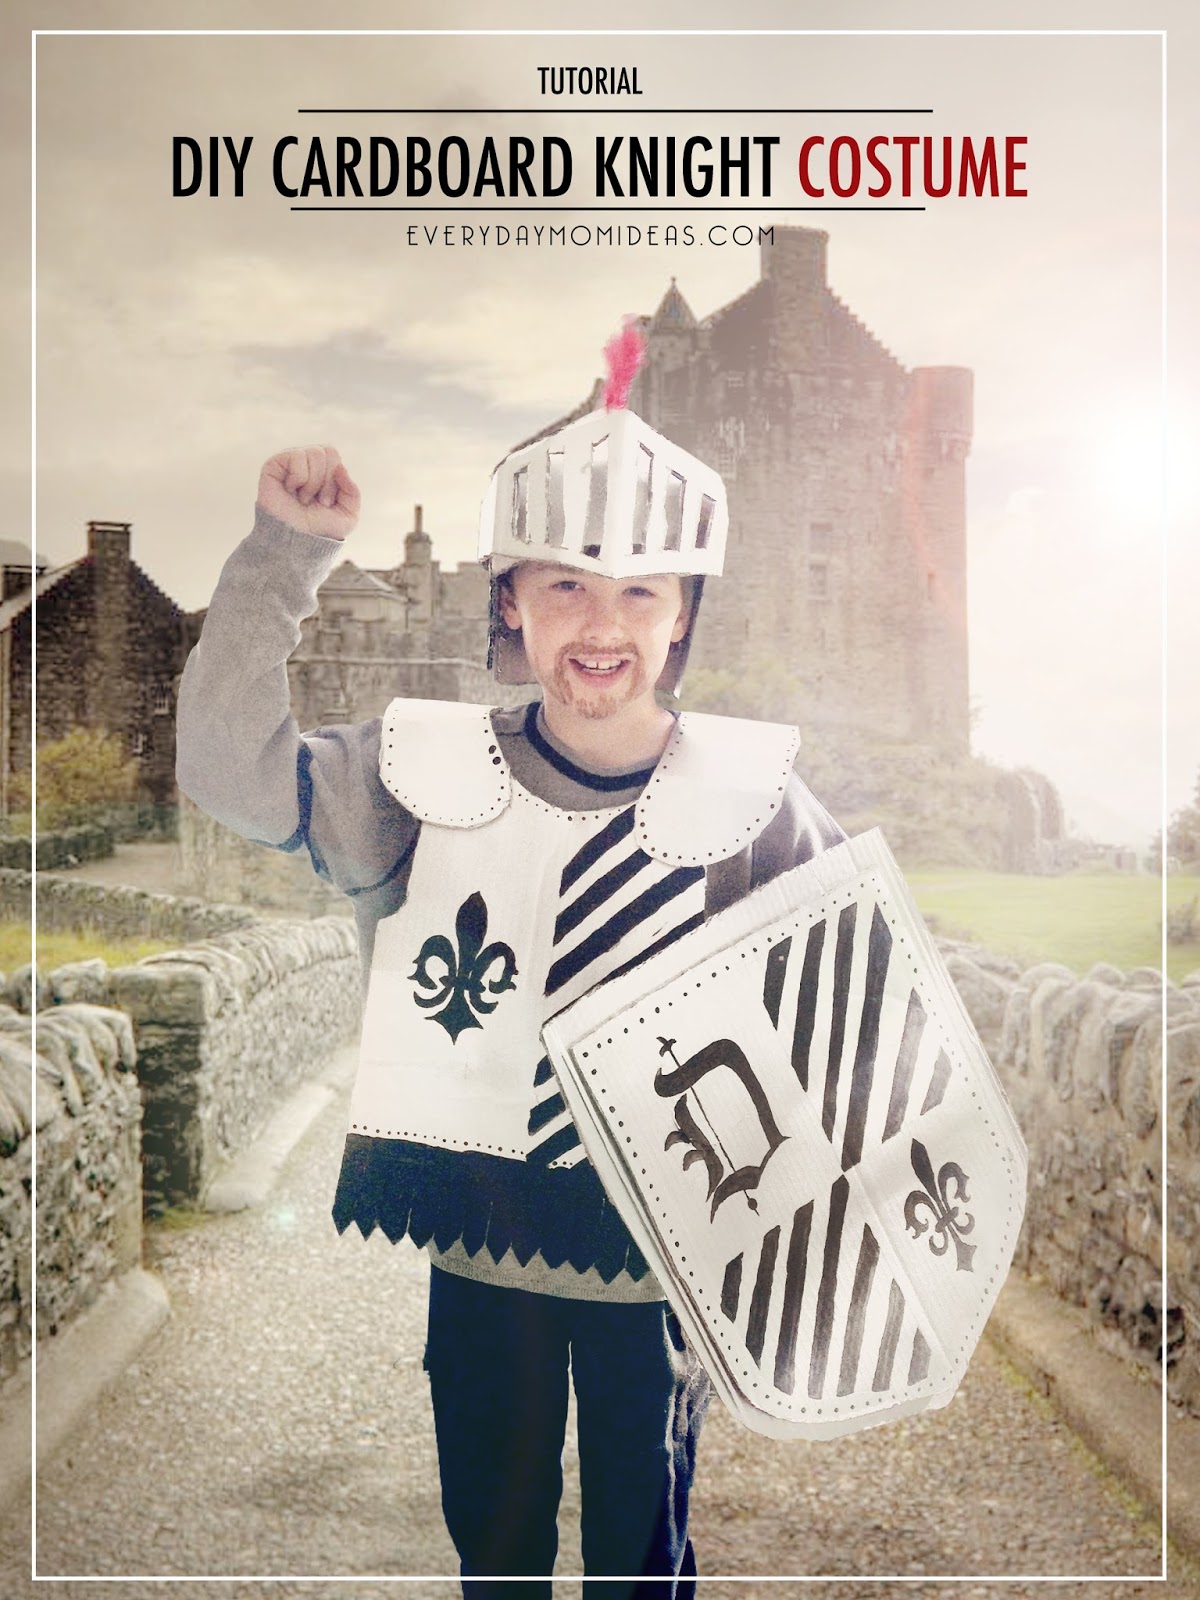
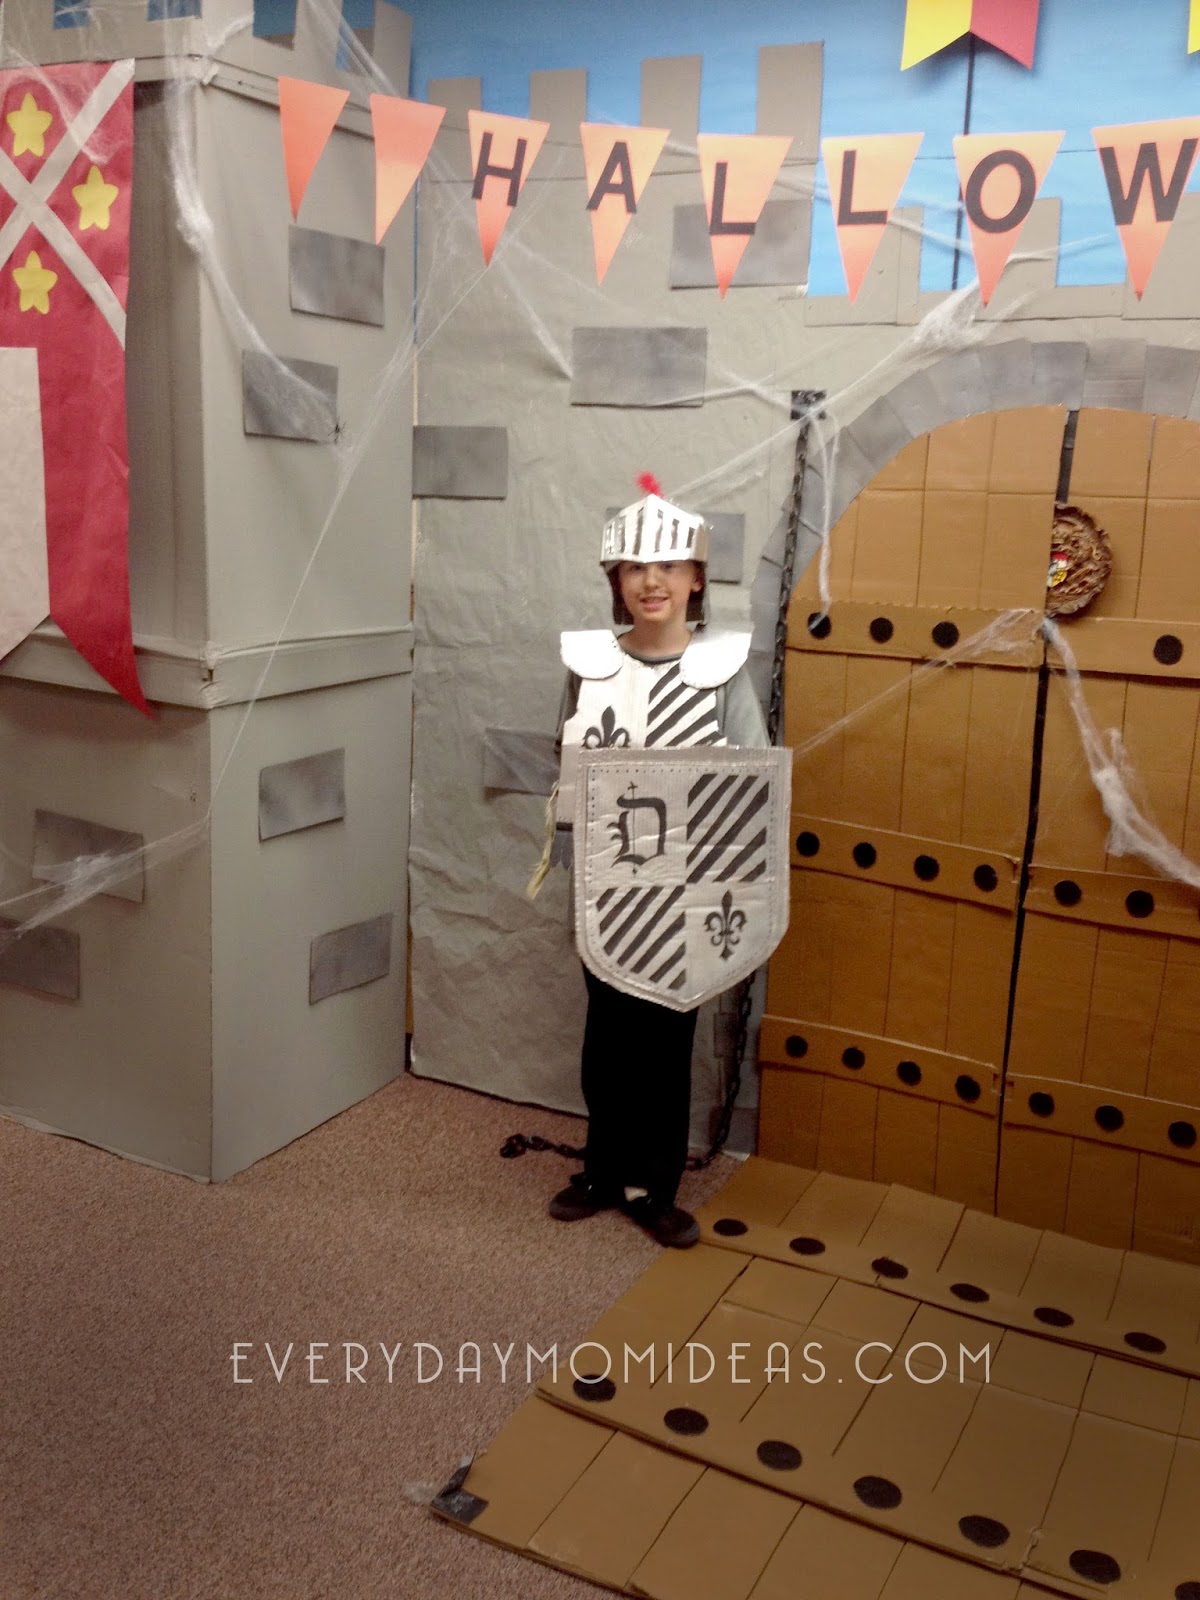
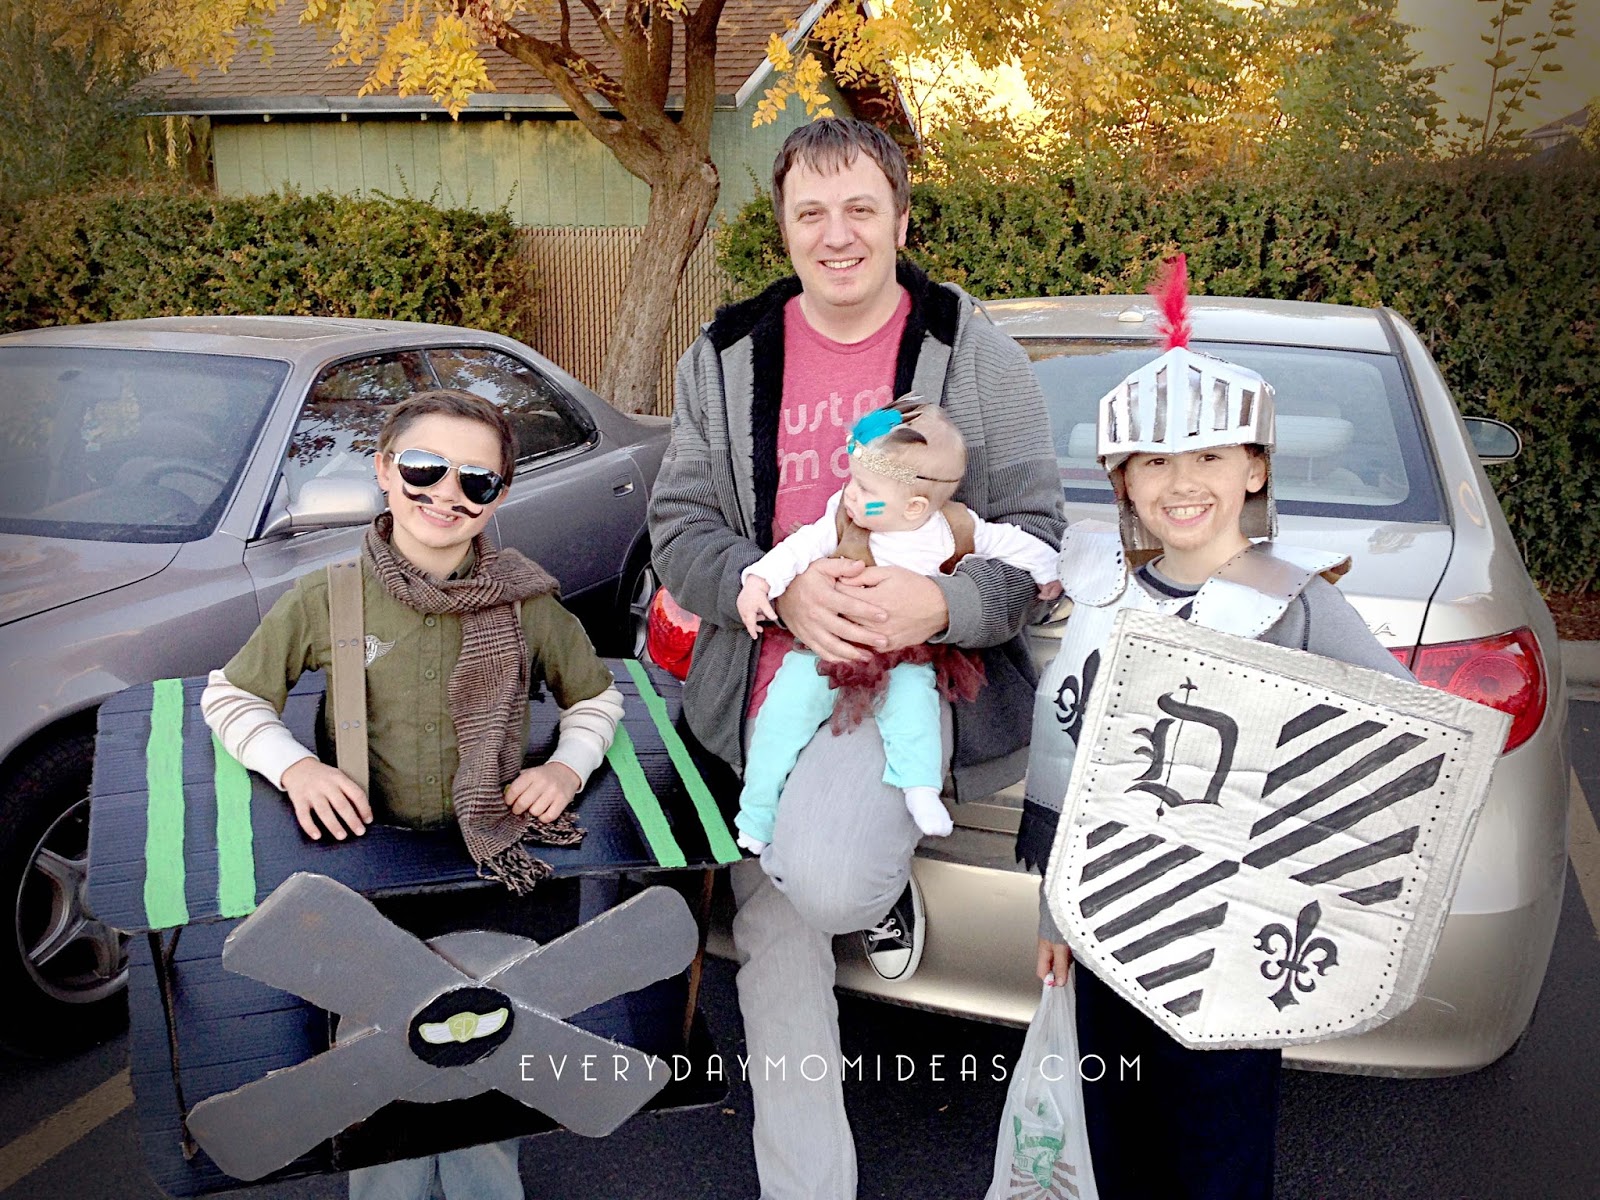
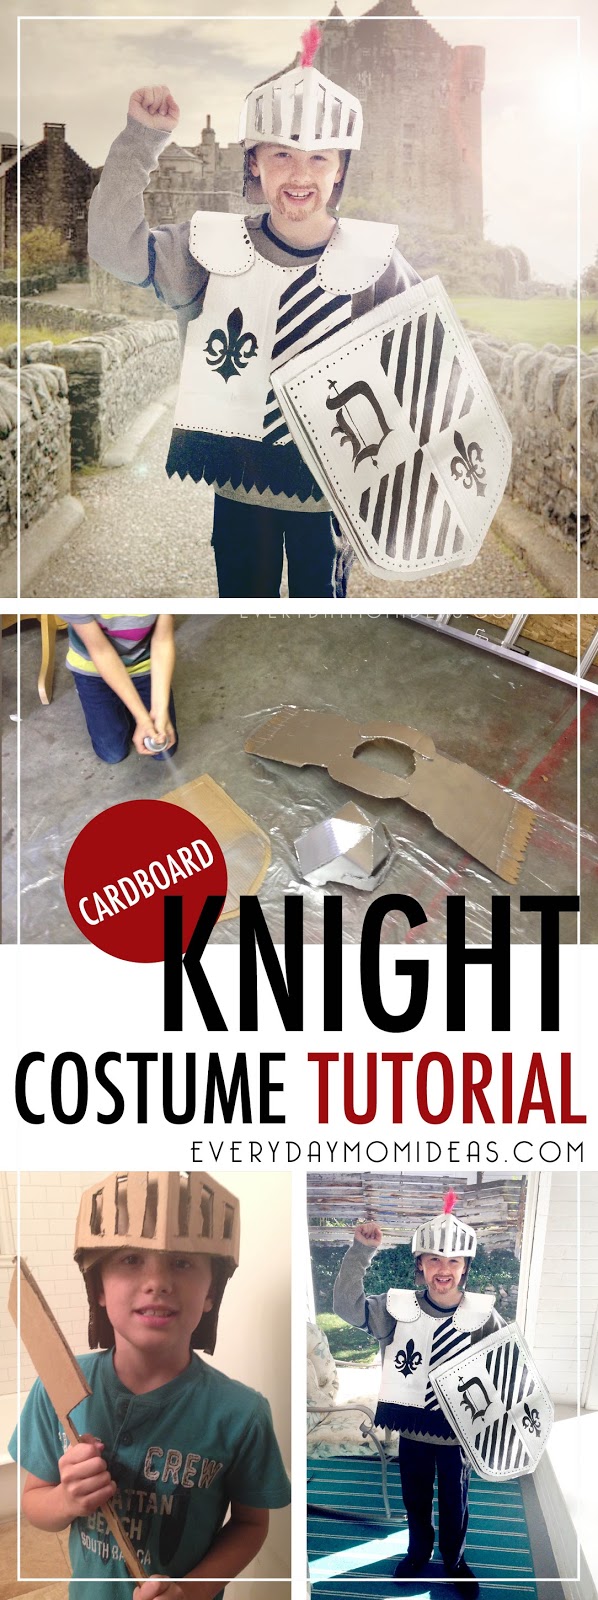
We kept this cardboard knight costume simple by cutting out basic shapes and using simple designs. This is a great costume if your on a budget or if you just want to make something extra special and custom made. This costume didn’t actually cost us a thing. We were able to find everything we needed with stuff we already had around the house.
My little knight loved making this with me and having a Halloween costume tailored just for him with his initial proudly on the front of his shield.
Need:
Lots of big cardboard boxes
Sharp Knife, Scissors, and/or box cutters
Silver Spray Paint
Glue Gun and Lots of Glue
Black Paint
The helmet is the most complicated piece, so try not to give it too much detail. Just keep it simple. It takes a lot of extra glue and you may have to hold all the sides together by hand while the glue from the glue gun is firming up and cooling down.
The Helmet is made of one piece of cardboard that goes across for the face guard and six pieces of cardboard that look like this pointed rectangle…
You will need to measure around the occupants head and add two to three extra inches to that measurement to come up with the size you need for the helmet. Then divide that measurement by six to get the width of each pointed rectangle you will need. Once all of your six pieces of cardboard are glued securely together into a polygon, you can press down the triangular tops down until they are all touching each other. Making up the top of the helmet. Glue this triangular pieces down securely. The more glue the better. Tip: If the glue is just not holding down the pieces try using masking tape to tape down your more stubborn pieces.
After all your sides are solidly glued together you can now carve out the shape of your helmet. Be sure to cut out ample room for the face. Cut out and glue on the face guard piece. We glued ours on to look open on top so that my little knight didn’t have any problems with visibility.
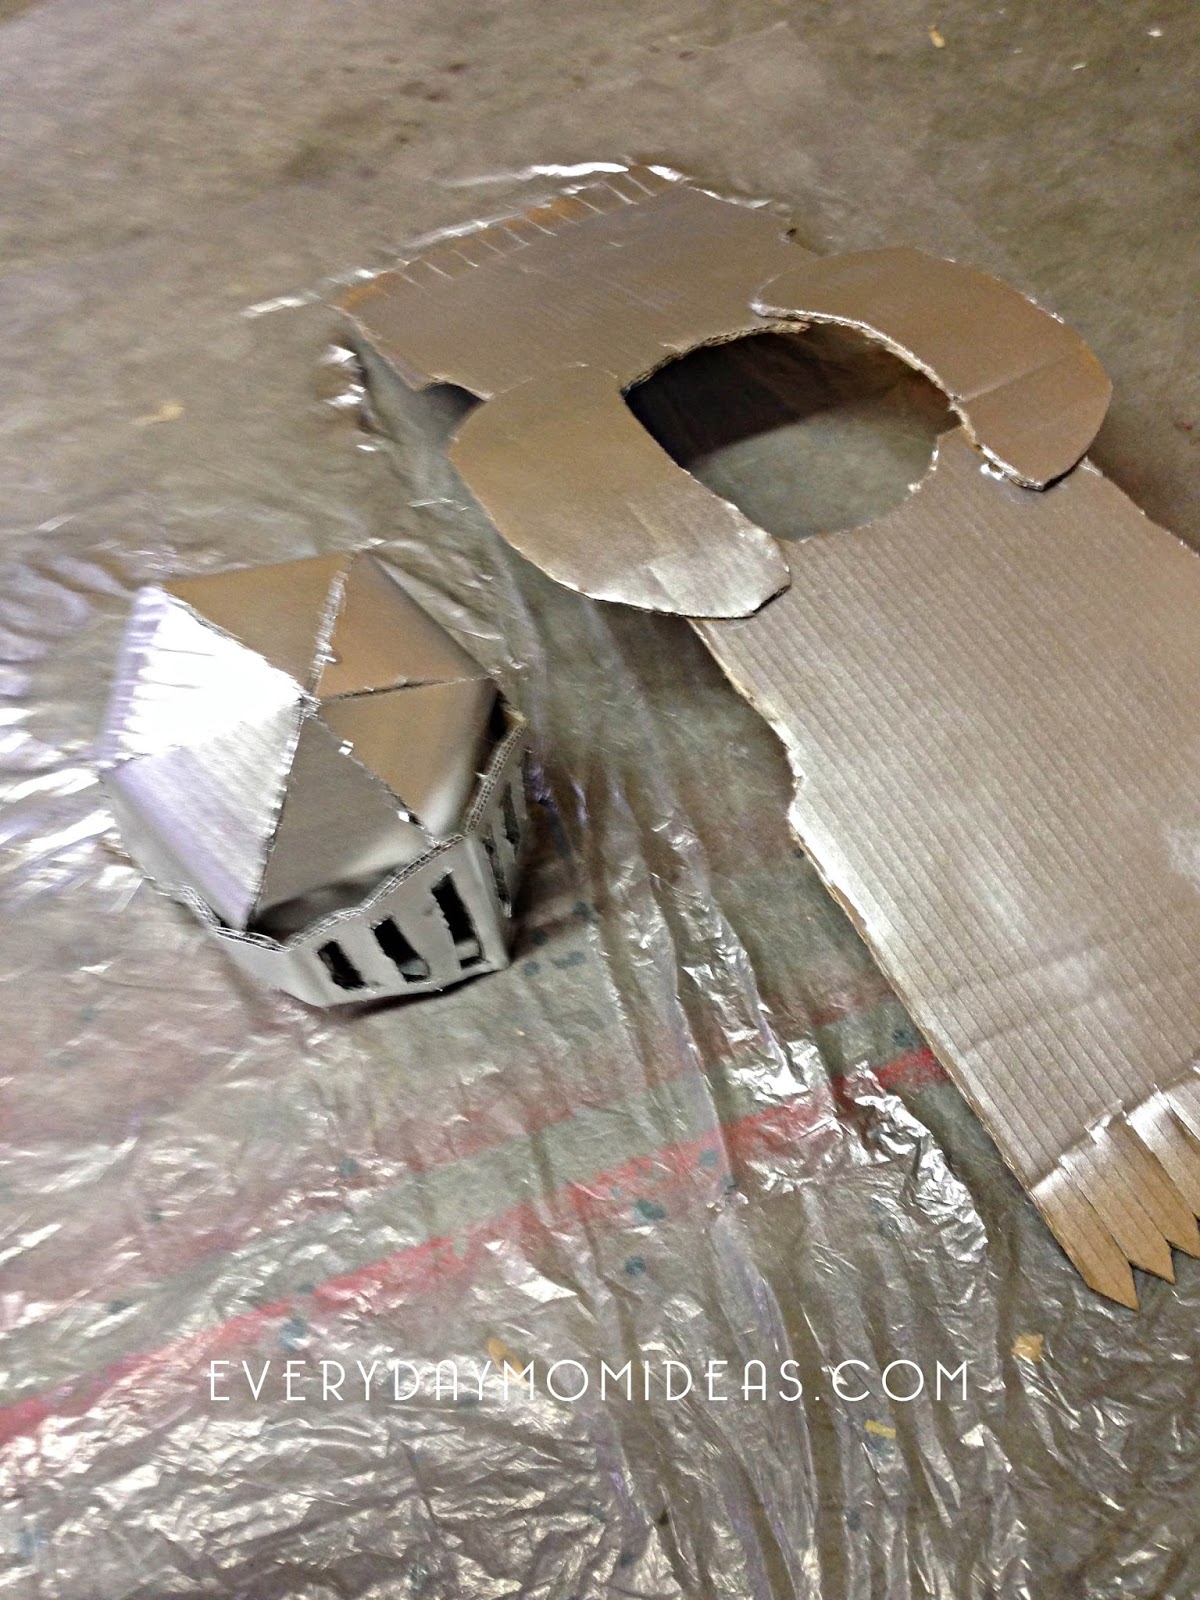
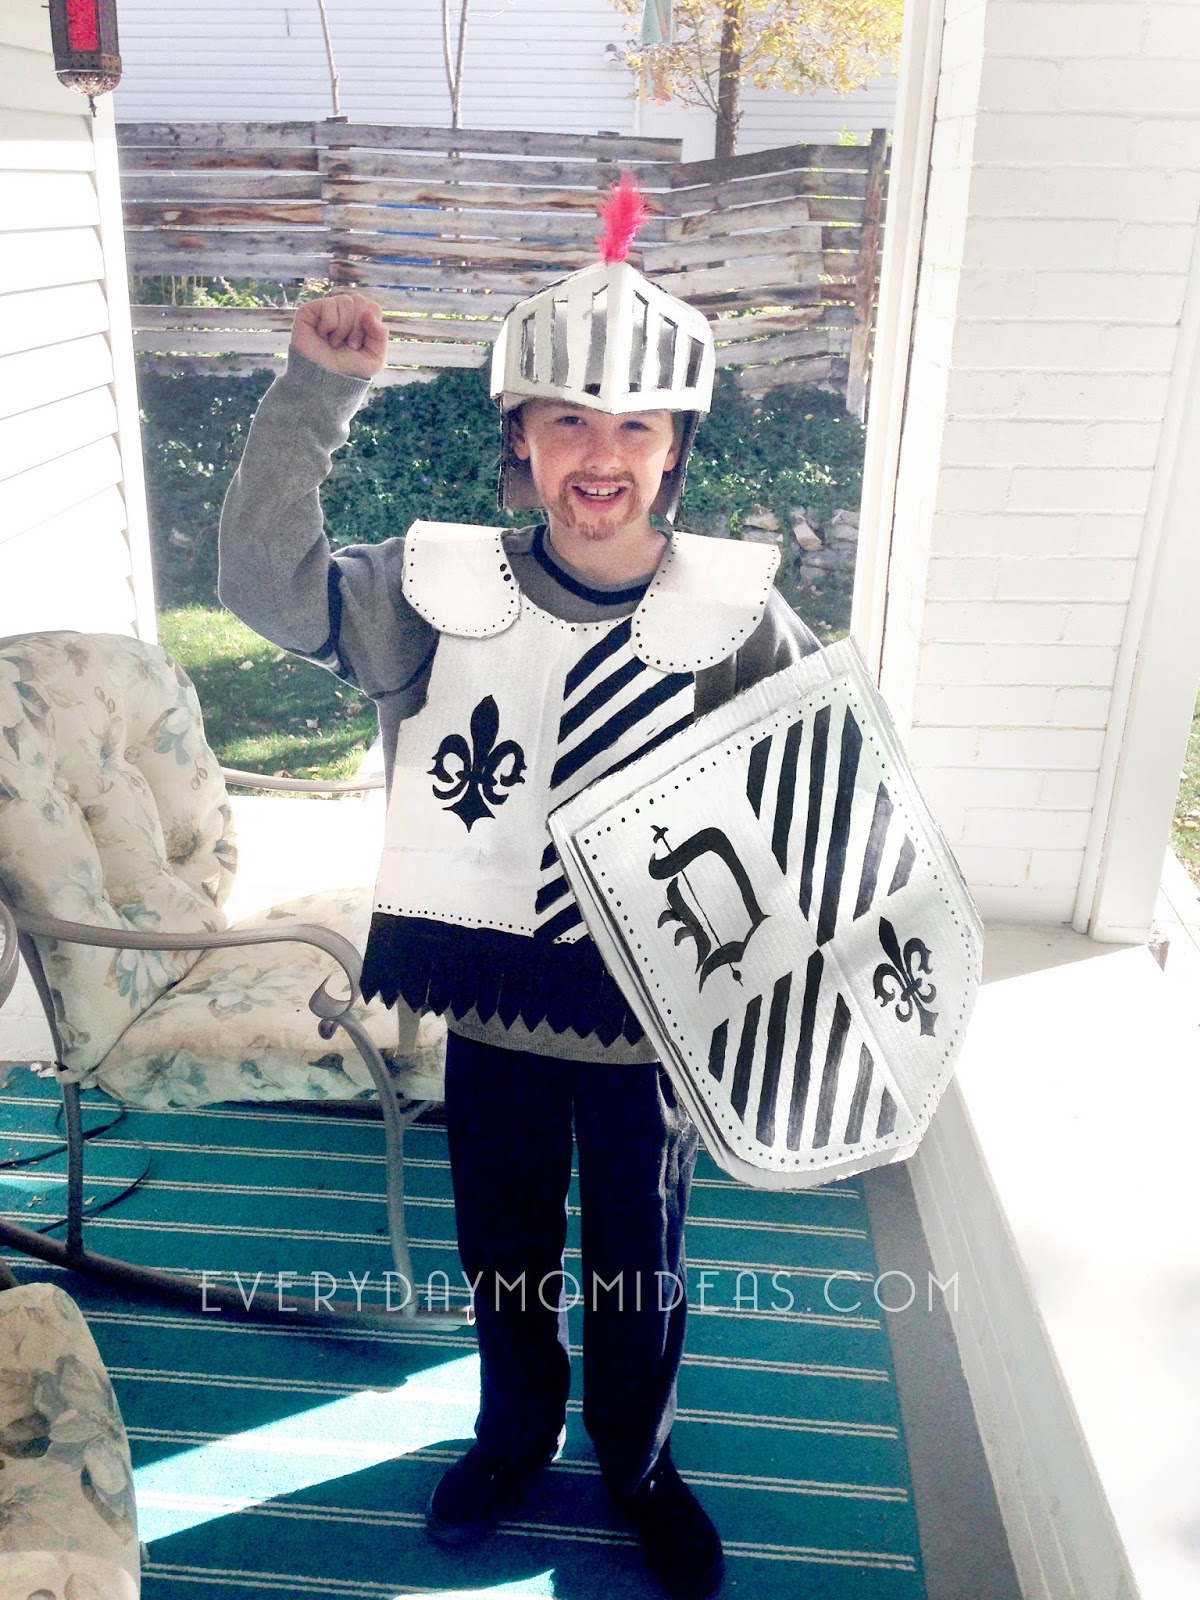
Your chest plate could be made with just one whole piece of cardboard if you have a piece of cardboard long enough. This way is easiest and most recommended. But if you don’t have that big enough of a piece you can put your chest plate together using two to four pieces like we did in the above picture. The shoulder guard pieces need to be extra secured because they will have a lot of tension once they are bent in half and the chest plates are placed over the body.
You will also need some kind of thick fabric to use on the sides of the chest plates to keep the chest plates together and down on you body. I recommend using two pieces on each side to easily tie and untie the sides together for easy access in and out of your knight suit.
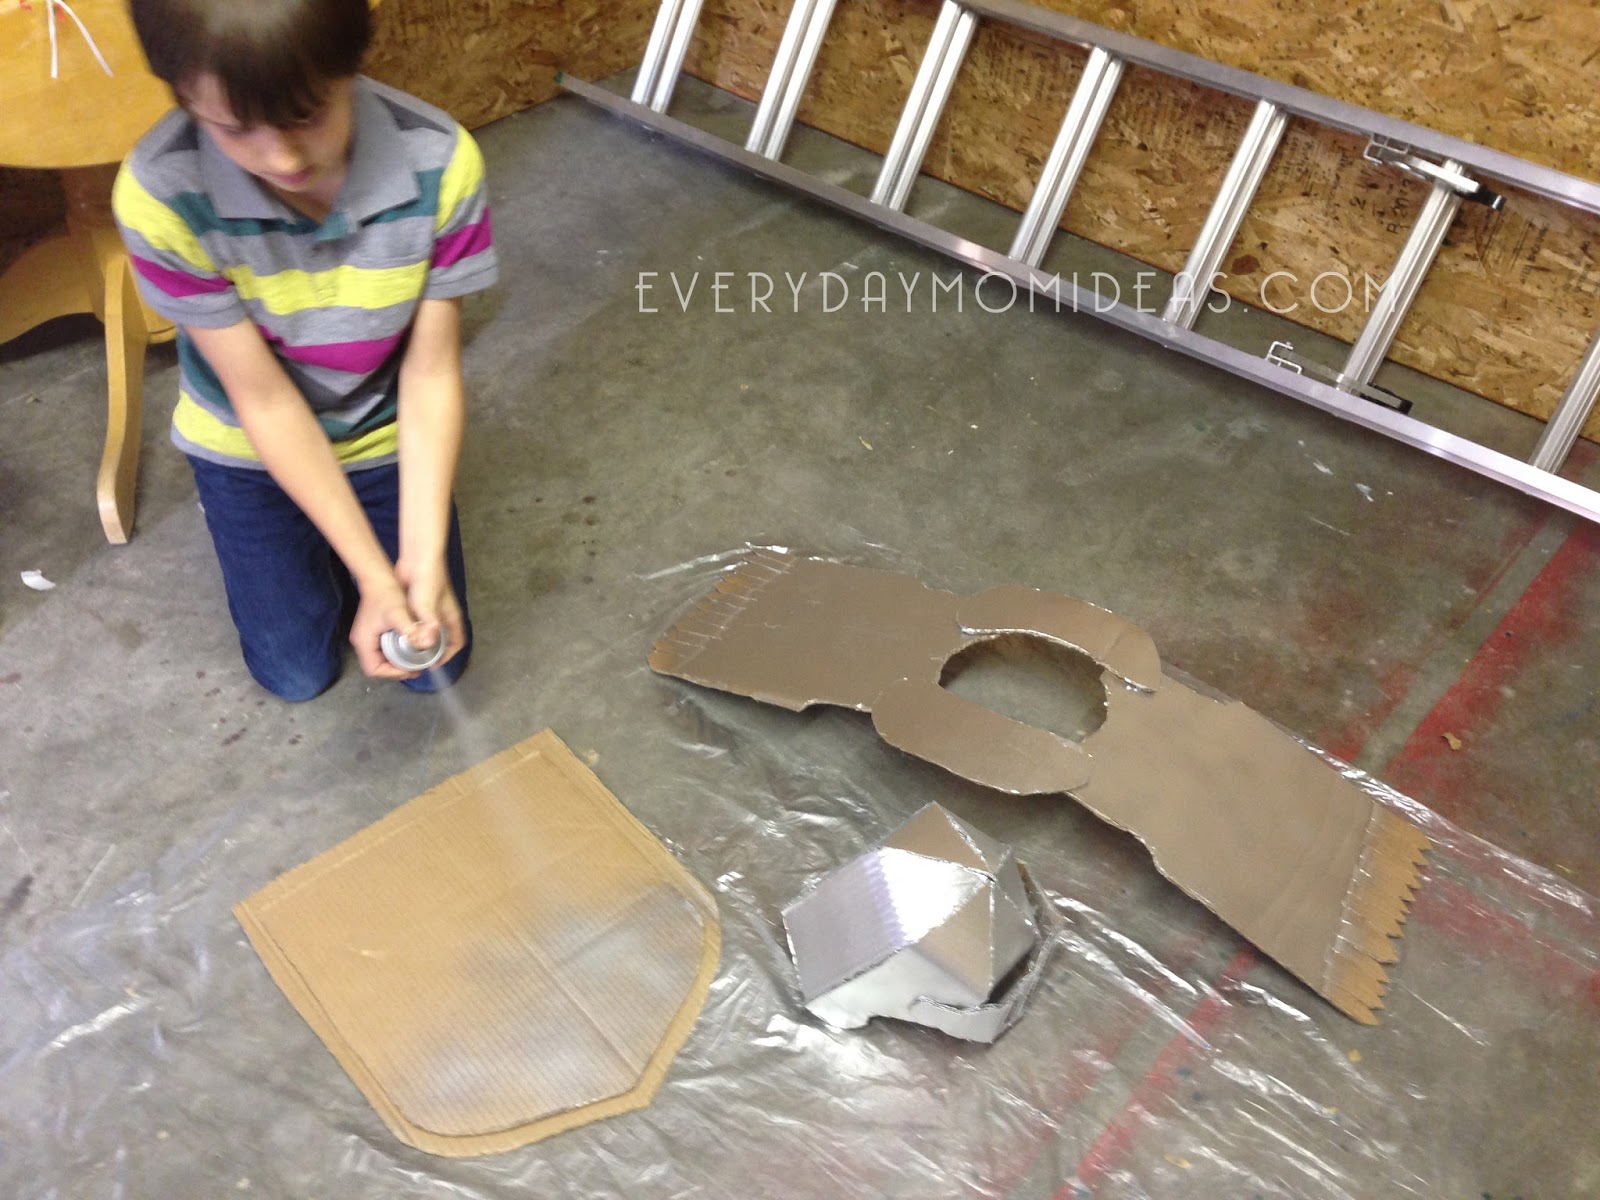
Spray painting your armor is an easy and quick solution. You will probably need at least two coats of shiny silver spray paint.
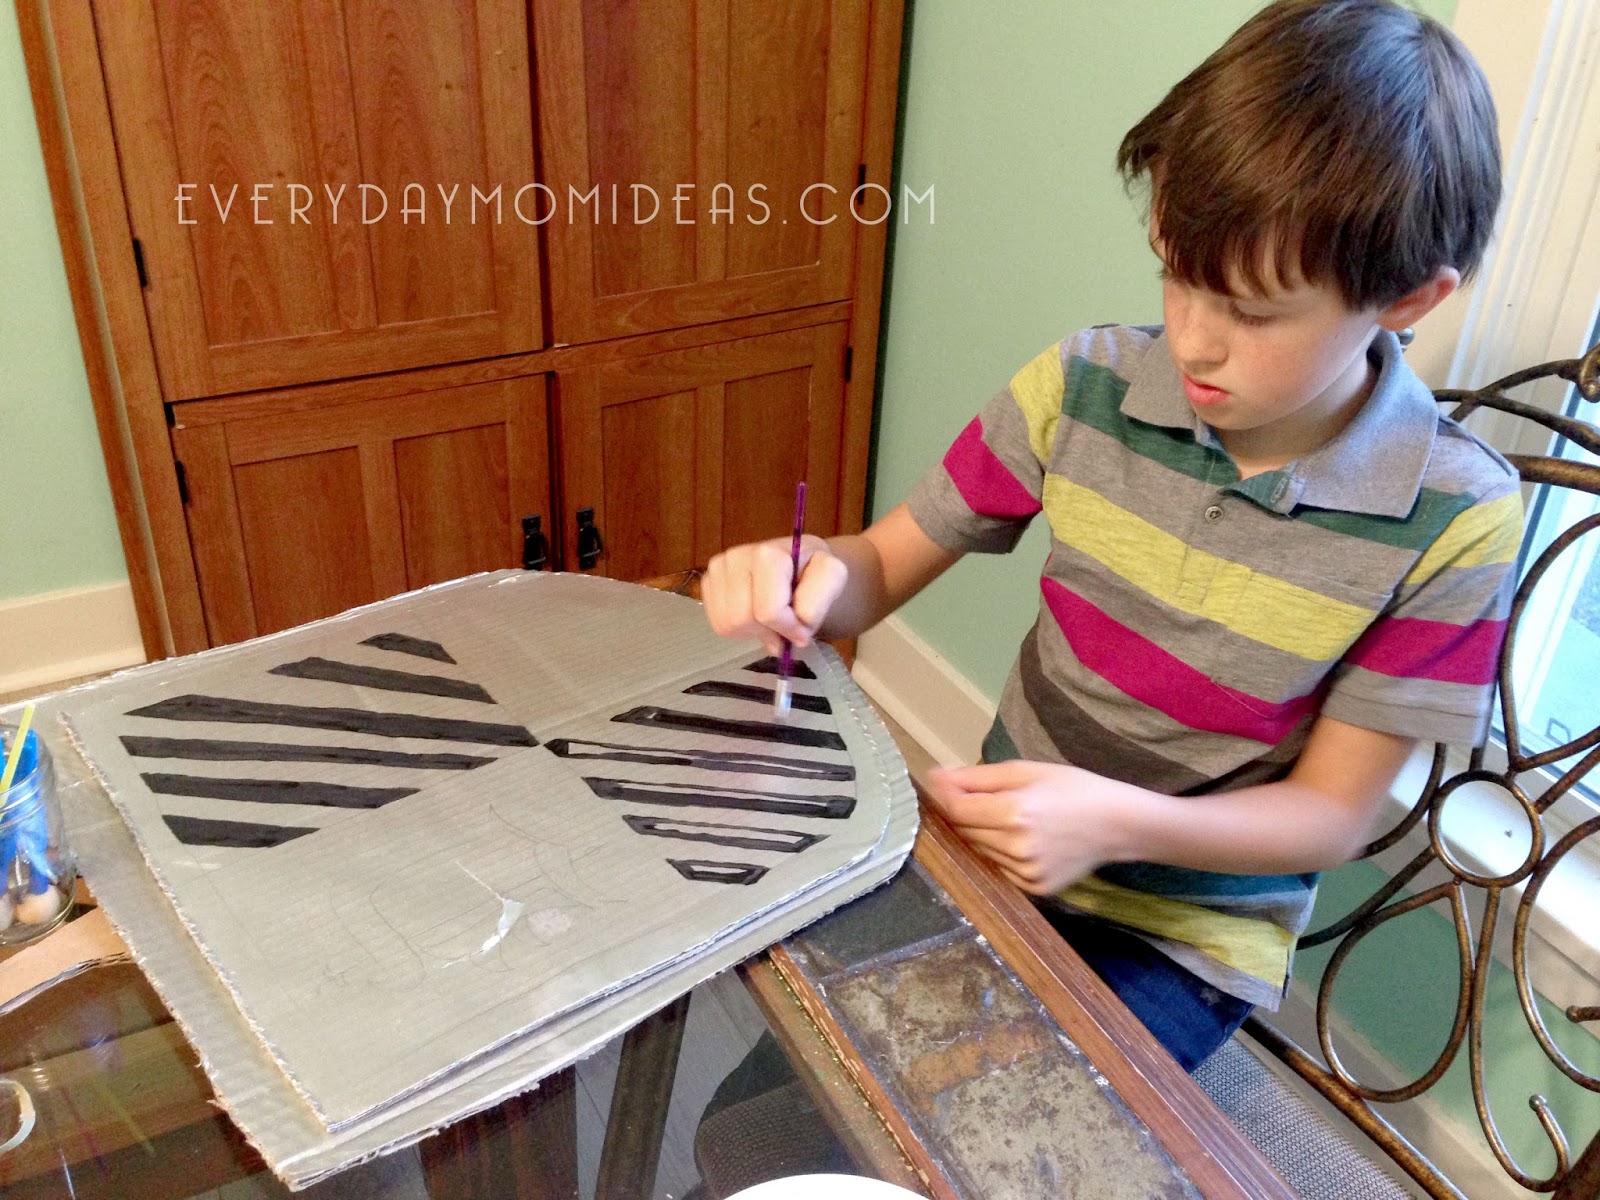
We gave the shield two layers of cardboard to give it a little extra detail. The design on the front is divided by four sections. Two are filled with simple black stripes and then we painted on a decretive letter and a flour de lis symbol to give it a medieval touch. We also used a little strip of fabric on the back of the shield to be able to hold onto the shield.
Tip: Lightly sketch everything on first with a pencil, it makes it so much easier to fill it in with paint.
And there you go, One knight in shining armor! Don’t forget the red feather, it brings the whole thing together.
You can also make this fun cardboard Aviator Plane with this tutorial…
I would love to see your Cardboard Knight creation and share it on my social media. Please send me your photos at everydaymomideas.com to be featured.
