Thank you Everyday Mom Ideas for asking me to be a guest blogger. I’m fairly new to blogging so I was surprised and excited by the invitation.
My blog is called homework: today’s assignment – be inspired. I post about creative diy projects that inspire me and that I enjoy creating. Some of my categories include; inkling (paper), good taste (food), sew and tell, the dirt (plants), the inspiration board and etceteras.
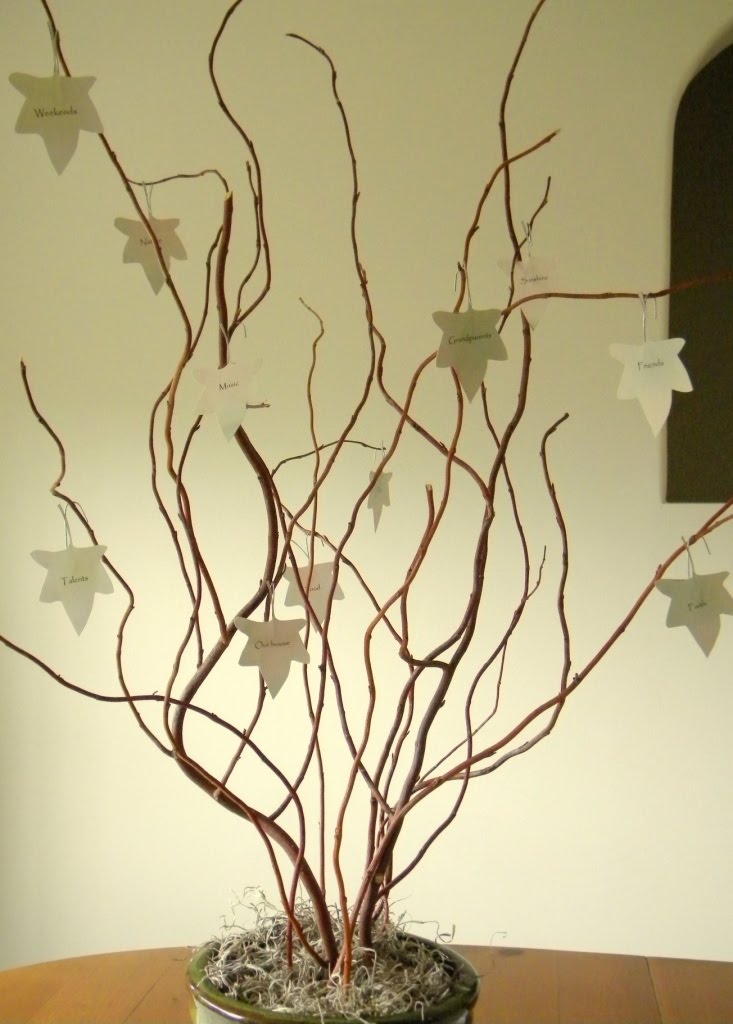
To make this Thanksgiving tree you’ll need:
- Paper or cardstock for the leaves
- String or hooks to hang the leaves
- A pot
- Twigs
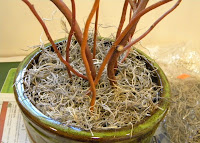
- Oasis or Styrofoam
- Moss – Optional
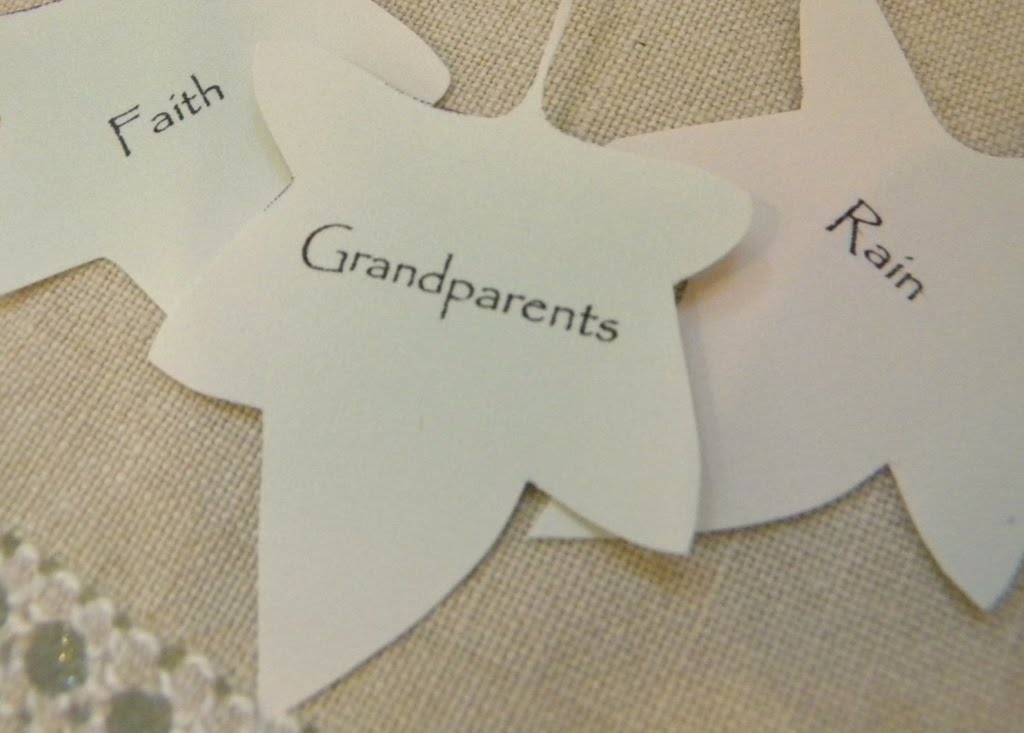
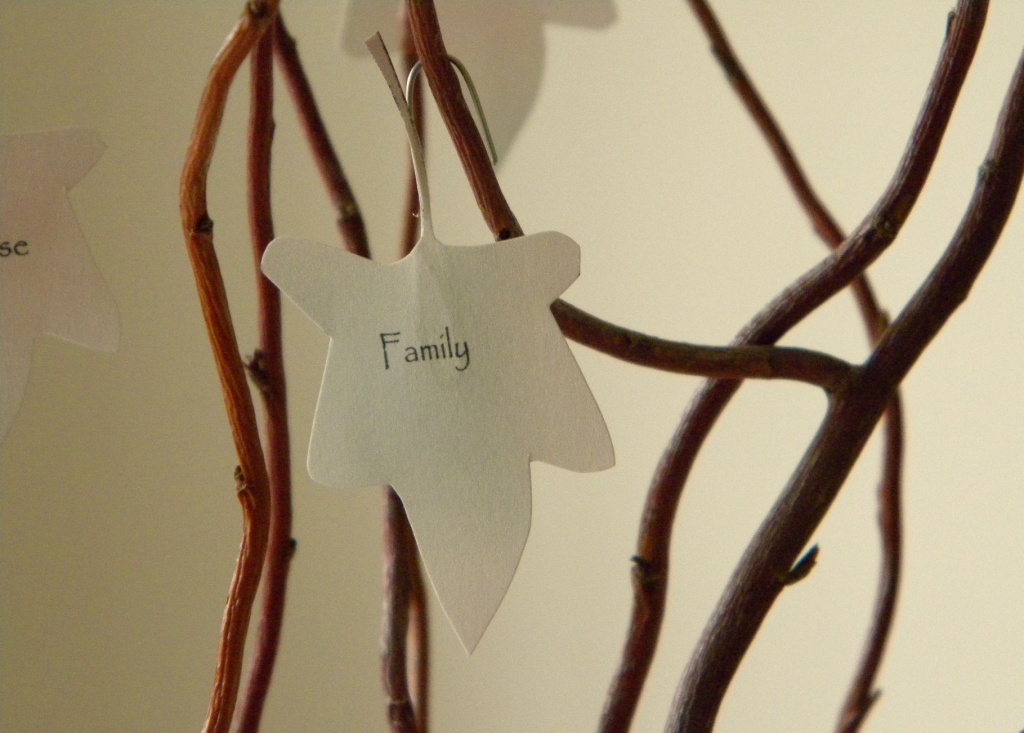
- Start by making your leaves. I printed mine out using a leaf template and a pale green background and a pretty font. As an option, you can also cut out the leaves from colored cardstock and handwrite your messages.
2.Cut out each leaf. To make the leaves easy to hang, I glued small ornament hooks to the backs. You could also use string or ribbon and tie the leaves to your tree branches.
3.Add oasis to a pot and arrange your twigs.
4.Arrange your leaf messages on a plate around your tree and begin the countdown to Thanksgiving.
Thank you again Everyday Mom Ideas. I hope your readers enjoy my project.
Thank you so much Carolyn! This turned out to be stunning! What a great way to help us focus on our blessing this special holiday season. I first found Carolyn’s blog by way of “One Pretty Thing” She had so many pretty projects I just wanted to help get the word out about her fantastic and inspiring site. So head on over for a huge dose of inspiration. -Julia

