This Zoltar costume (inspired by the movie BIG) wasn’t just fun to show off at all the Halloween events but was fun to make with my son as well. The best part was that I only spent about $20 in all including the battery lights and fortune teller hat.
I had to come up with how to make this one on my own but you guys are in luck because I took photos along the way to bring you EMI readers a tutorial to make it easier.
1. First of all I found some cheap battery operated on Amazon for about $3.00 and the Zoltar Hat for about the same price as that. Next you’re going to want to get a box big enough for your kid to slip on and move easily around.
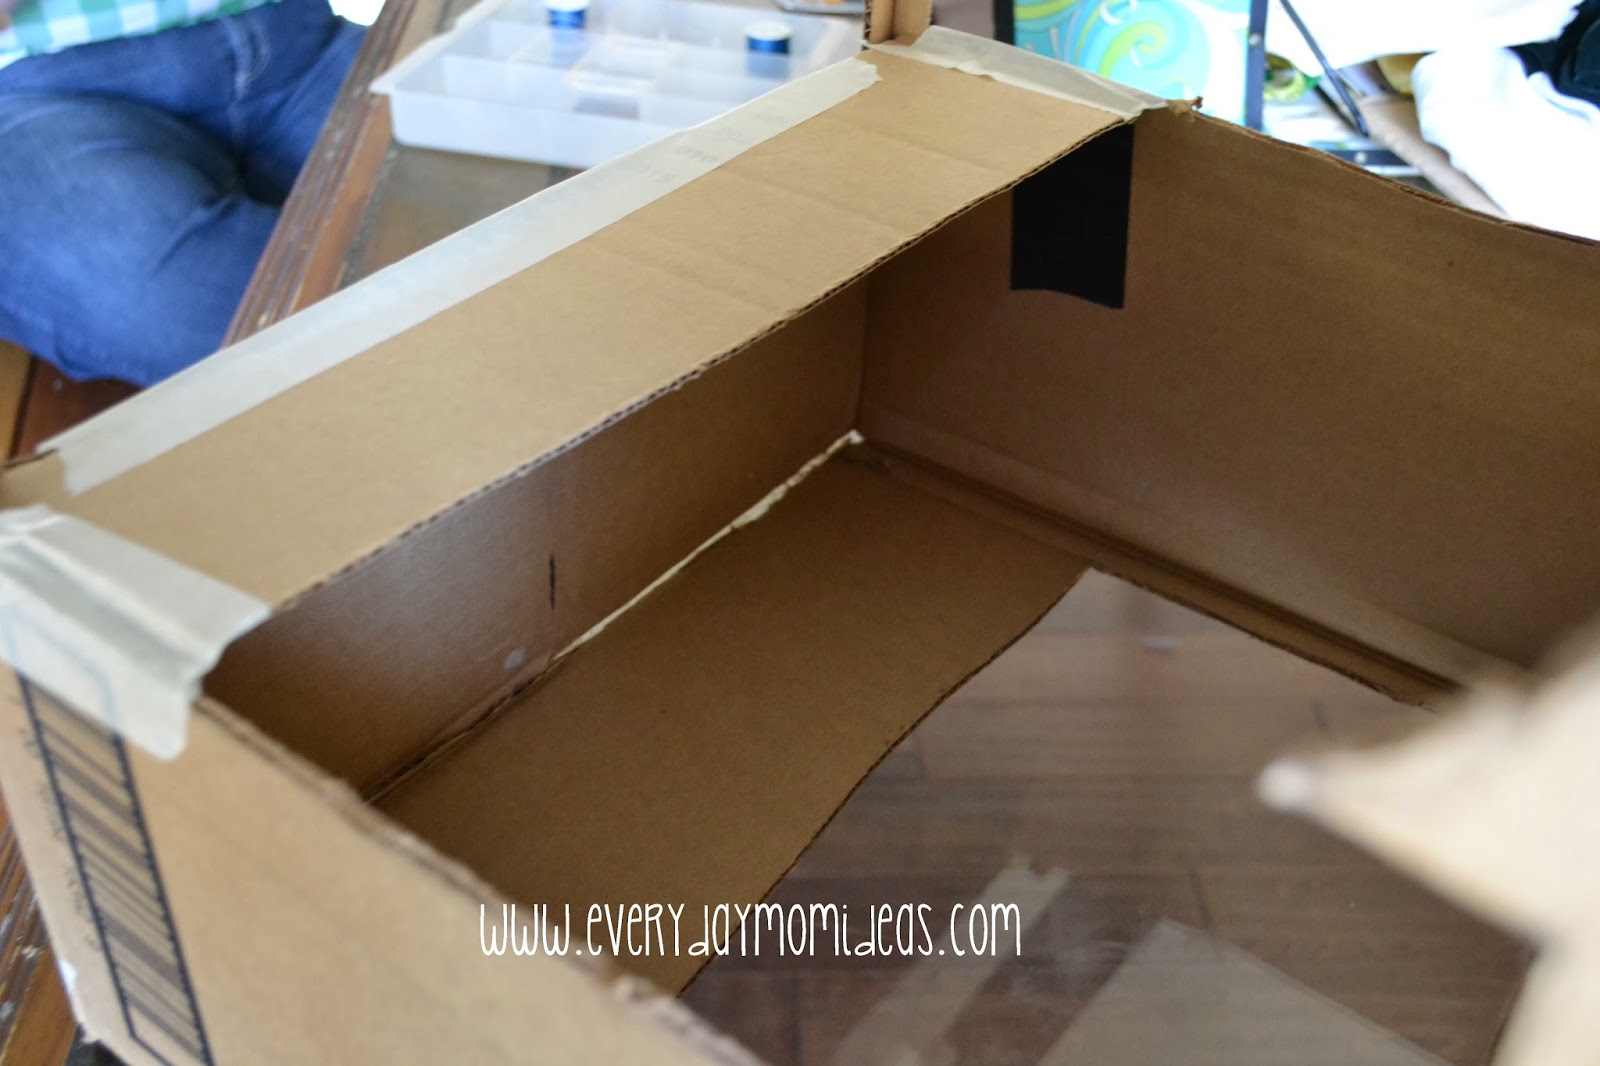
2. Make sure all your flaps are either securely taped or glued down before cutting out your shapes. I like masking tape best because its easy to paint over than the others and holds great.
As you’re going along have your kid try on the box frequently to make sure its comfortable so you can make adjustments as you go along.
3. Put in the shelf by taping a piece of cardboard across the top area and the bottom. If you are giving our Zoltar cards like we did I recommend adding a little box on the bottom inside shelf to hold the card in for easy access. And don’t forget to cut a wide enough opening for the cards to come out of.
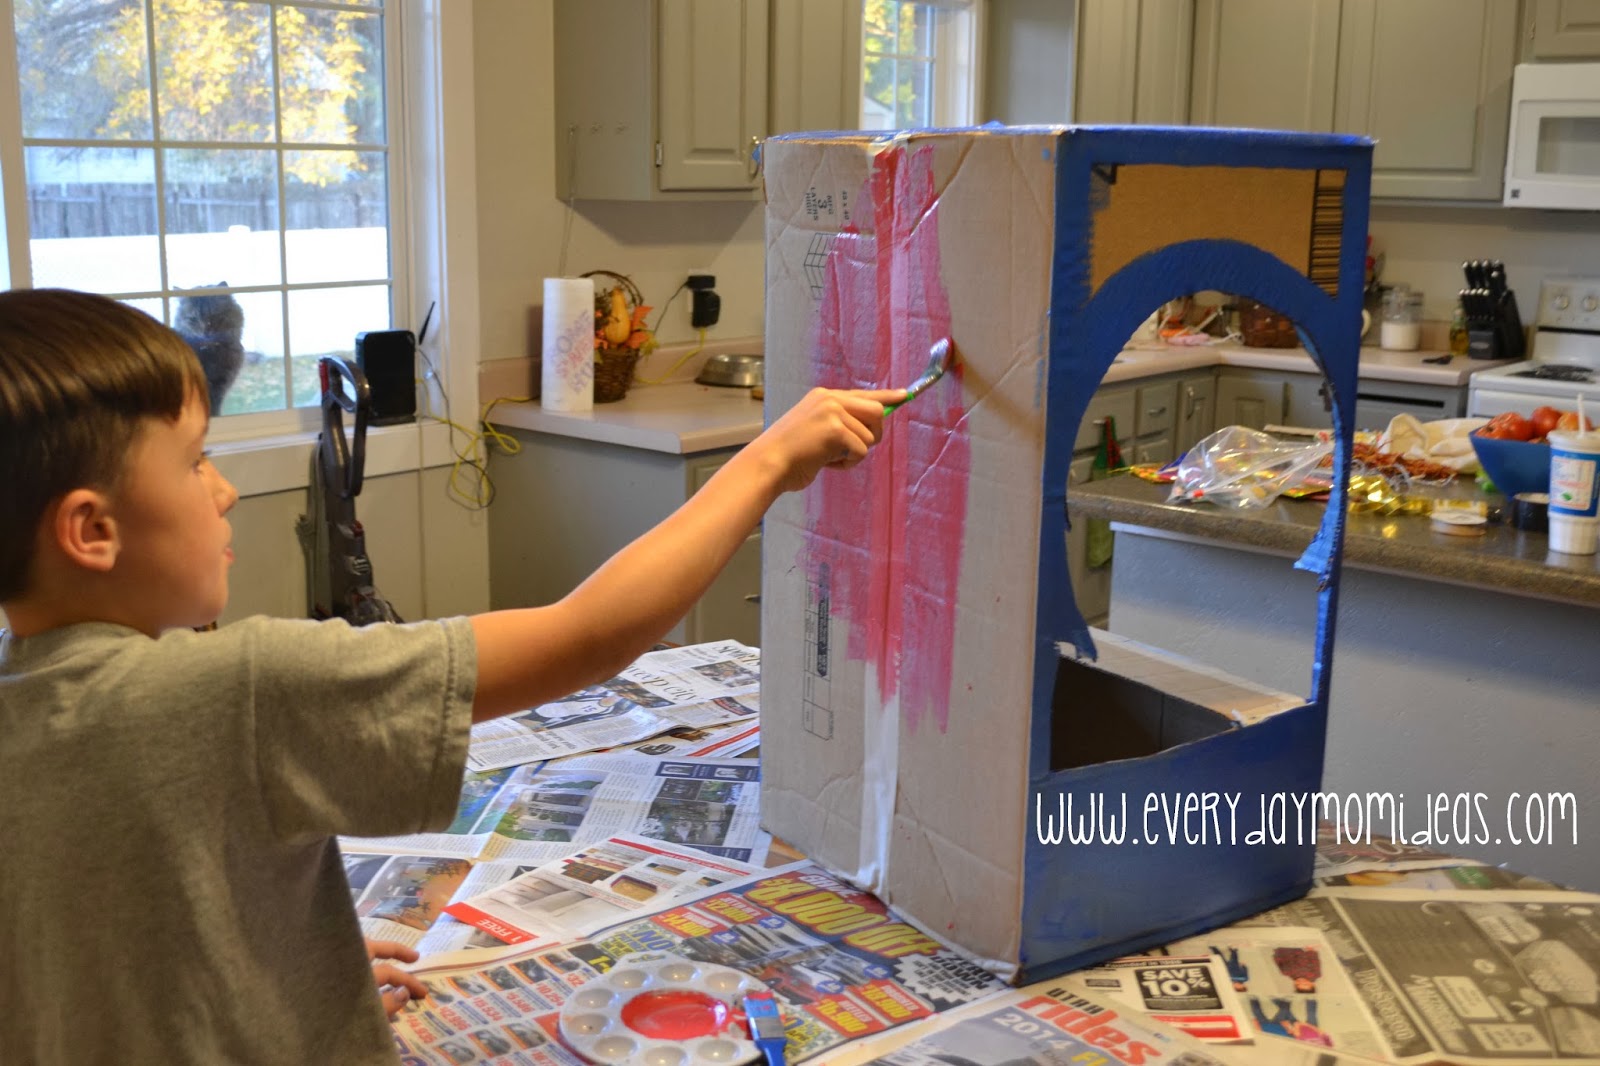
4. Now you can paint! It doesn’t show it in any of the pictures but I made shoulder straps to rest the box comfortably on the shoulders so my son could use his hands freely and not have to hold up the costume. I just used duct tape folded in half and adjusted them to my sons height and made sure to leave extra room up top for his hat to fit under. I secured the duct tape straps by stapling them to the bottom of the box with a regular stapler. You can use fabric as well.
5. Be patient when waiting for the paint to dry. You want to make sure its all dry before adding the details. It should take about 1-3 hours. Let it dry overnight for best results.
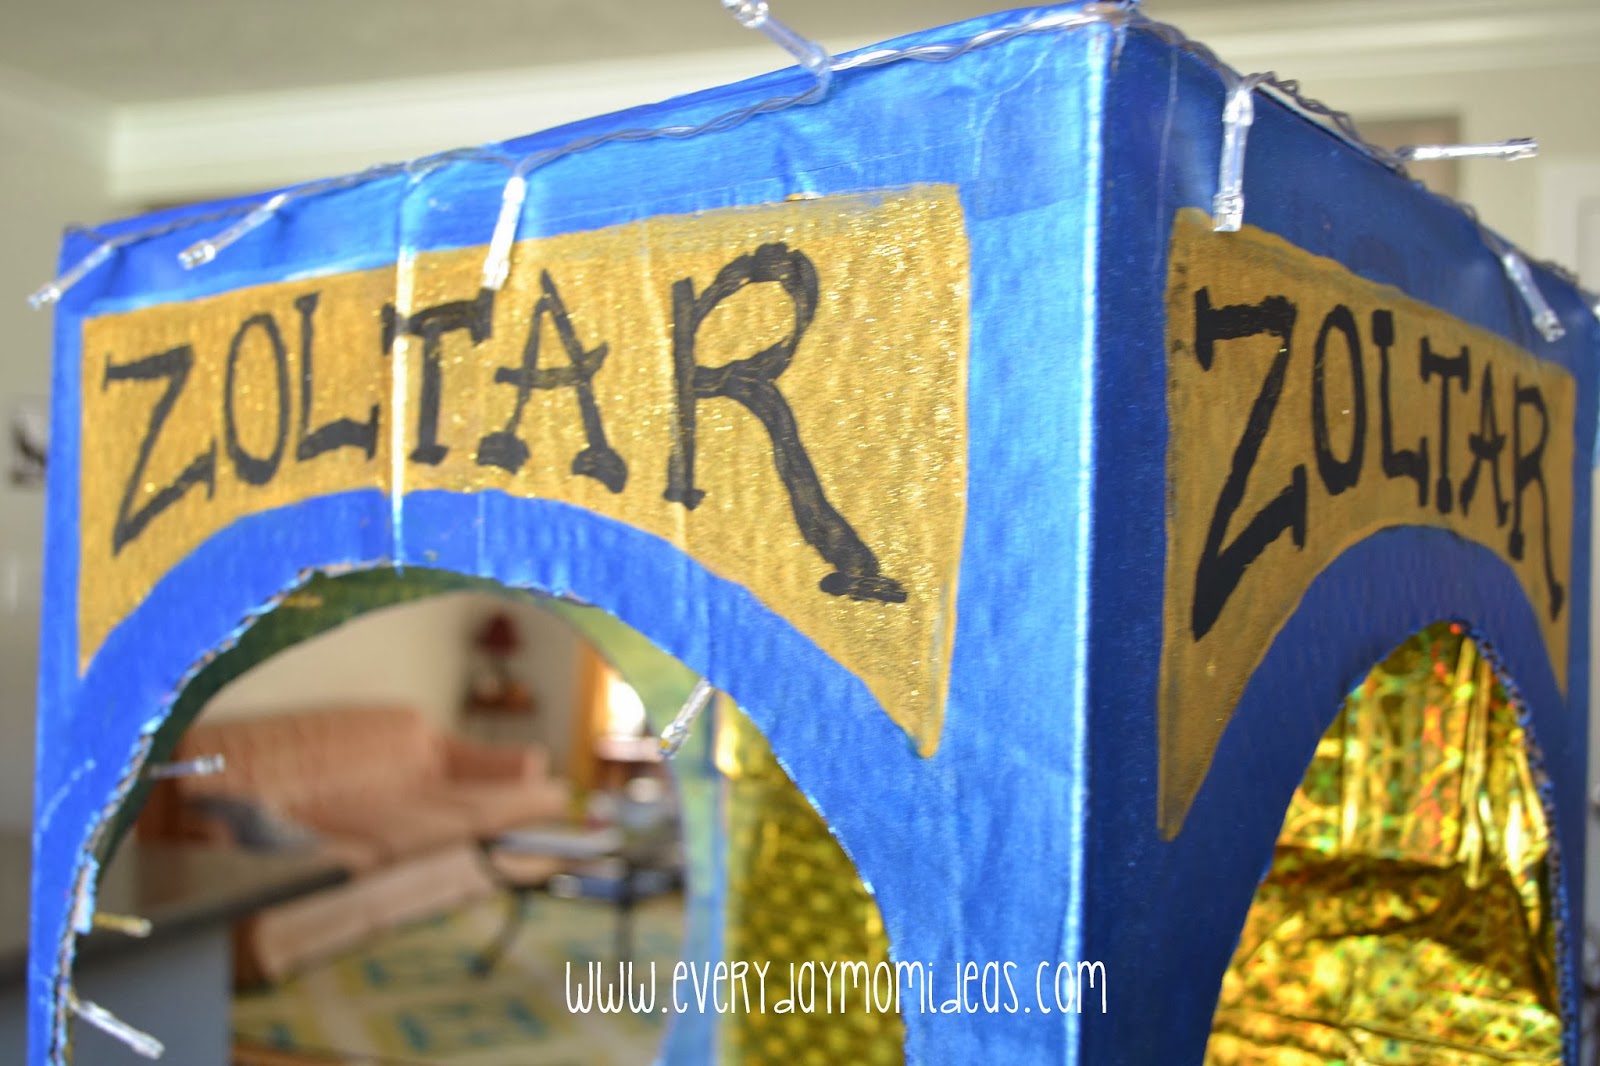
6. For the shiny background of the Zoltar Coin Machine I found some fun wrapping paper at the dollar store for … well a dollar. And it worked great. I just had to glue it on. It was just that fast. Then it was time to put on the lights. I taped the battery part under the shelf for my son to be able to turn it on and off when he needed. Than hot glued the lights up and around where I wanted them to go. If you want to reuse the lights don’t worry about the hot glue the lights come right off with a little tug.
7. As you can see I added just a few small details that were really fun but added a lot to the costume. I just found some pictures on google for the tarot cards and printed them off. Cut, glue, done. Then my boys had some play coins in their toy box that we added to the side.
8. I used 2 yards of frilly fringe from a fabric store for the trim and glitter paint for some of the wording in front. You will need lots of coats of glitter paint if you use it.
And then Voila! I made mine in just one evening (no patients here) so it really doesn’t take that much time but I recommend taking your time especially with waiting for the paint to dry. I had to learn that the hard way.
If you would like cards to hand out through the slot in the front of the machine I made it easy for you and included the front and back of the cards I designed for my son and his costume below…
I would love to see how your own costume turns out so please send me a link or pictures or you can even post them to EMI’s facebook page.


