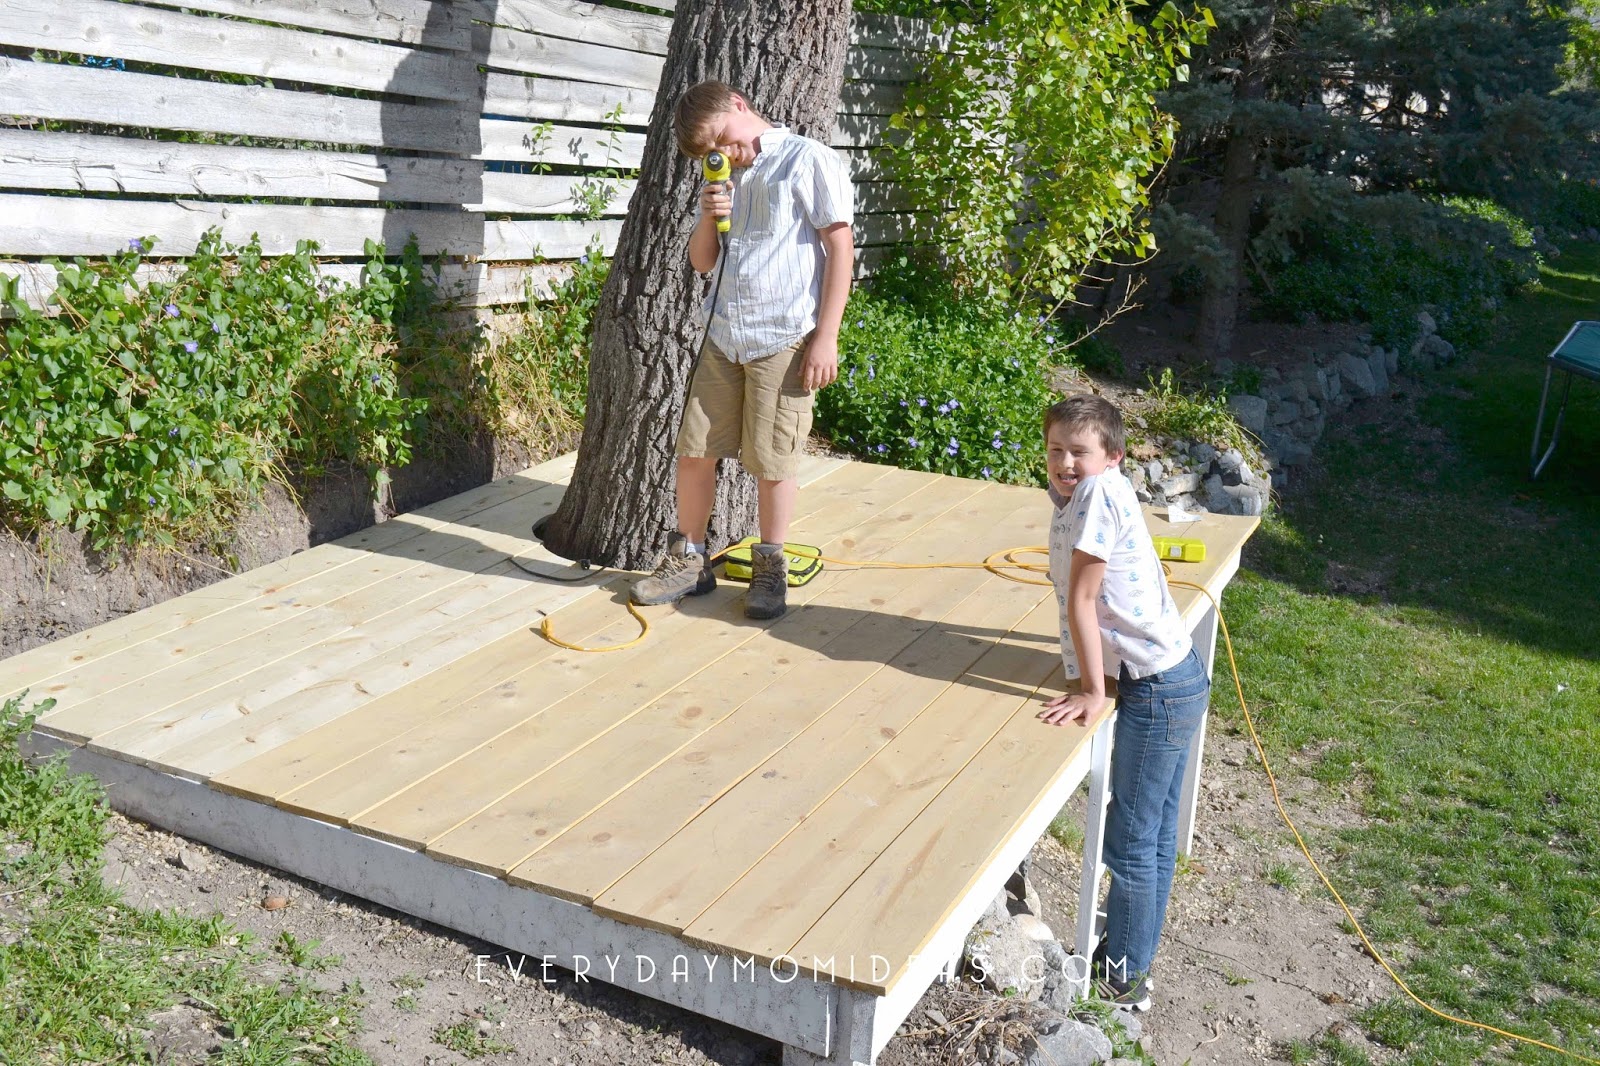
I have been staring at this spot since we moved here three and a half years ago, thinking this would make the perfect spot for a treehouse/clubhouse. And am so excited we are finally doing it. Our boys are ten and eleven and there is not much time left before they will be on to bigger better things than tree houses but my girls are just babies so they will enjoy this once the boys are done with it. So its really a good investment for our family. Who knows, if we do it right maybe it will last to when we have grand babies. (Wishful Thinking)
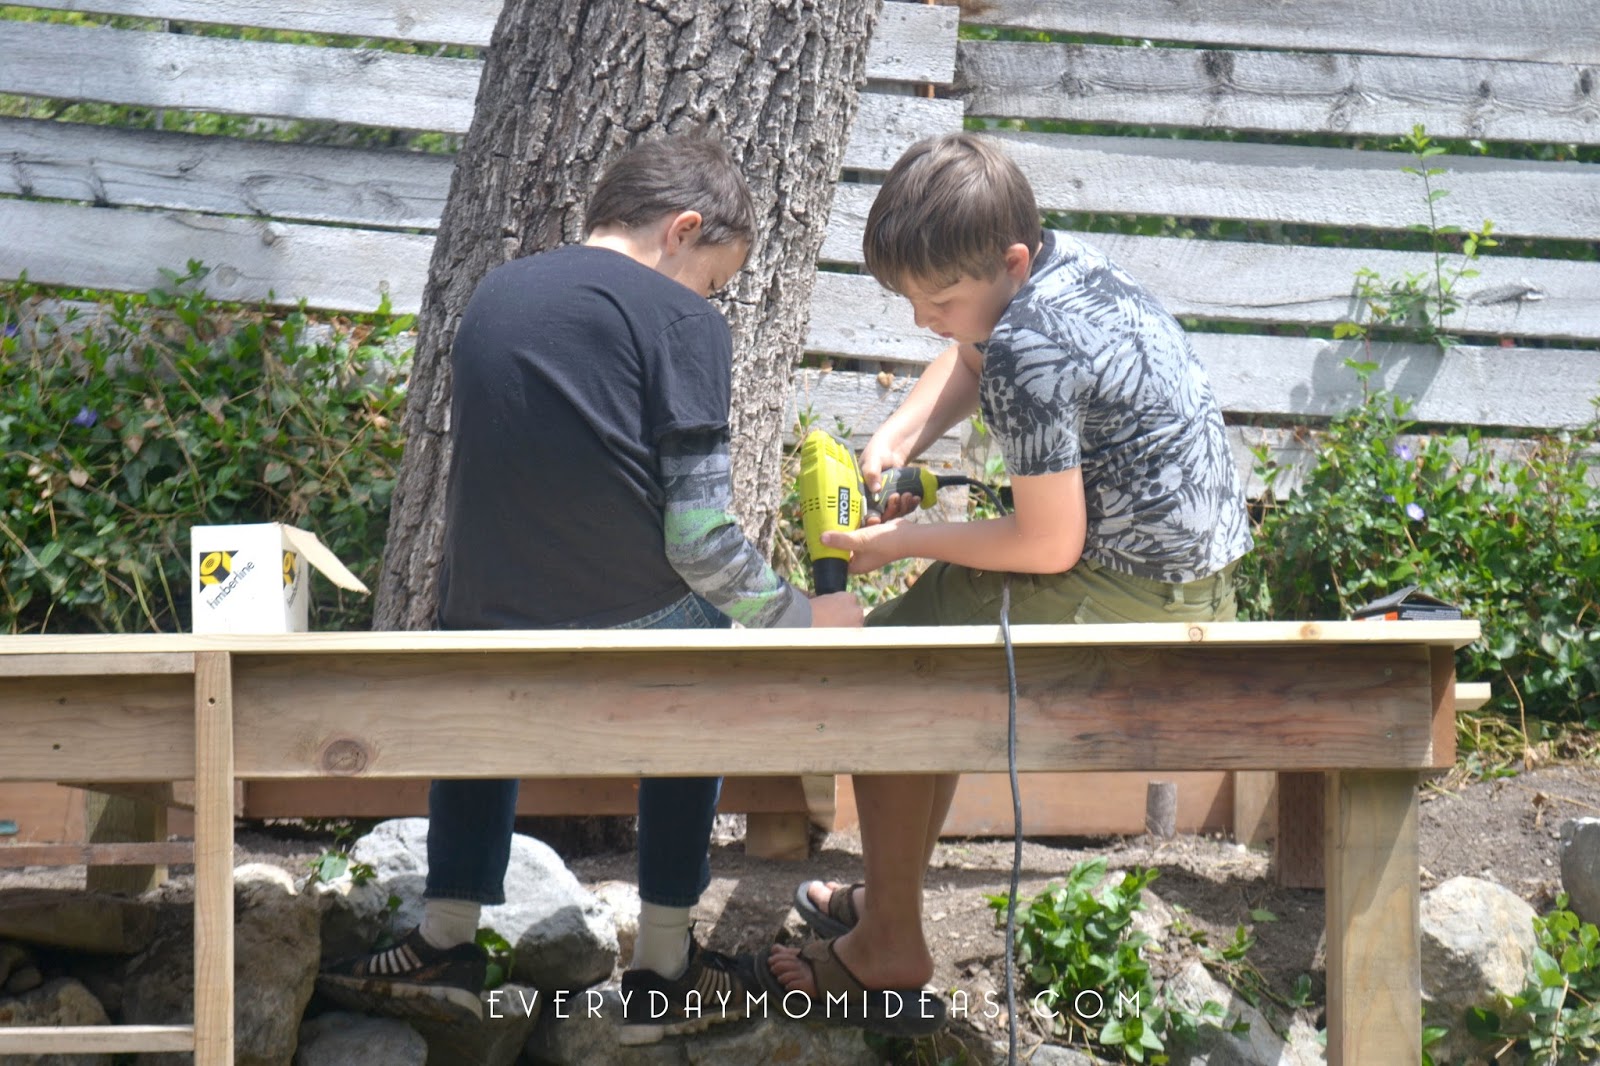
The great thing about the boys being older children is that they are the perfect age to build it, with help from mom and dad of course. I have a feeling they are going to like building this more than actually playing in it. Building the tree house is where all the fun and adventure is. Plus we are teaching them valuable handy skills along the way.
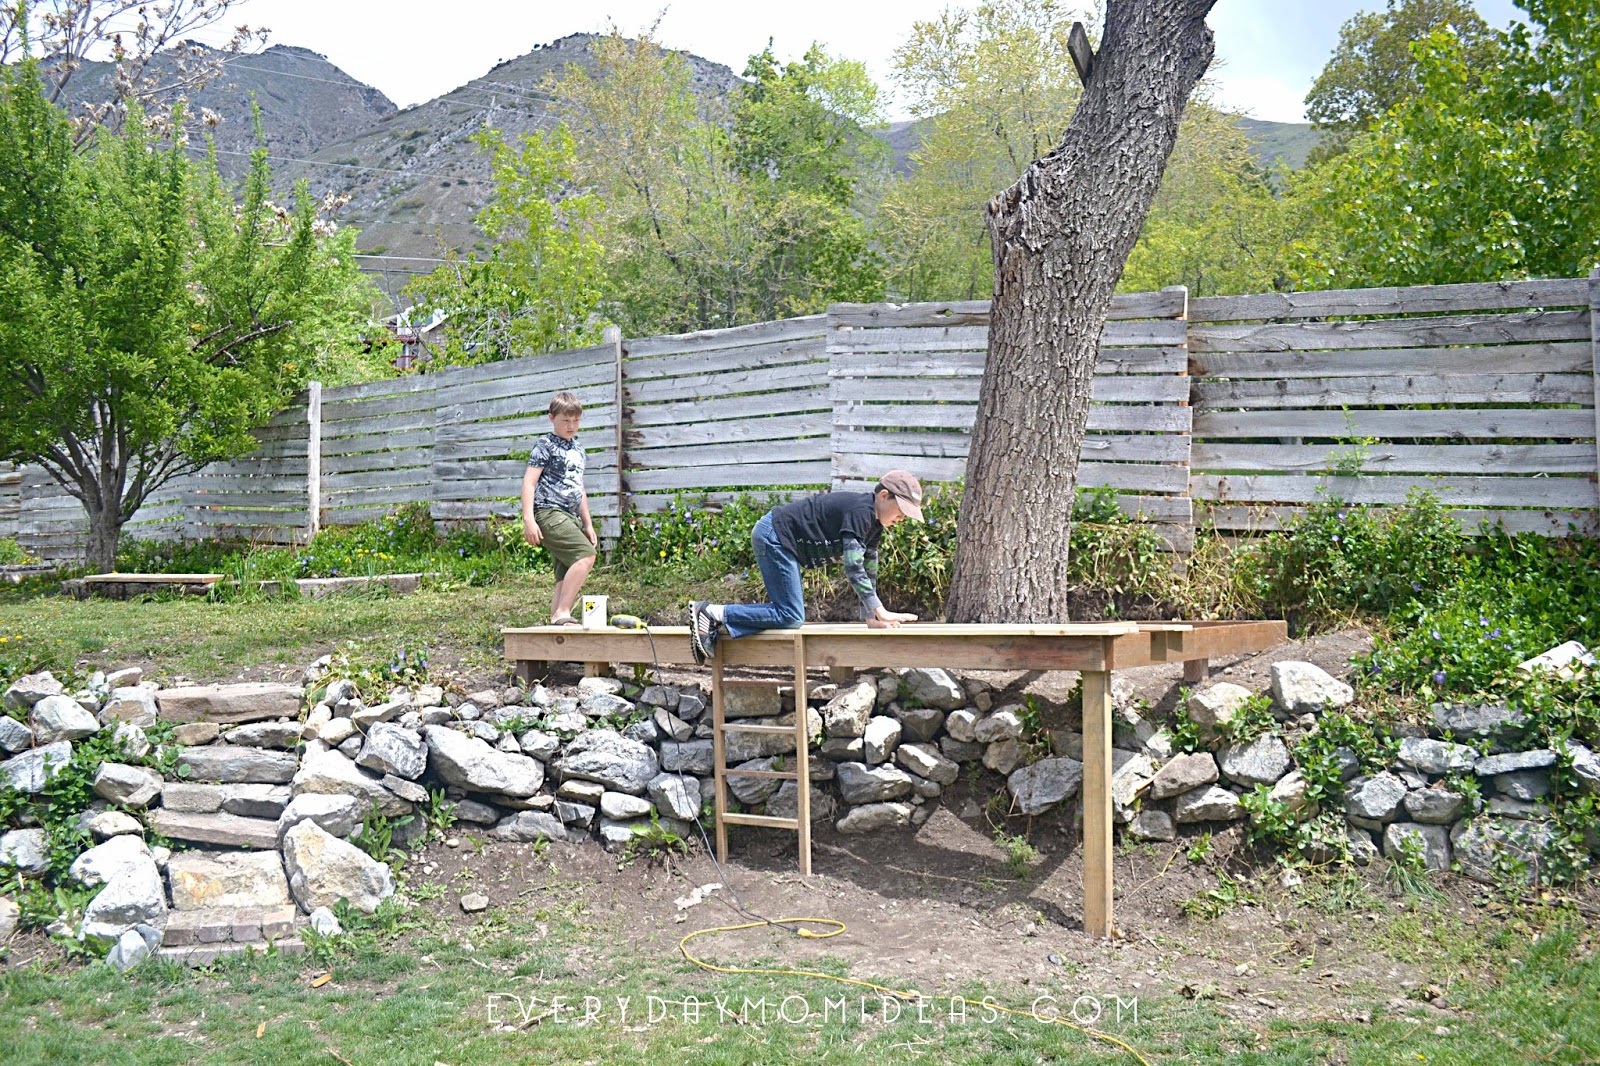
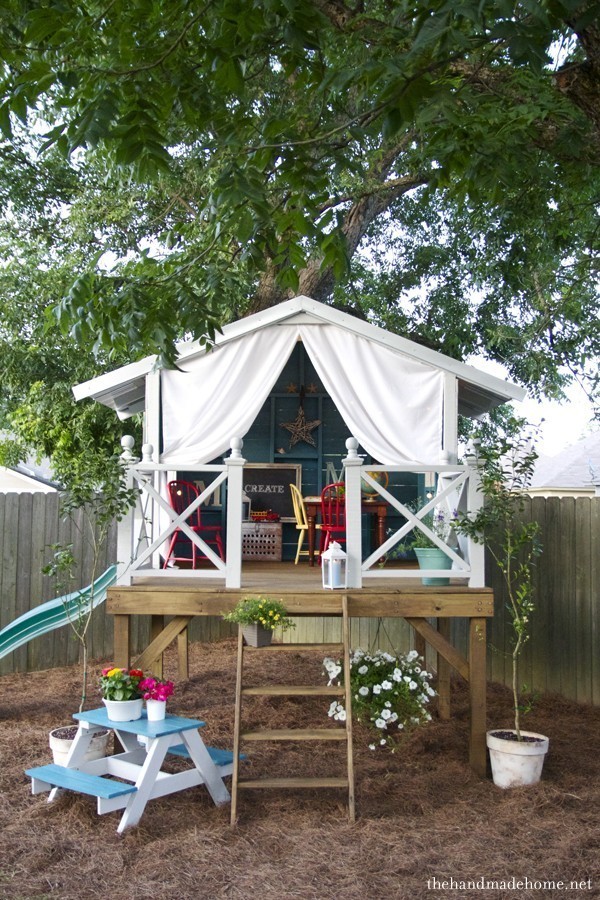
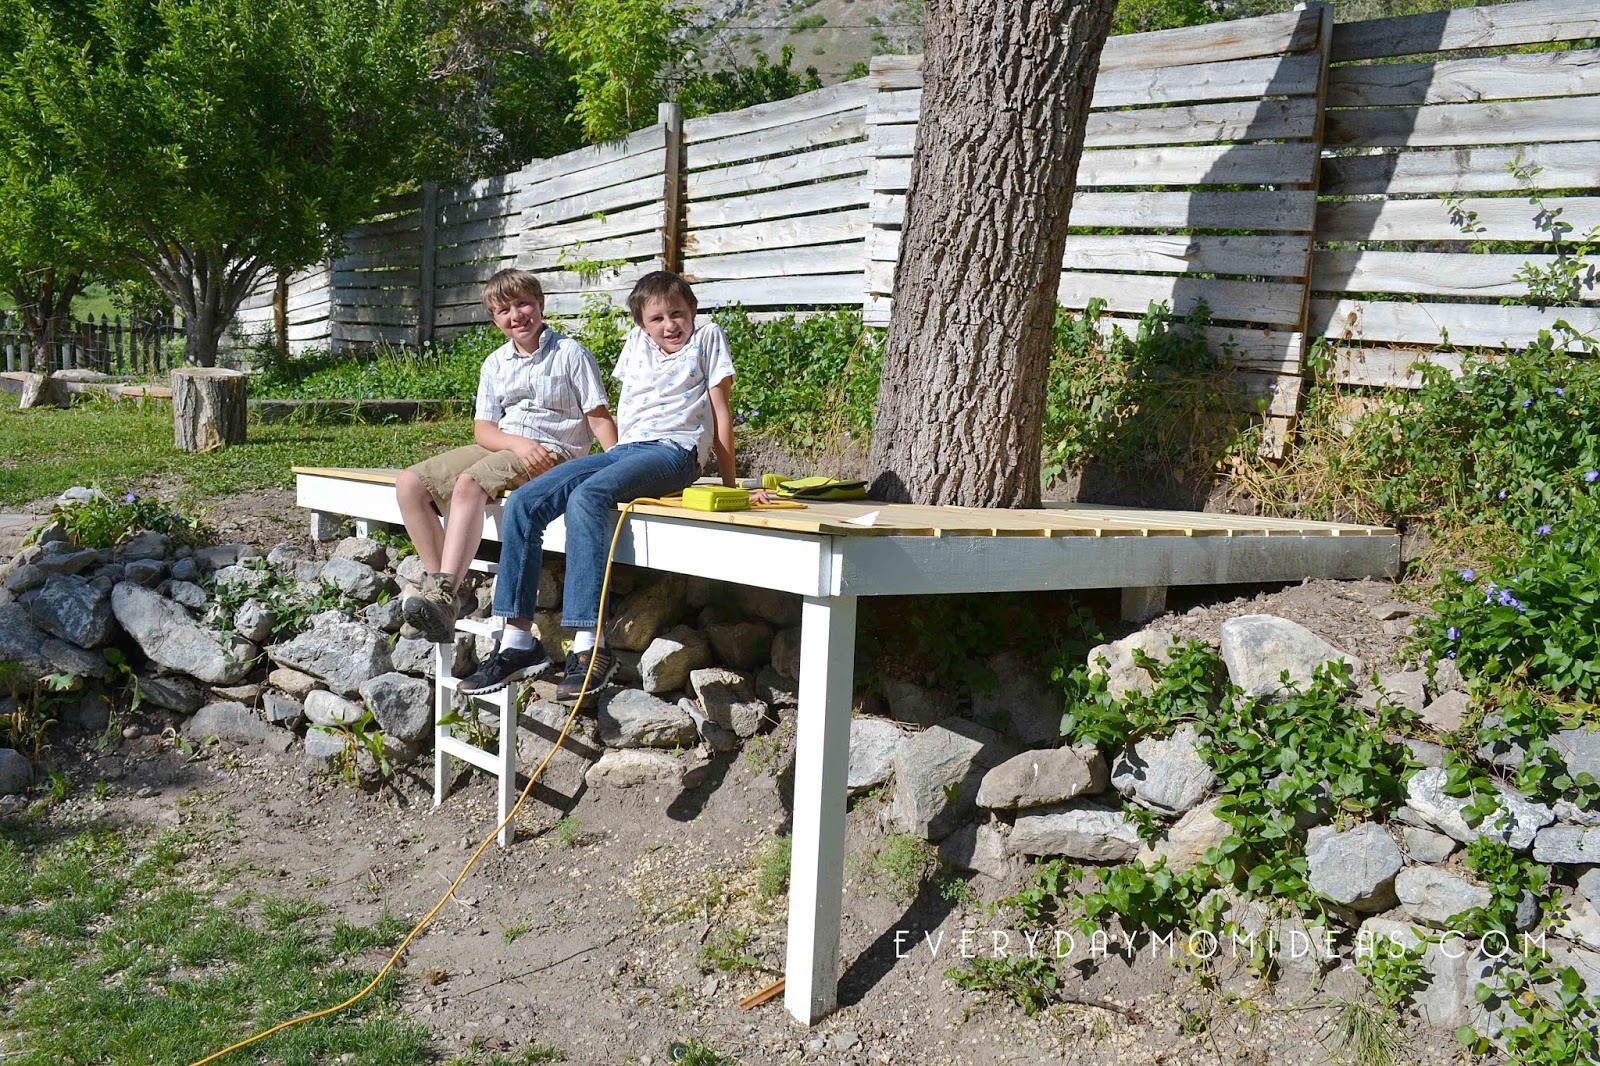
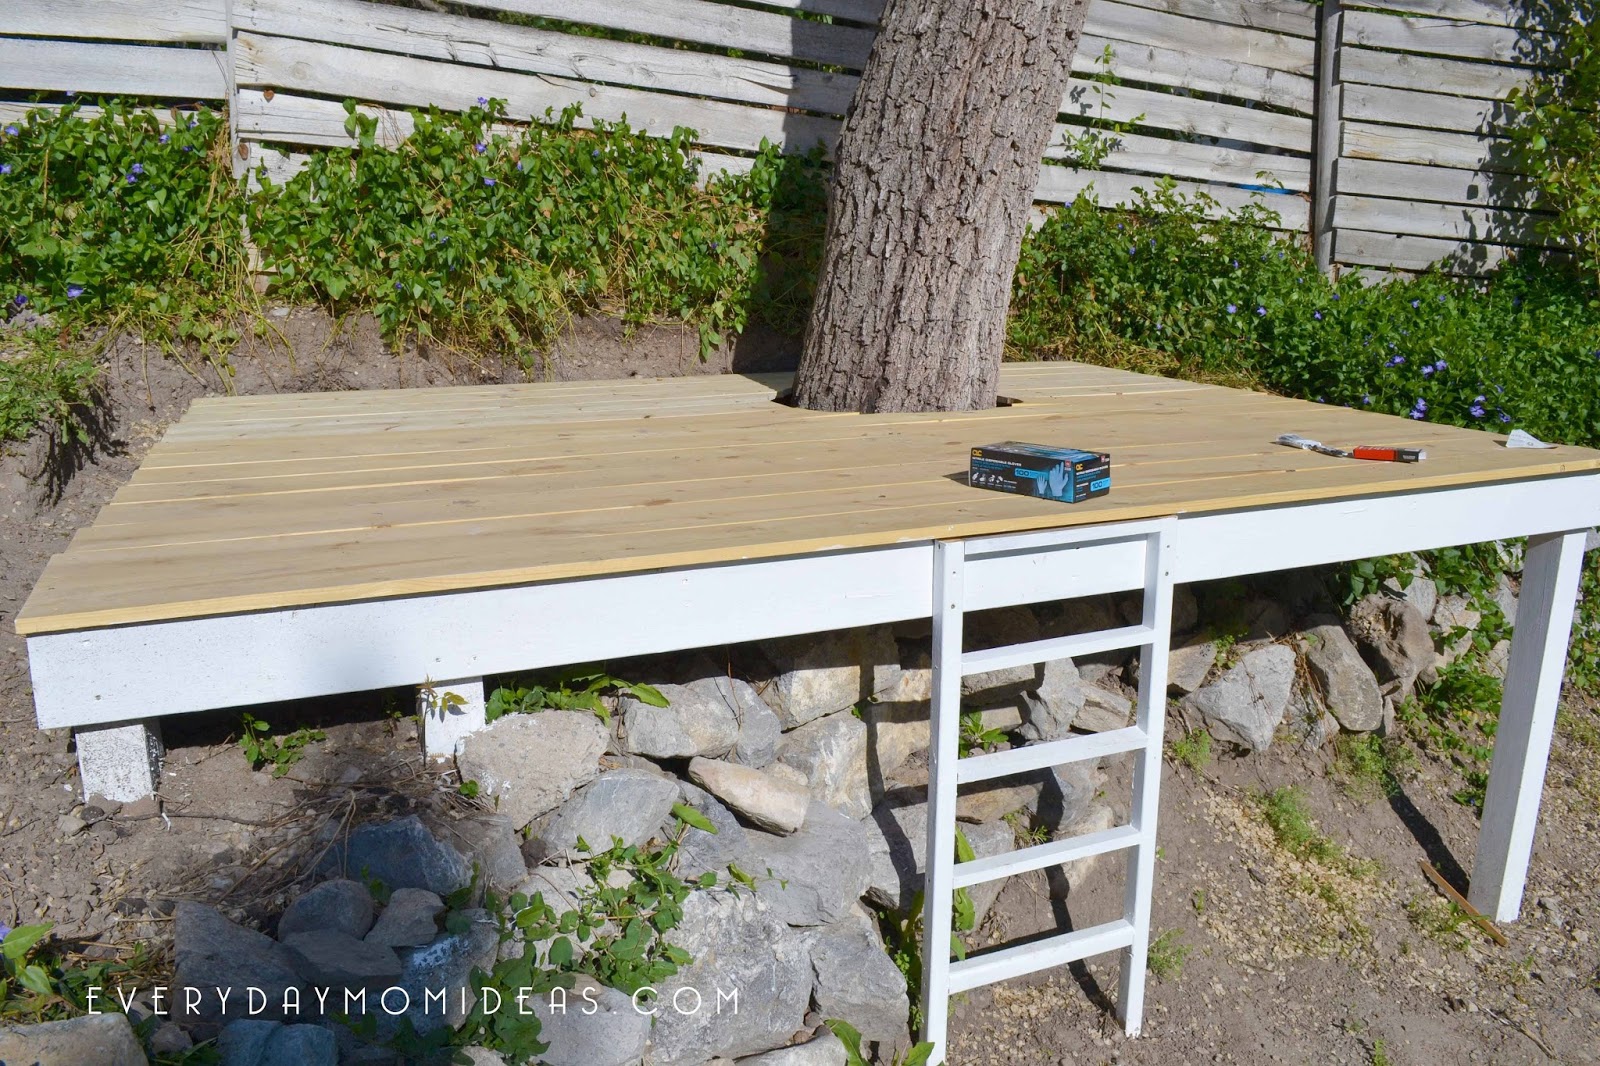
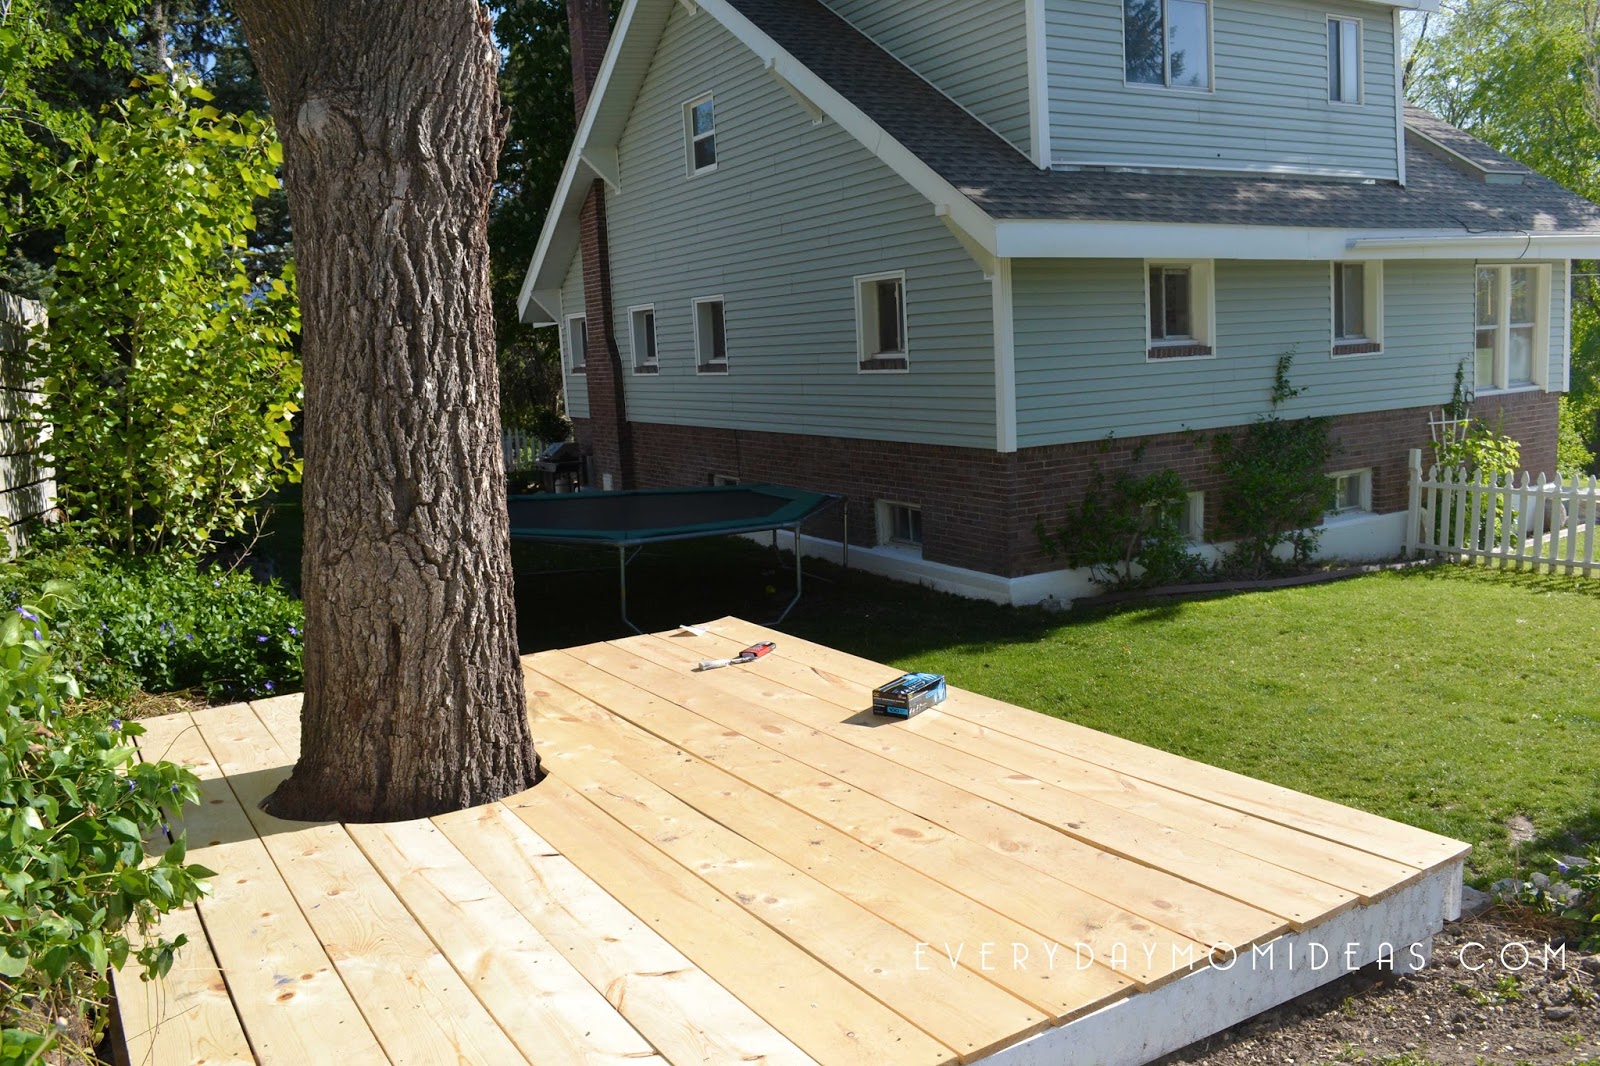
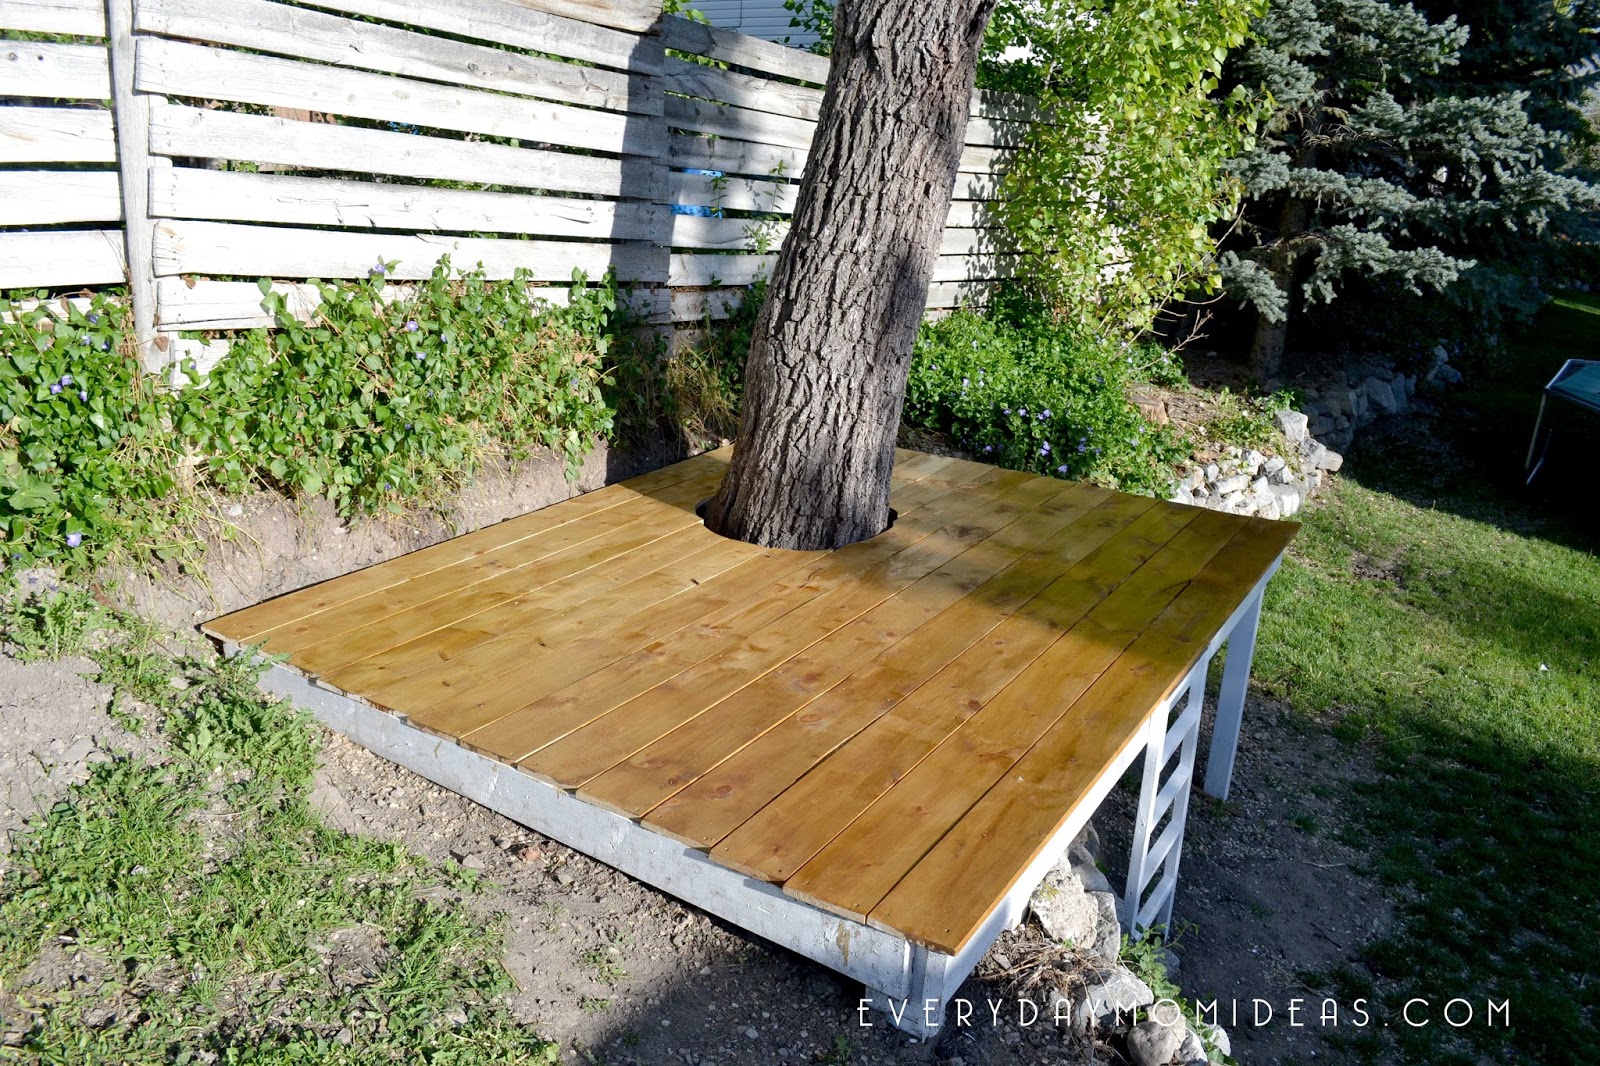
Our treehouse is designed to sit on the hillside and surround our Black Walnut Tree. There are no actual nails or anything attached to the tree. We didn’t want to harm the tree in anyway in hopes that it will last many years to come. I also designed this tree house to have one corner protruding from the hill into the yard. To give it an elevated “Tree House” feeling but the security of being stabilized into the ground at multiple points. There is also two access points, the ladder and the left side of the tree house. I was inspired by this Handmade Hideaway by The Handmade Home. They did such a wonderful job and I love the open concept of this tree house design because it allows the kids to have fun but also makes it easy to monitor children so they don’t get up to no good.
If you are not the handiest of people (like we are) a tree house is a great way to start. You don’t have to worry about it being perfect because its just a tree house after all.
Project Tools:
Chop Saw
Drill
Hammer
Deck Frame:
Total measurement: 124×96
Supply List:
6- 96 2×6 Boards
2- 124 inch cut 2×6 boards
1- 64 inches cut 4×4 boards (For Leg of deck)
10- 8 inch cut 4×4 boards (For Legs of deck)
10×3 Flat Head Philips Screws (Box of 100)
Decking:
Total measurement: 125×98
Supply List:
13 – 1×8 boards
Screws
Ladder:
Total Measurement: 19 x 44
2- 44 inch 2×2 boards
5- 16 inch cut 2×2 boards
Unlike the Homemade Hideaway we had to build our desk frame around the tree itself. They built theirs on the ground first and then propped it up where they wanted the tree house to go. It’s a lot easier to not build around a treehouse folks. But if you are as determined to have a “tree house” as we were than maneuvering around the trunk of the tree is the way to go.
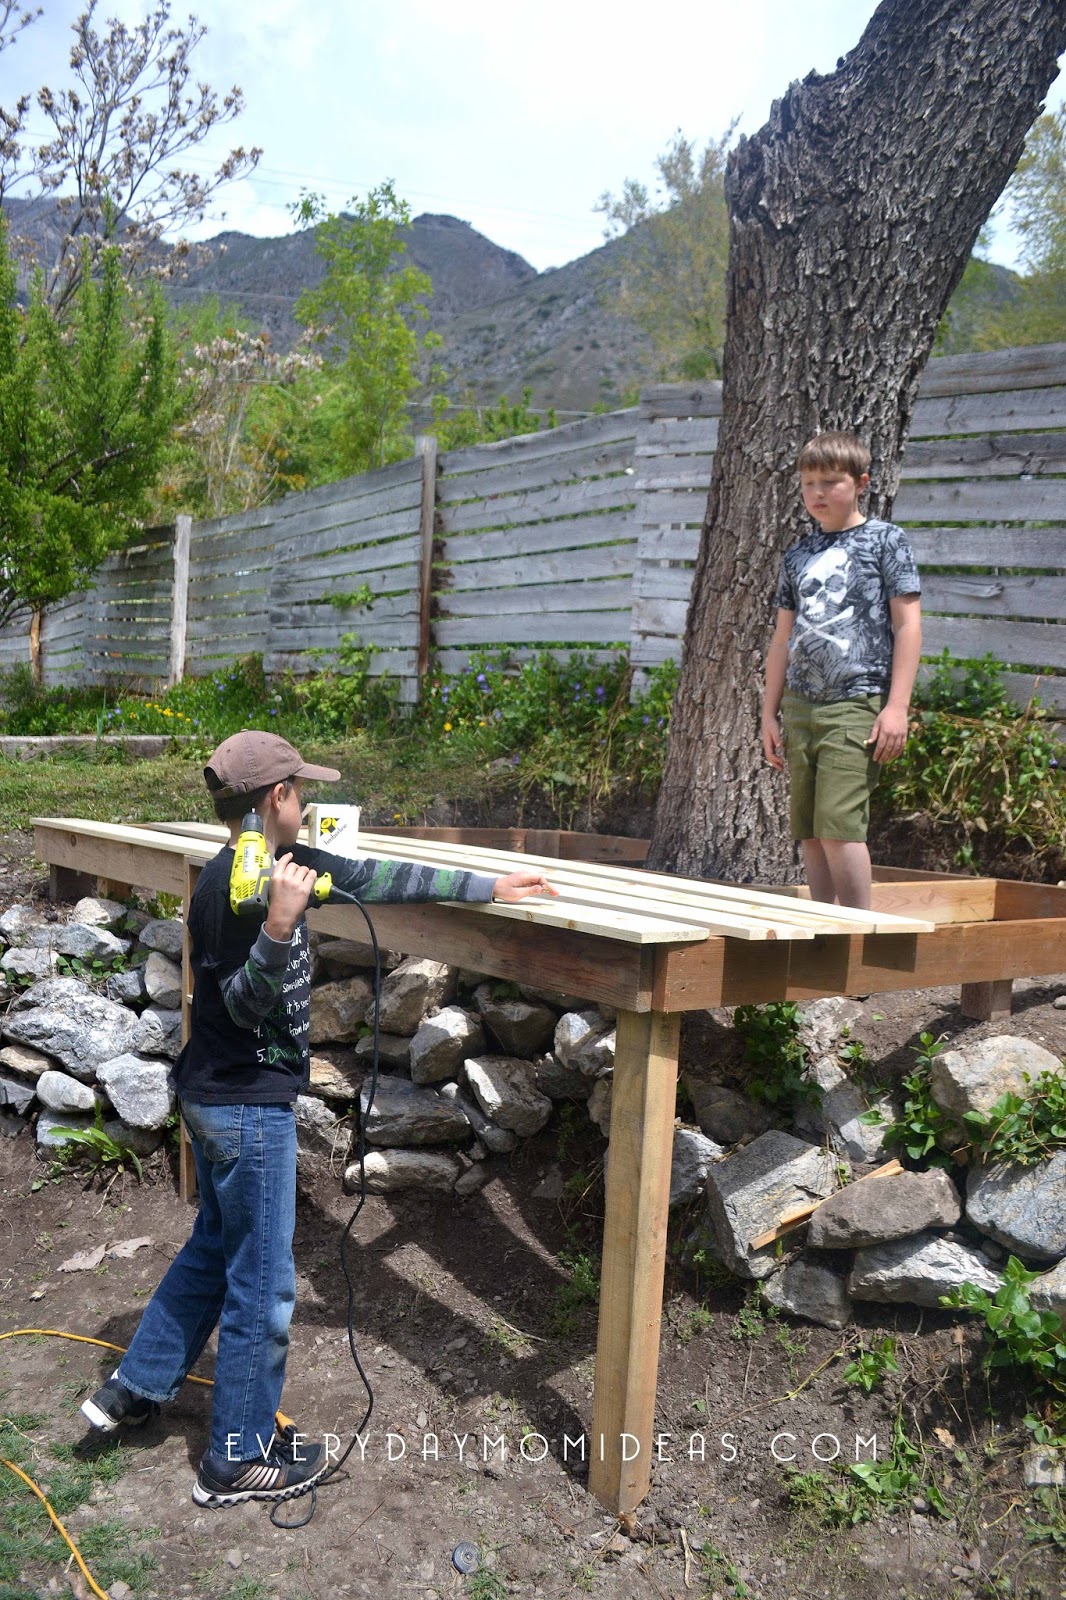
Remember to space your framing boards no further apart than 18 inches. You will loose stability of your tree house floor if you do. I recommend even spacing it every 12 inches.
As you can see in the photo above we have several 4×4 support legs holding up the tree house deck. Most of the weight of the tree house is held up by the posts sitting on the ground. Then there is one leg of the tree house hanging out to the right. 18 inches of this leg post is buried securely into the ground. The frame is very sturdy and can hold up to adult weight as well.
TIP: If you would like extra protection to your 4×4 post legs make sure to cement in the bottom of your post. It prevents wood softening and rot from moisture and other weather issues. Bags of cement are fairly inexpensive and will save you from having to deal with extra problems later.
If you are going to paint your tree house deck frame a different color than the wood decking I recommend painting the frame and letting it dry before you add the deck wood on top for your flooring. It will just keep it nicer and you are less likely to get paint all over you beautiful desk wood.
Tip: Because this is a open air tree house you will want to make sure there is a small space between each of your boards so water can easily drain and keep your boards from warping.
Now its time to stain the deck!
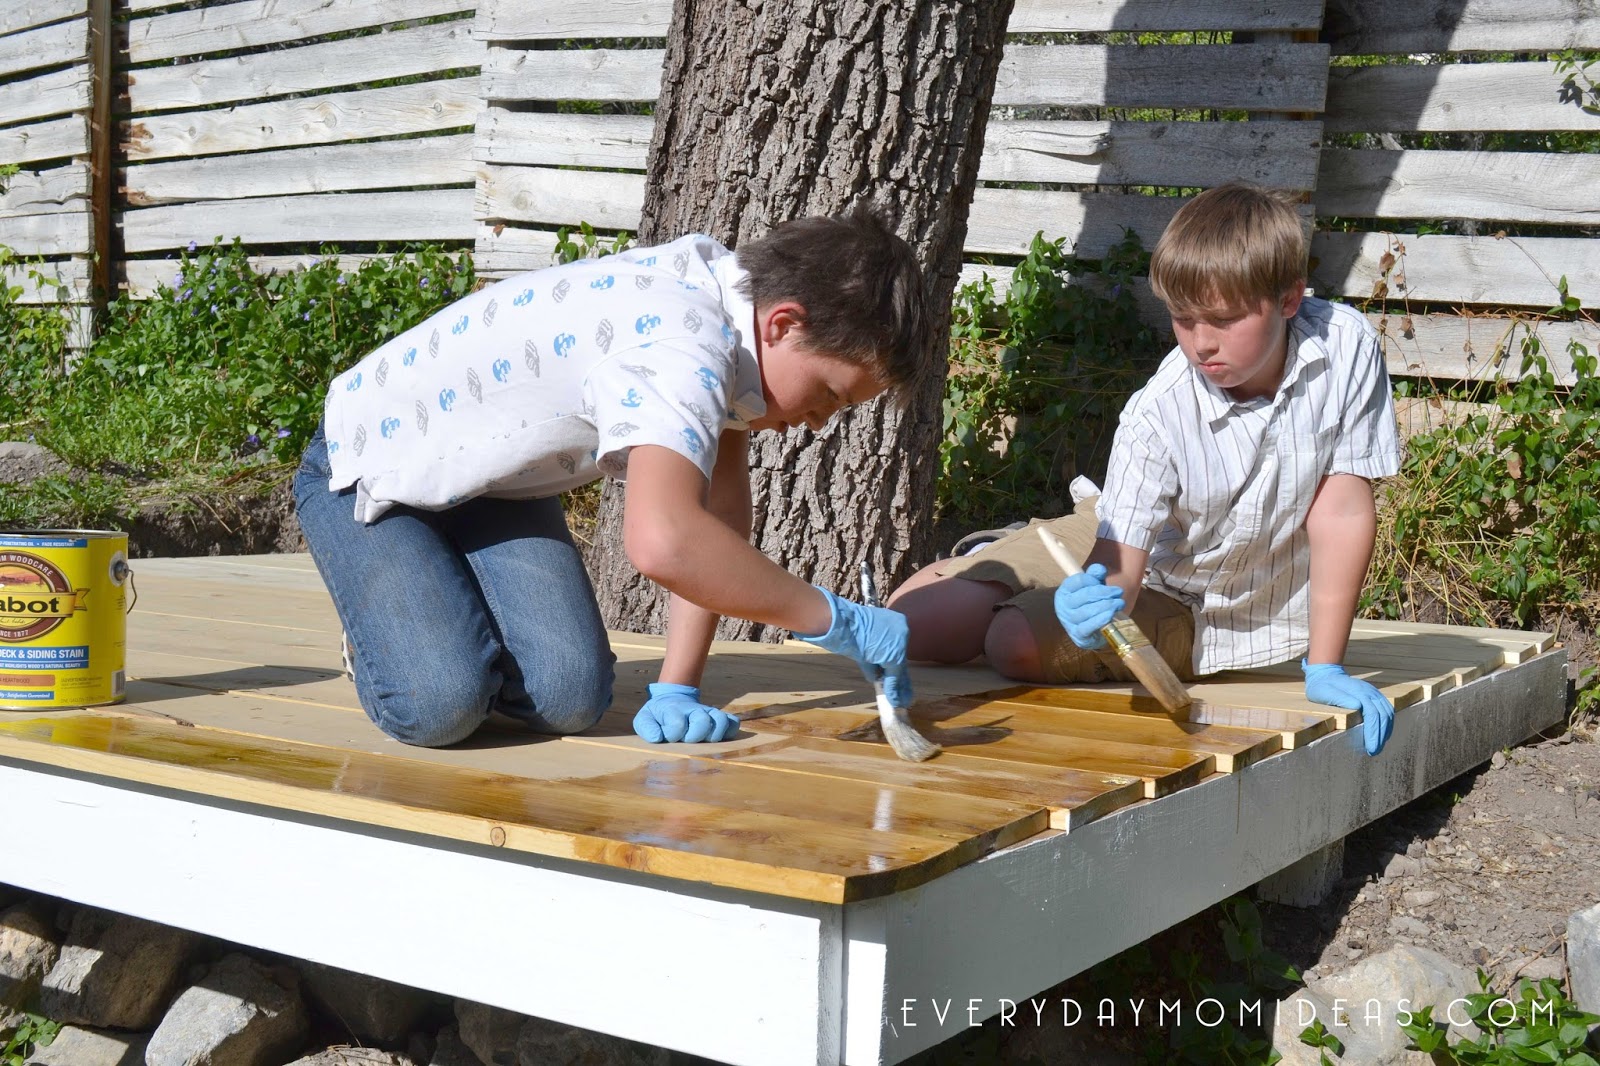
We used a Cobot wood toned deck + siding stain. Color: 3004 Heartwood We got this at our local Sunroc Hardware Store for about $35.00 I thought it was a little pricy but this is a really nice brand to work with. It also boast to be water reliant, deep penetrating oil and fade resistant.
When you stain with this you have to wait a day or two for it to dry. Then you need to give it a second coat and wait another couple of days for it all to be completely dry. Because it took almost a week for the staining process some leaves and dust got stuck to the surface but thats okay because its just a tree house. At least that is what I am telling myself. This deck is so pretty just as is I almost don’t even want to add walls, railing and a roof. Maybe we can just put some porch chairs up here and enjoy lemonade while watching the sun go down. Do you think my boys will go for that?
To be honest we actually started this a year ago. I know. This entire tree house would take most families a couple of weeks to complete. But when we first started this I was eight months pregnant with kid number four. Then I had the baby in last July and by the time I was able to get going on this this it was winter. But Im so glad the weather has warmed up and we have now entered the final phase of this Hillside Hideaway Treehouse. I will be posting parts two and three in the next few weeks. So stay tuned!
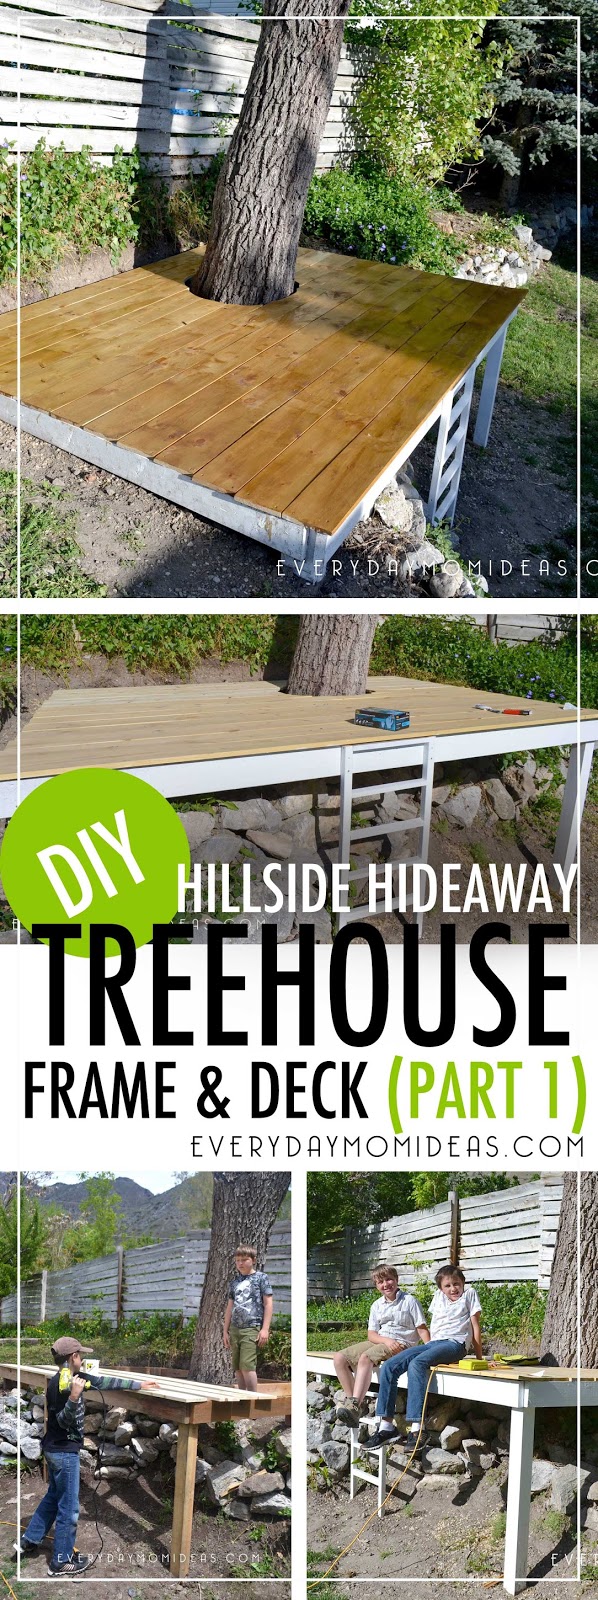
Please share this Pinterest friendly image below of this project, with your friends and family.
