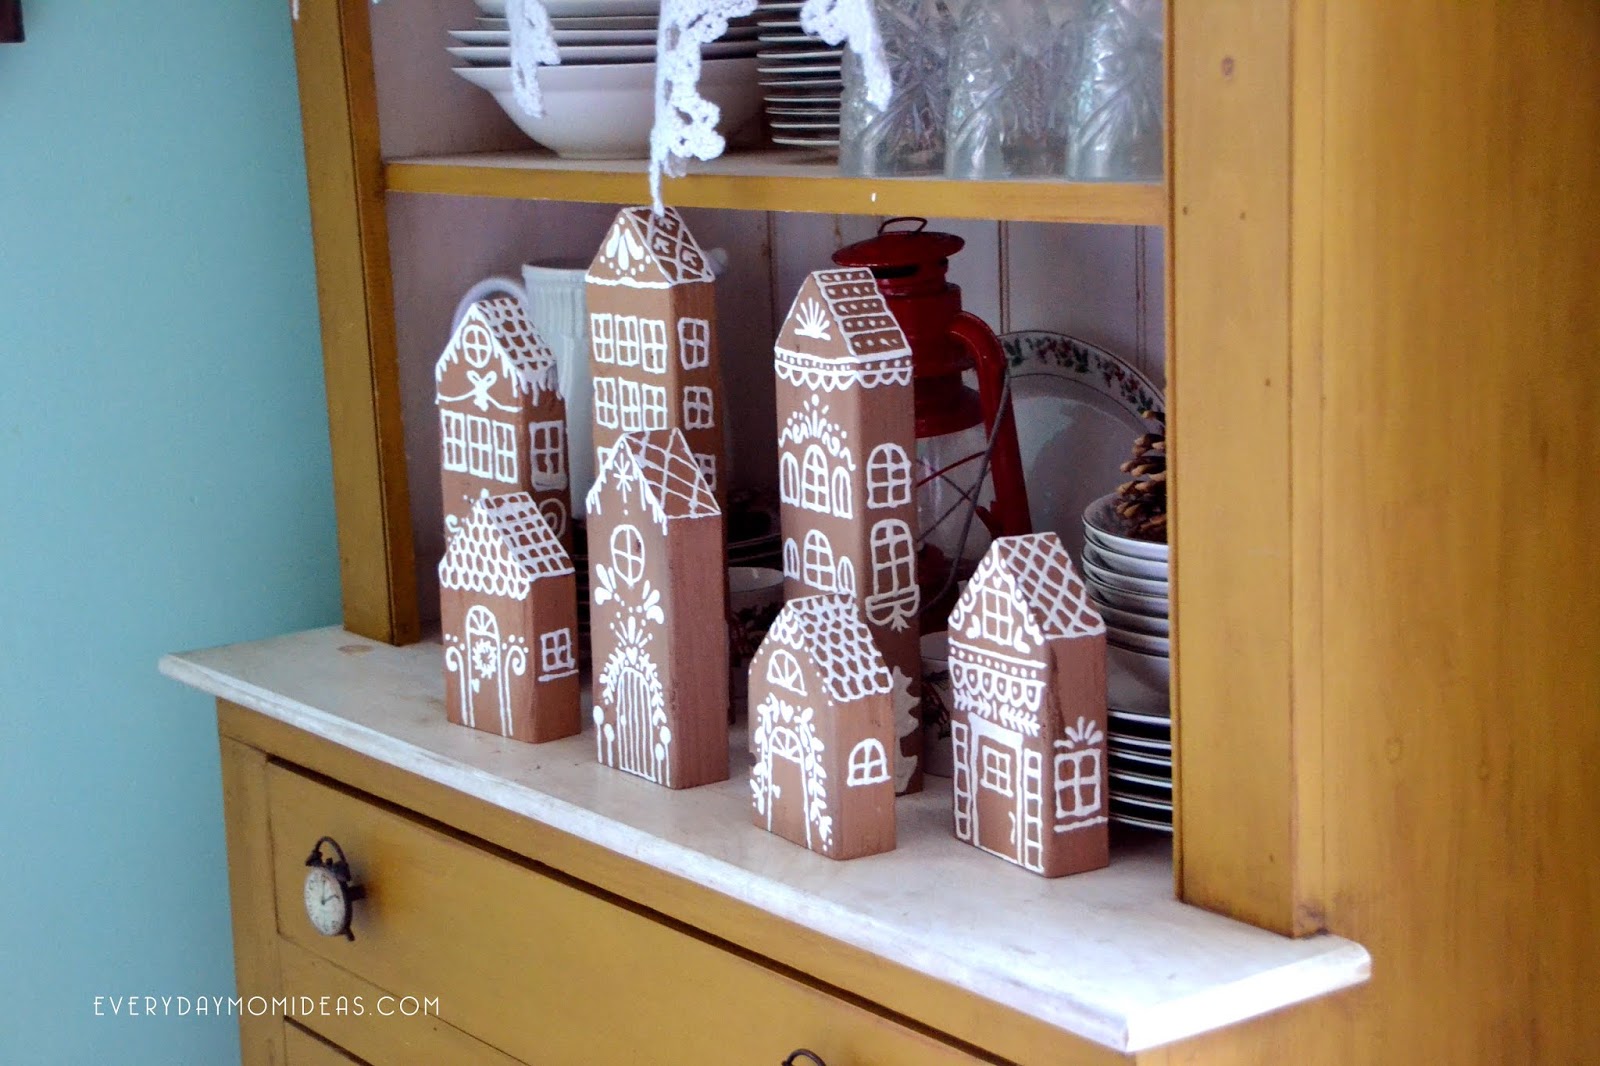
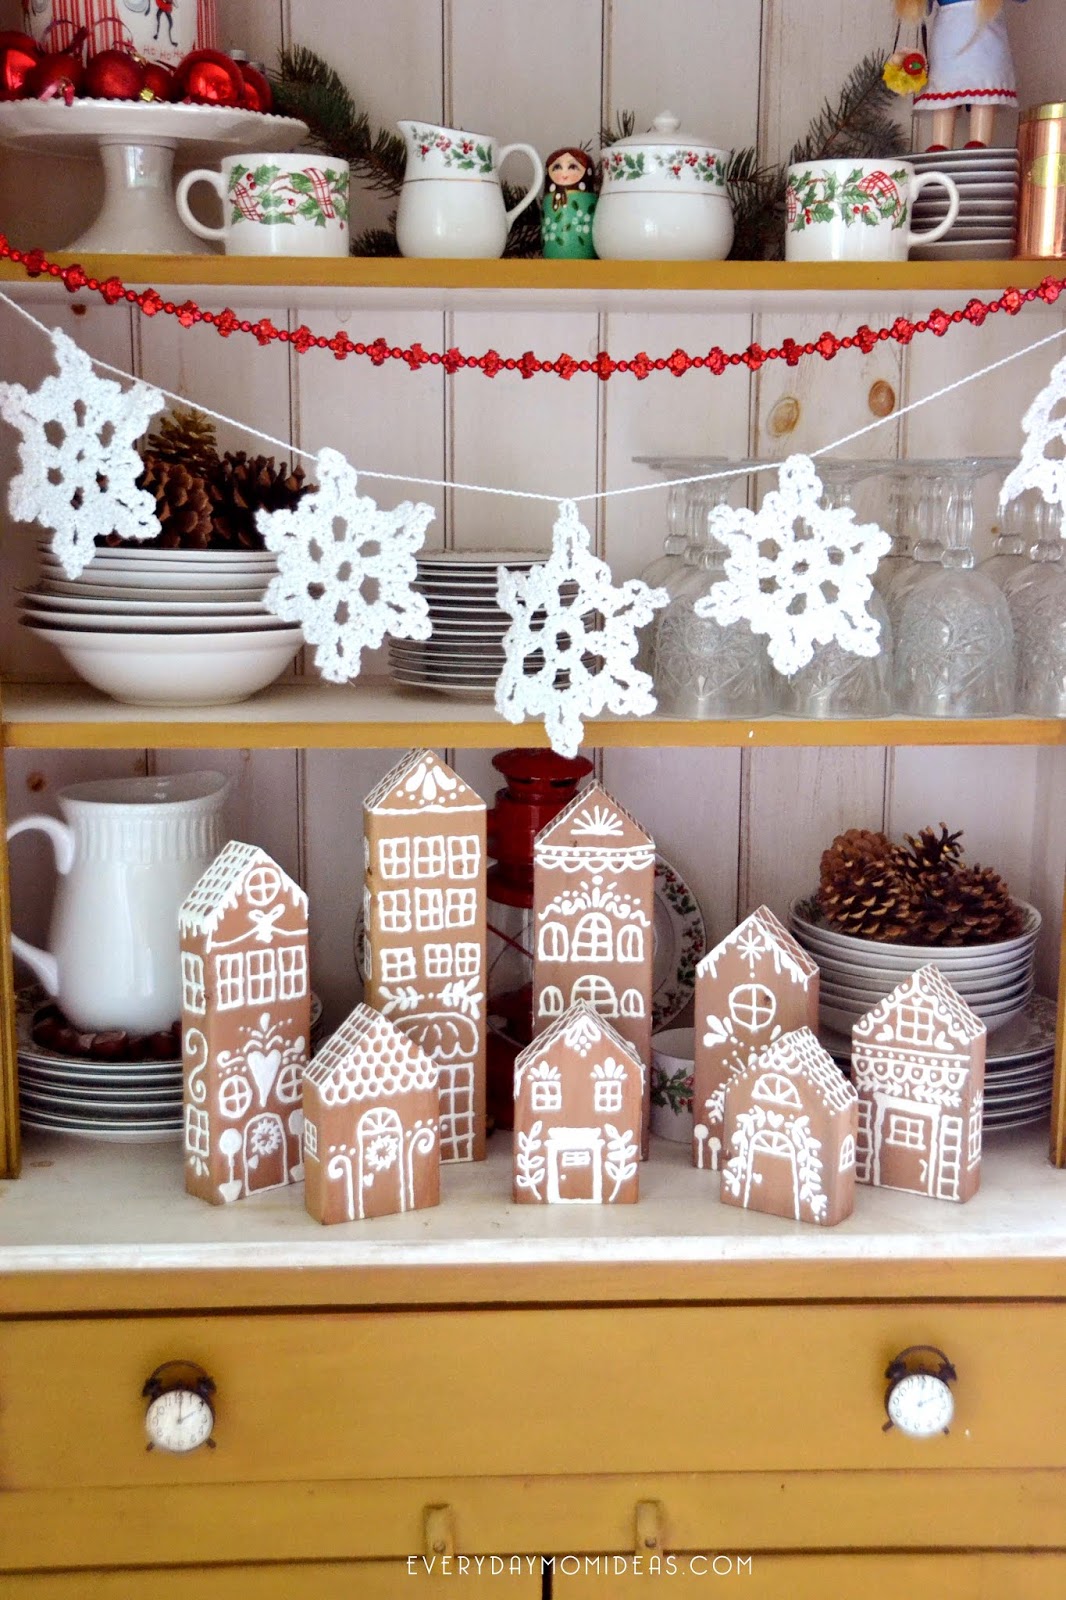
I have a bunch of random 2×4 scraps left over from all of our Home Remodeling this summer and Im always looking for creative ways to use them. This Christmas I decided to try my hand and some 2×4 scraps into ginger bread houses!!! And Im so glad I did. It was cheap and so much easier to make than real ginger bread houses. And the best part is that I can use them again next year.
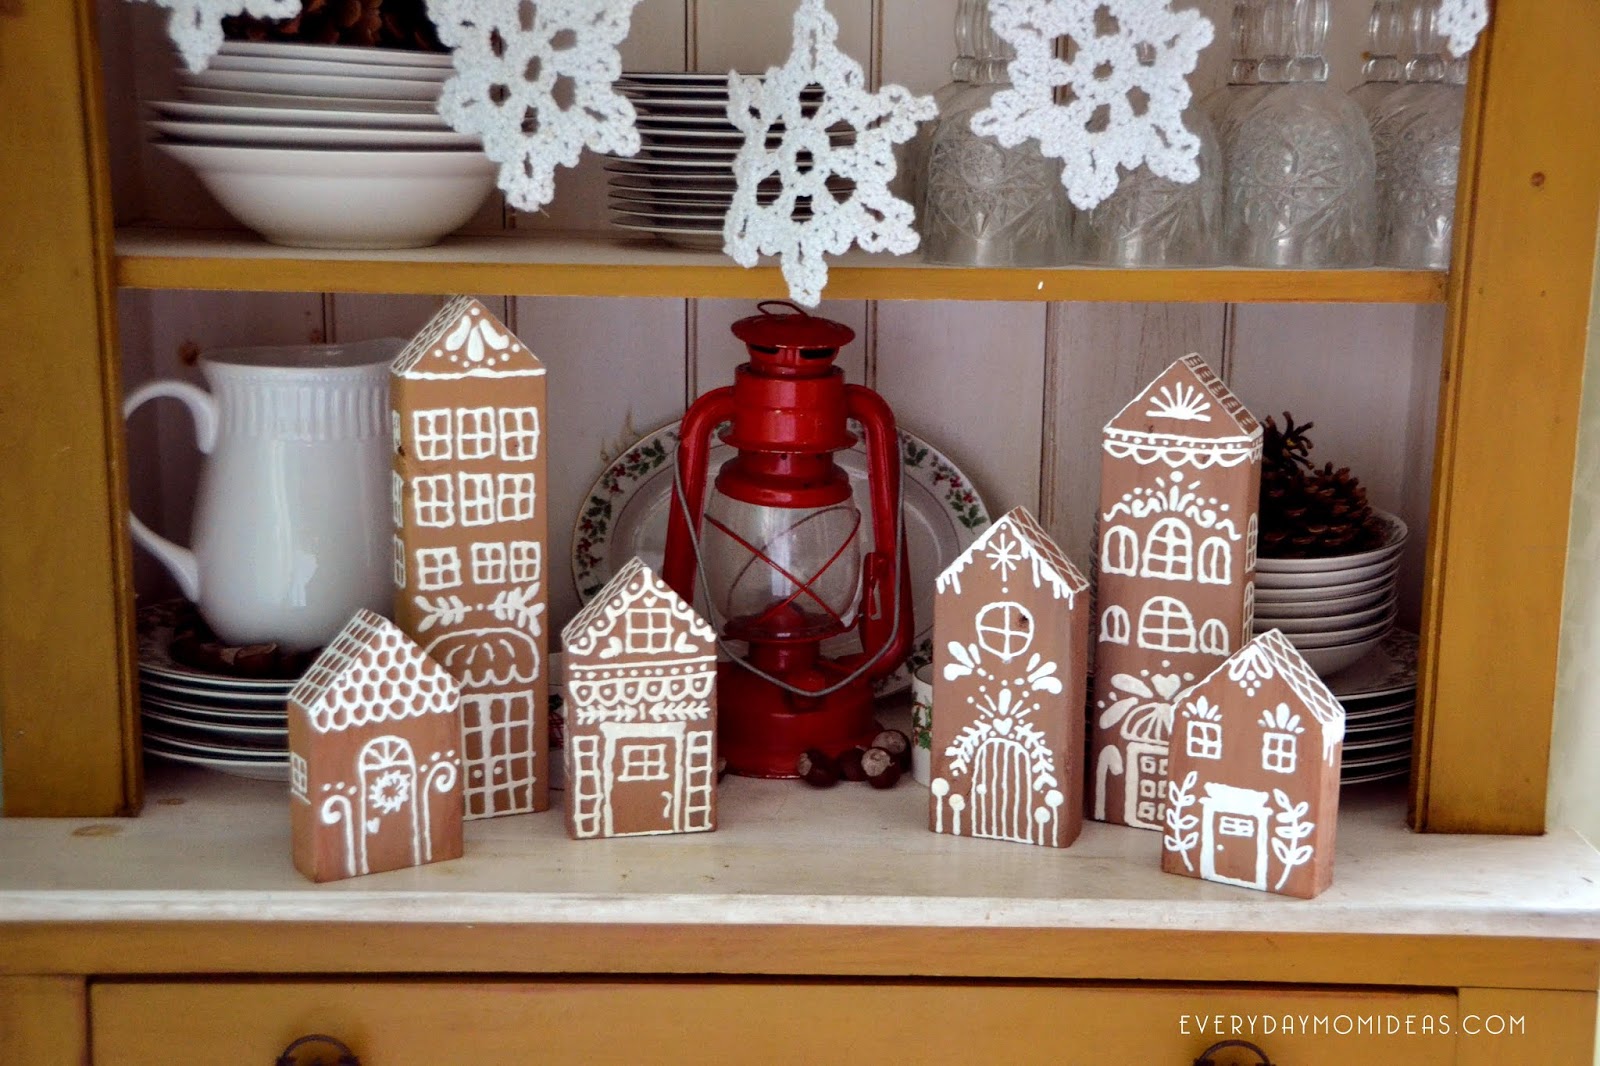
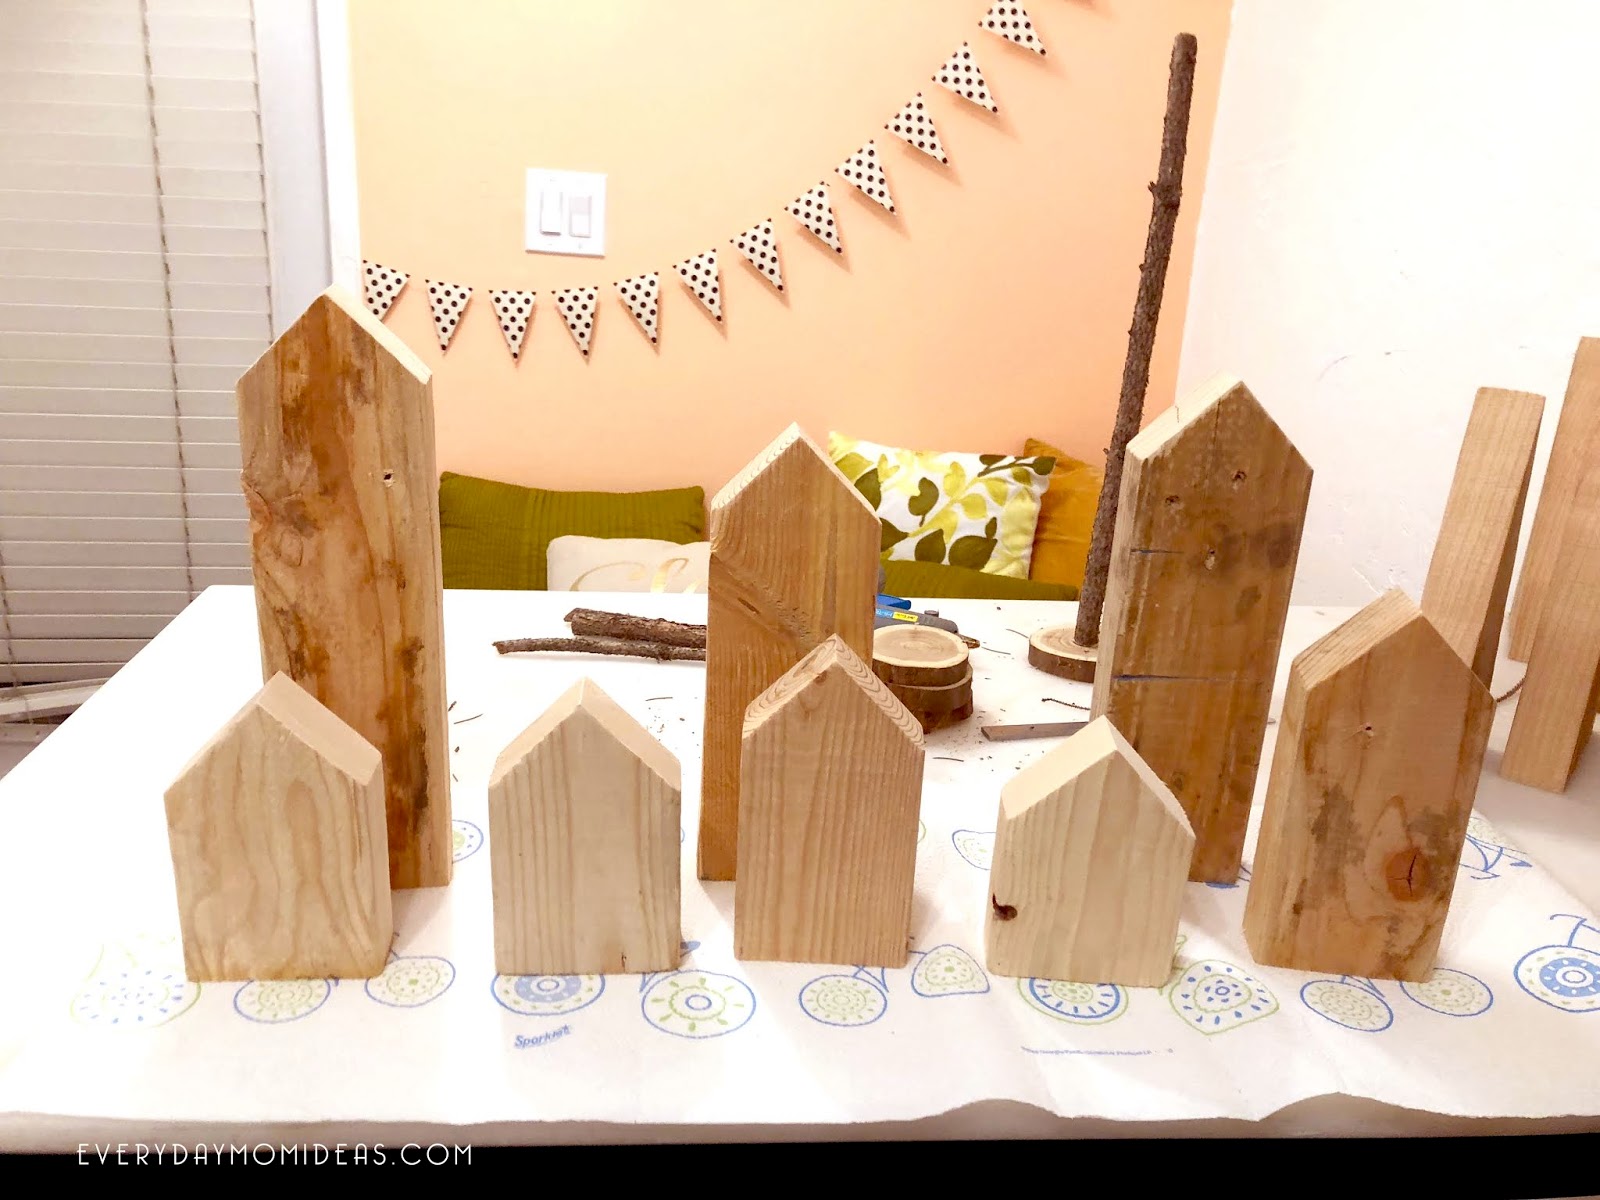
I wanted to make a ginger bread village and made eight different size gingerbread buildings. You can also just make them into sets of three and give them away as adorable Christmas decorations for your loved ones. This can also make a great kids craft for the grandparents.
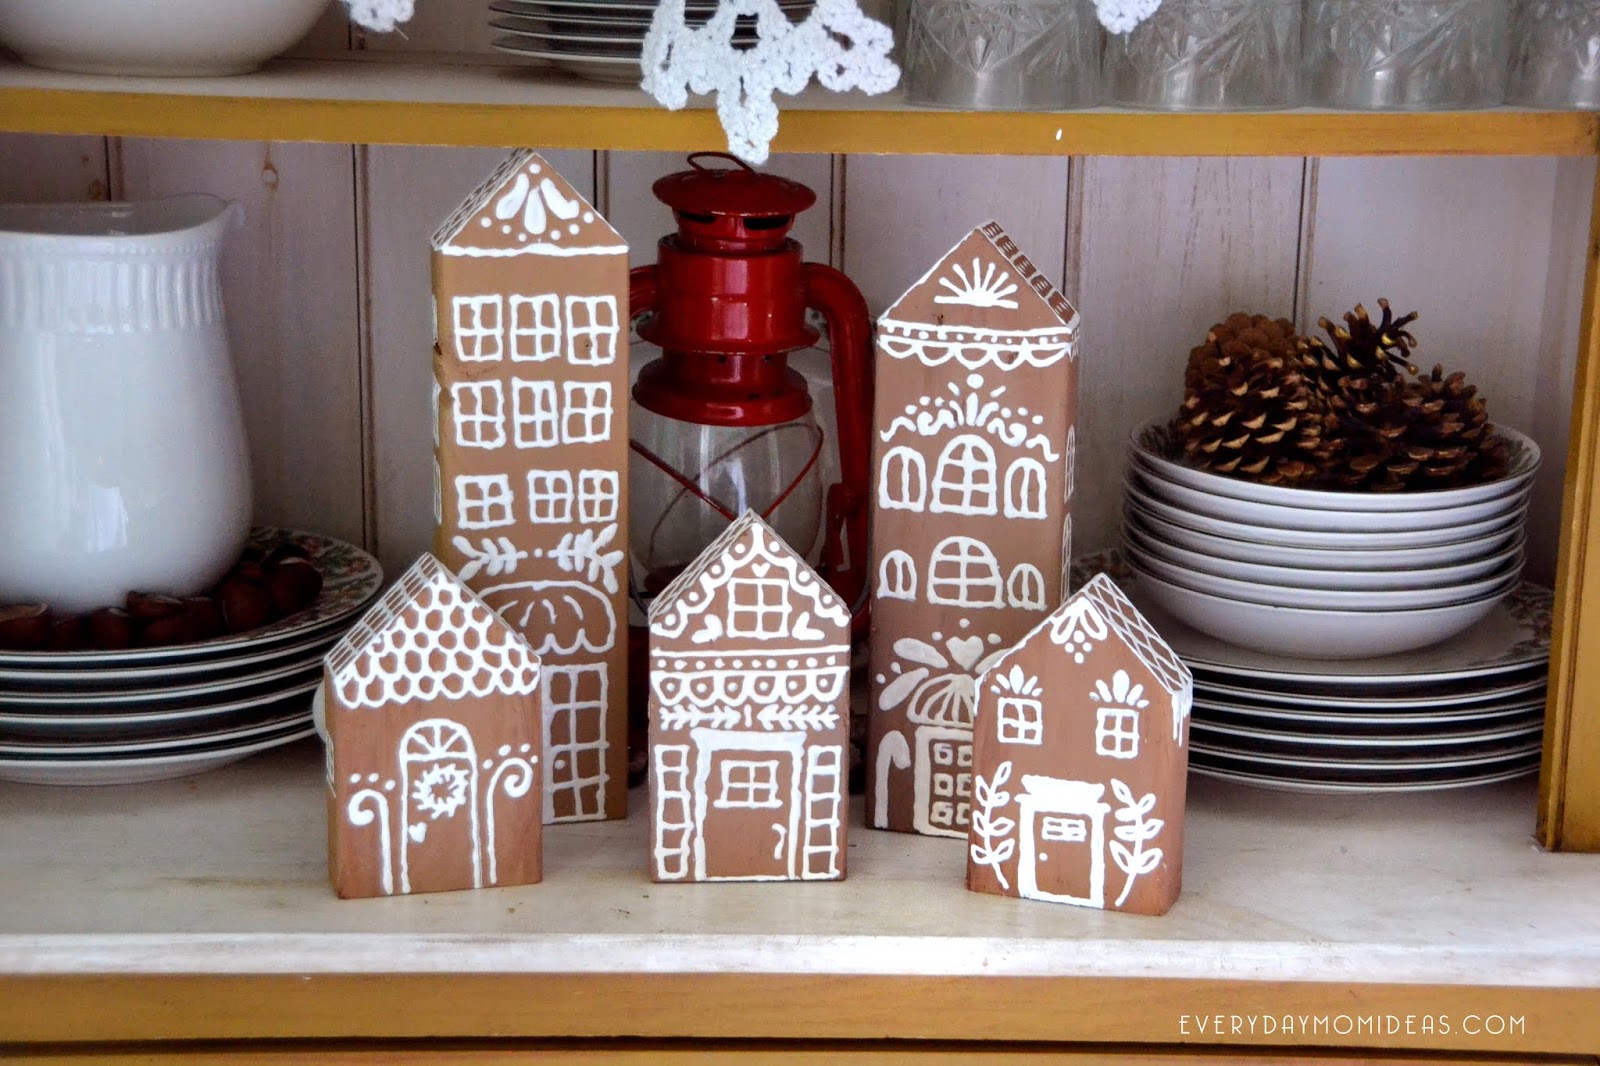
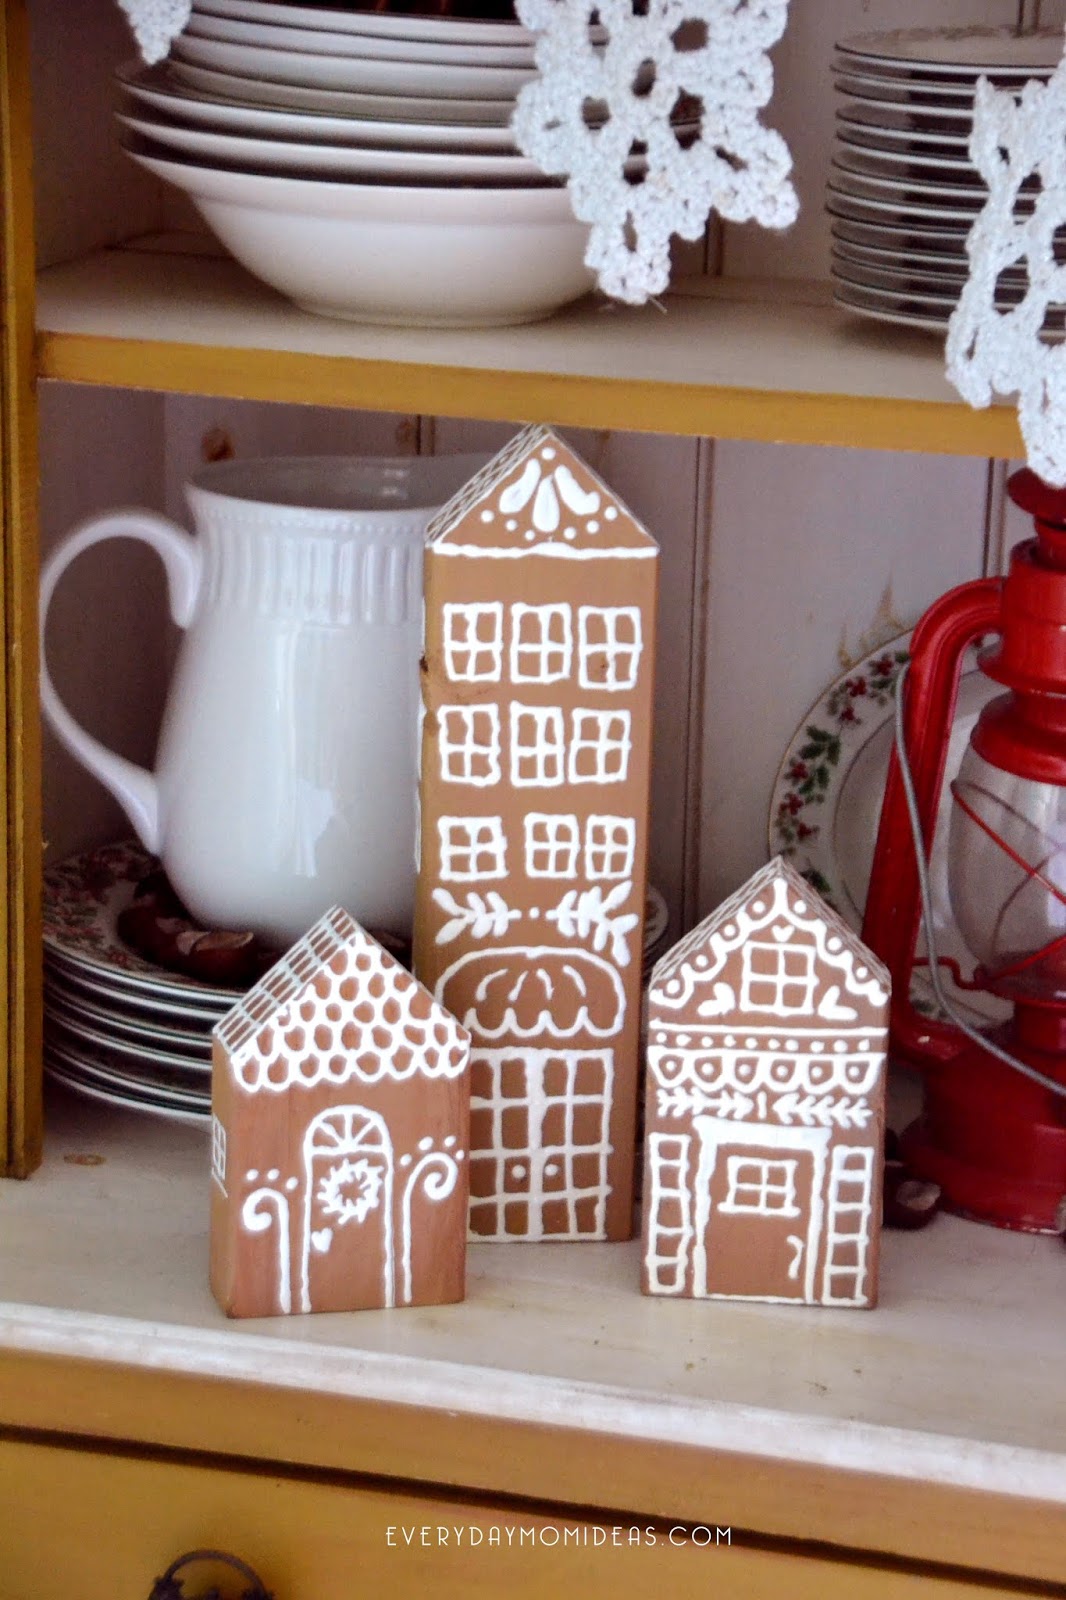
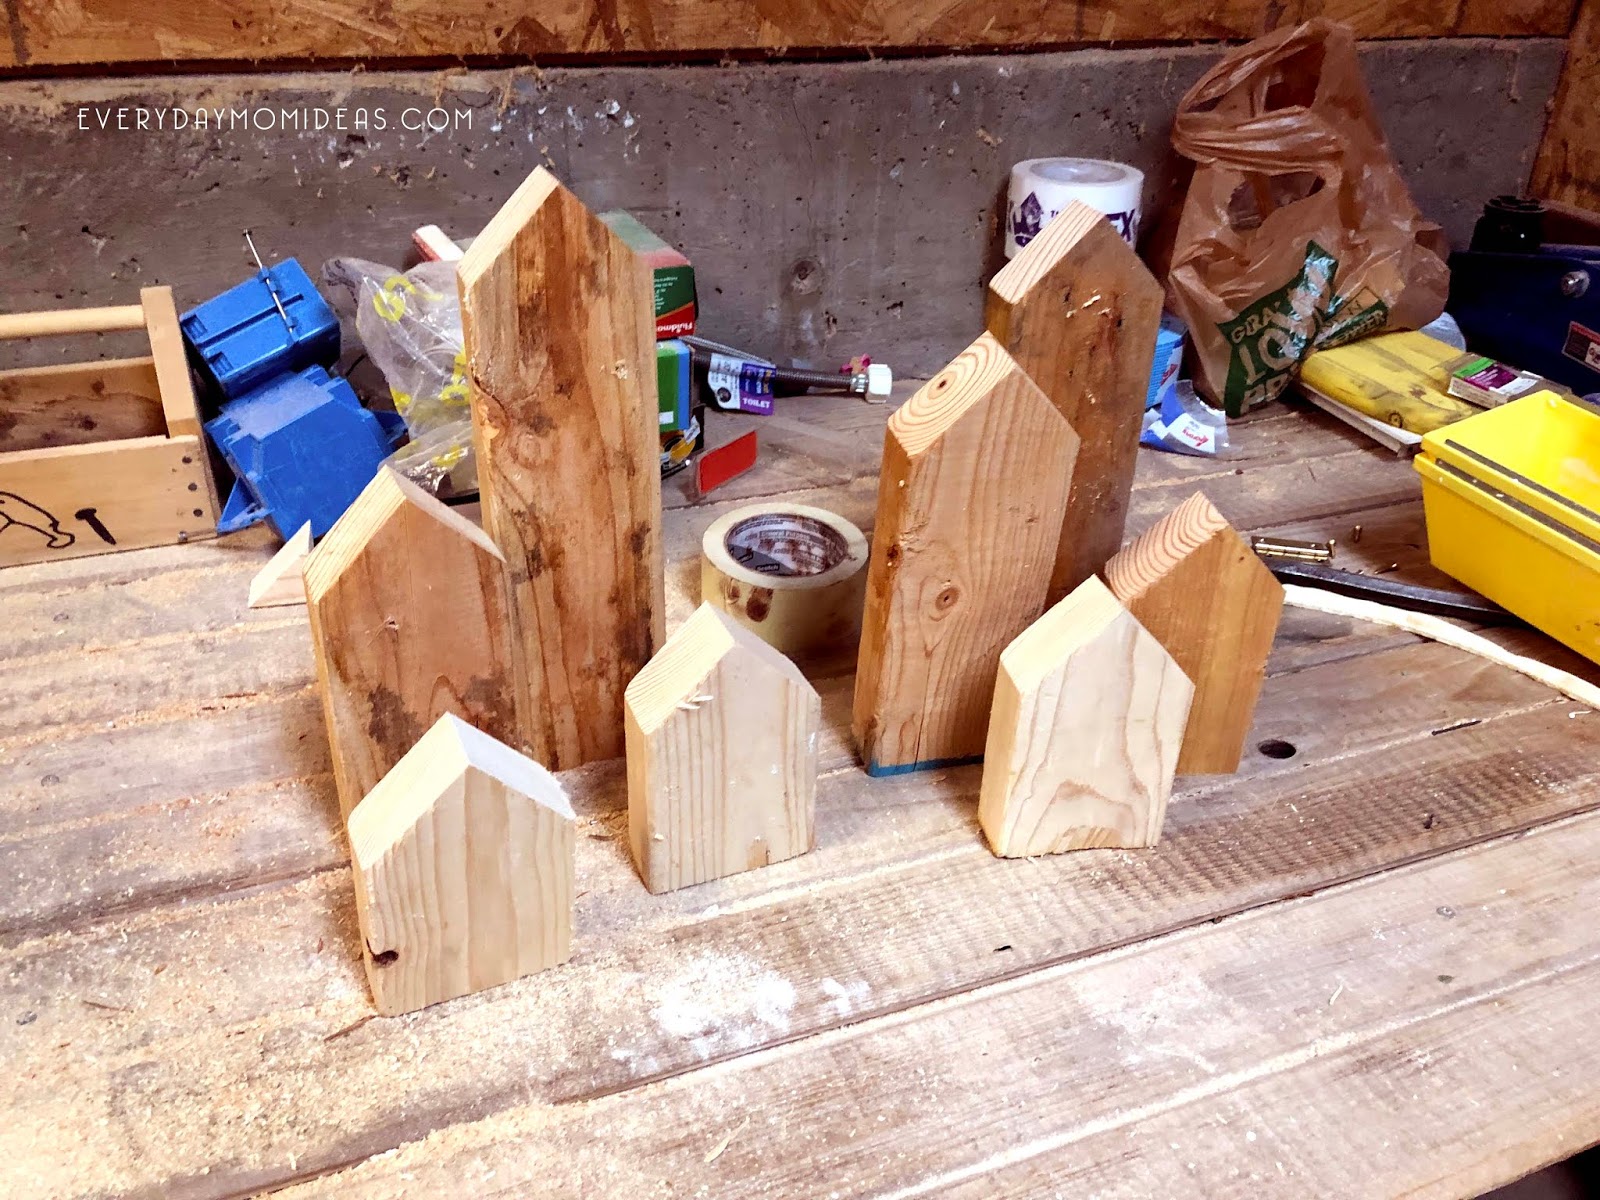
2×4’s make for a sturdy gingerbread house and if you cut the bottoms evenly they don’t wobble around. I cut three gingerbread houses extra long for the background houses and then designed them with an apartment look with extra windows and floors
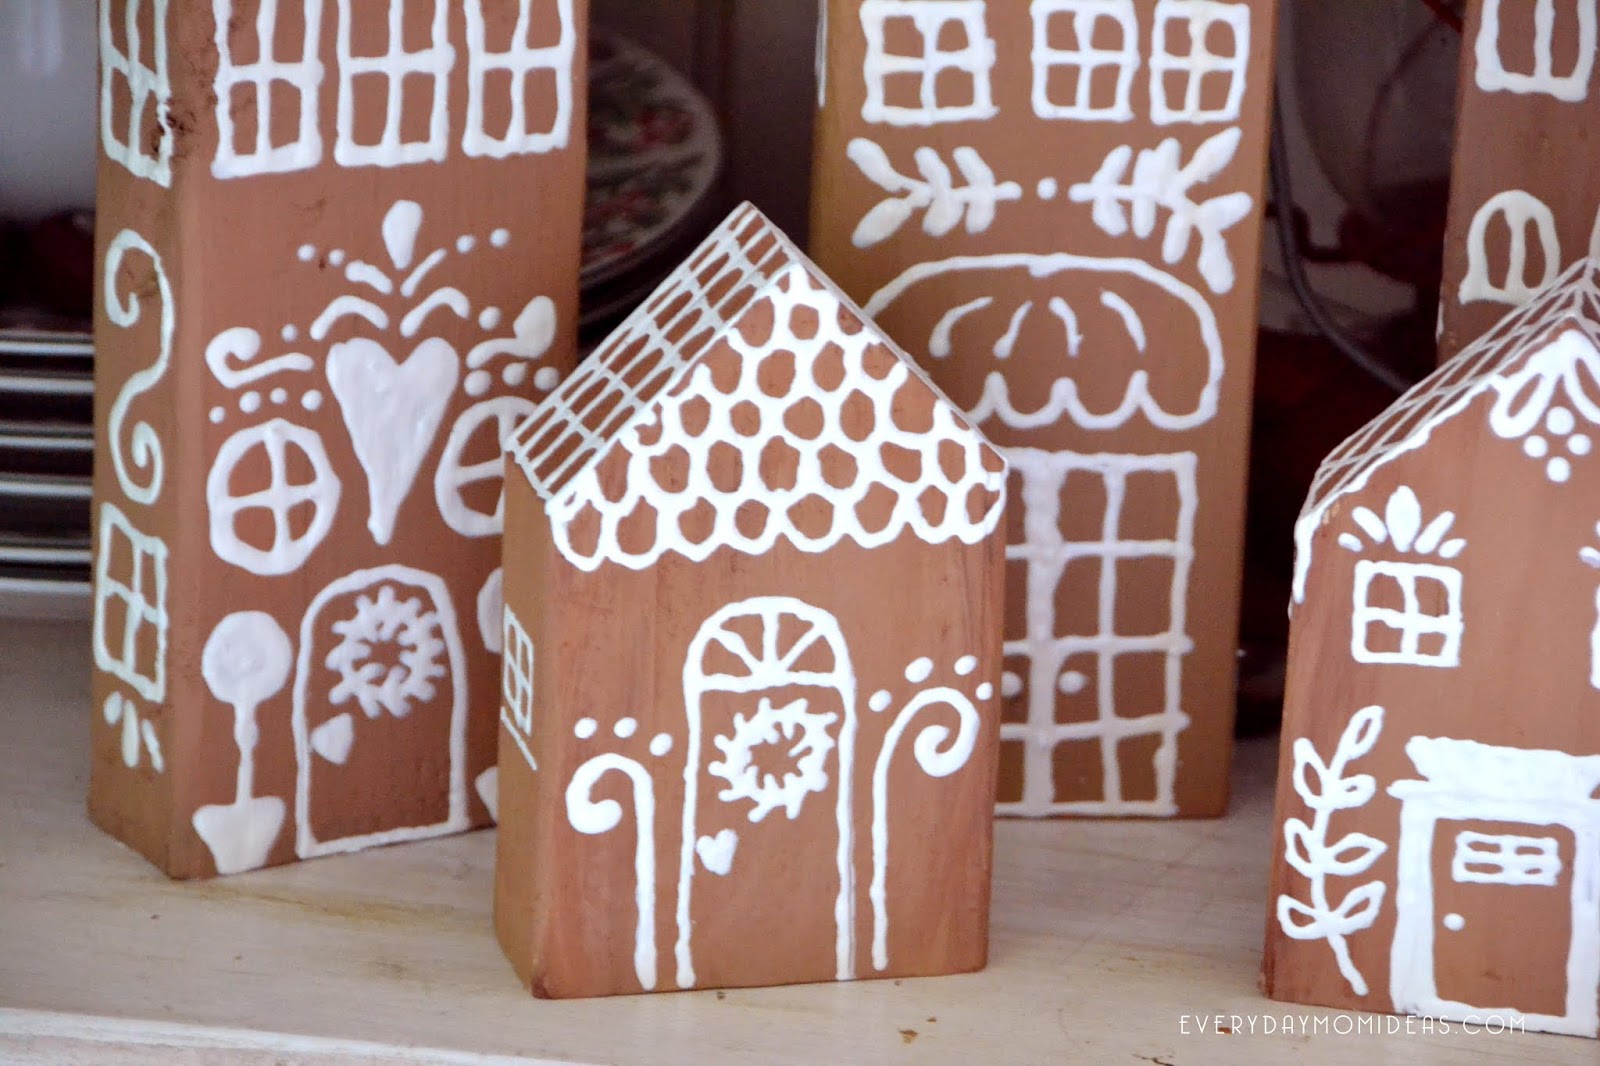
The secret to awesome 2×4 gingerbread houses is to use puffy paint/ fabric paint. When the puffy paint dries it stays a little bubbled up instead of drying flat like white acrylic paint. So the white puffy paint looks more like real frosting when its dried. I think the fabric paint makes all the difference.
There are so many ways to decorate a 2×4 gingerbread house. I really liked the idea of just using white fabric paint instead of adding a bunch of colors, that way I can add the gingerbread village to any of my decor and no matter what color scheme I go with the ginger bread houses will continue to fit in. But if you want to add a little red and green go for it. I bet it will look awesome that way to.
2×4 Wood Gingerbread Houses Instructions:
Need:
- 2×4 Pine wood scraps – 3 to 8 pieces
- Brown and white craft paint – semi gloss
- White Fabric paint
- Sandpaper
Tools:
- Paint Brush
- Chop Saw
1. Cut: Set Miter saw to a 45 degree angle and cut one corner off. Then flip the house to the back and cut the other corner off from the middle to create the triangle of the roof. Don’t worry if the tirando is not quite even it will give your houses a fun quirky look.
2. Sand: Once all of the houses are cut don’t forget to sand all the edges and tips so they are smooth. This will also help reduce the risk of slivers. I learned that the hard way of course.
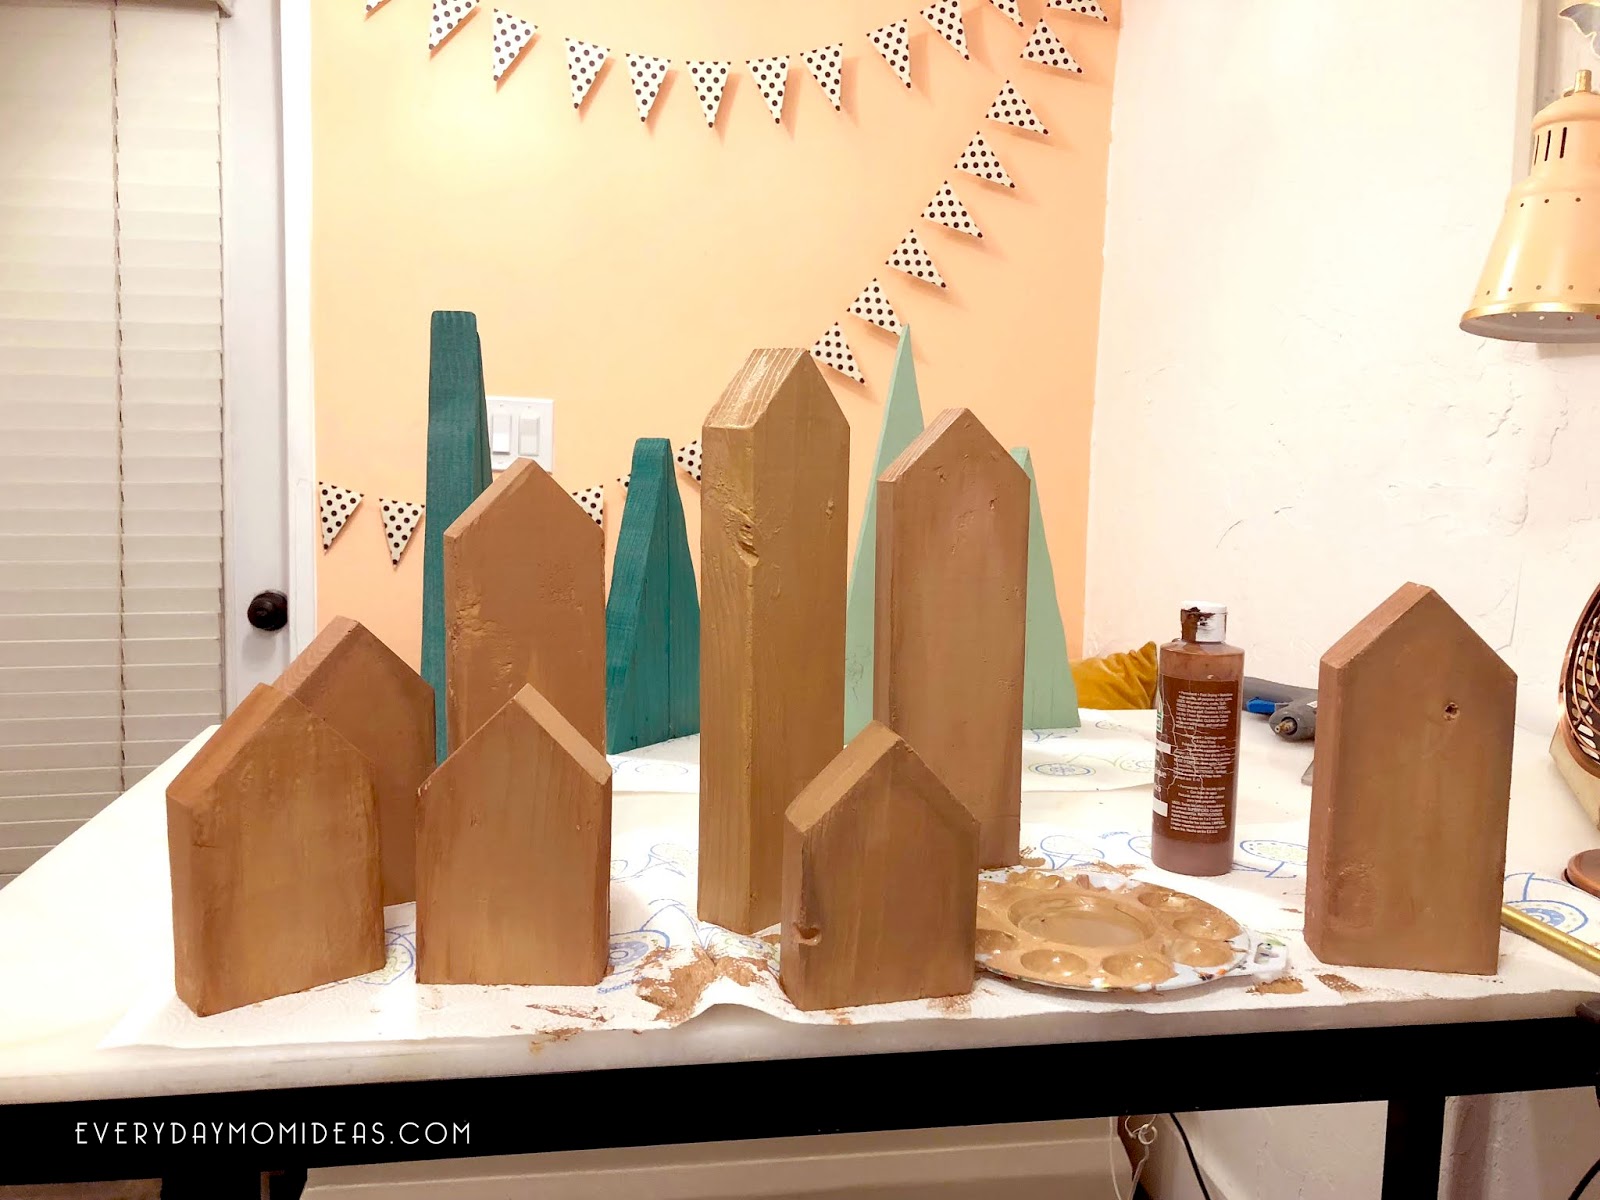
3. Paint: Now you can paint the wood houses and nice summer gingerbread brown. I suggest you mix your brown with a little white to get the right shade of cookie brown. The standard strait brown you find at most craft stores are a little too dark and needs to be lightened up.
Paint Tip: If you want to add a little extra pizzas to your gingerbread houses you can paint the edges a darker brown to give it that just-toasted touch.
4. Let dry over night: These gingerbread houses are easy to make but you must leave room for drying time overnight. The craft paint only takes about an hour or two to dry. But I let mine dry overnight for extra measure. If you are making these for a kids craft I suggest you paint all the wood ahead of time and let the kiddos just paint on the white fabric paint part.
5. The Details: There are so many fun gingerbread designs and inspirations on Pinterest. I took a bunch of different doodles and added my favorites to my houses. When using the puffy paint hold the bottle a tiny bit from the house so that you don’t squish down the paint. You want the fabric paint to be a fluffy and fresh frosting. Let dry overnight.
These gingerbread houses looks good anywhere they go. I have displayed my gingerbread village on my kitchen hutch. I thought it went perfectly there with all the Christmas dishes and dinning room decor. But These Gingerbread houses look good anywhere.
I would love to see your 2×4 gingerbread houses and share them also with my readers on my social media site. Please send me an email or tag me on my social media.
Below is a Pinterest friendly version of this post for you to share with your friends and family or save for next Christmas. Hope you Enjoy This fun holiday craft.
SHARE THIS STORY


